I love to spend my time off during the summer by the water and observe the nature around. Our region has several lakes, it is crossed by smaller rivers that are home to many animals. Flying and dancing dragonflies belong to my “summer picture” and the trapezoid cabochon is perfect to create one yourself. I stored this idea for almost 2 years, it was time to transform it into a finished jewel!
What will you need to make this brooch/pendant?
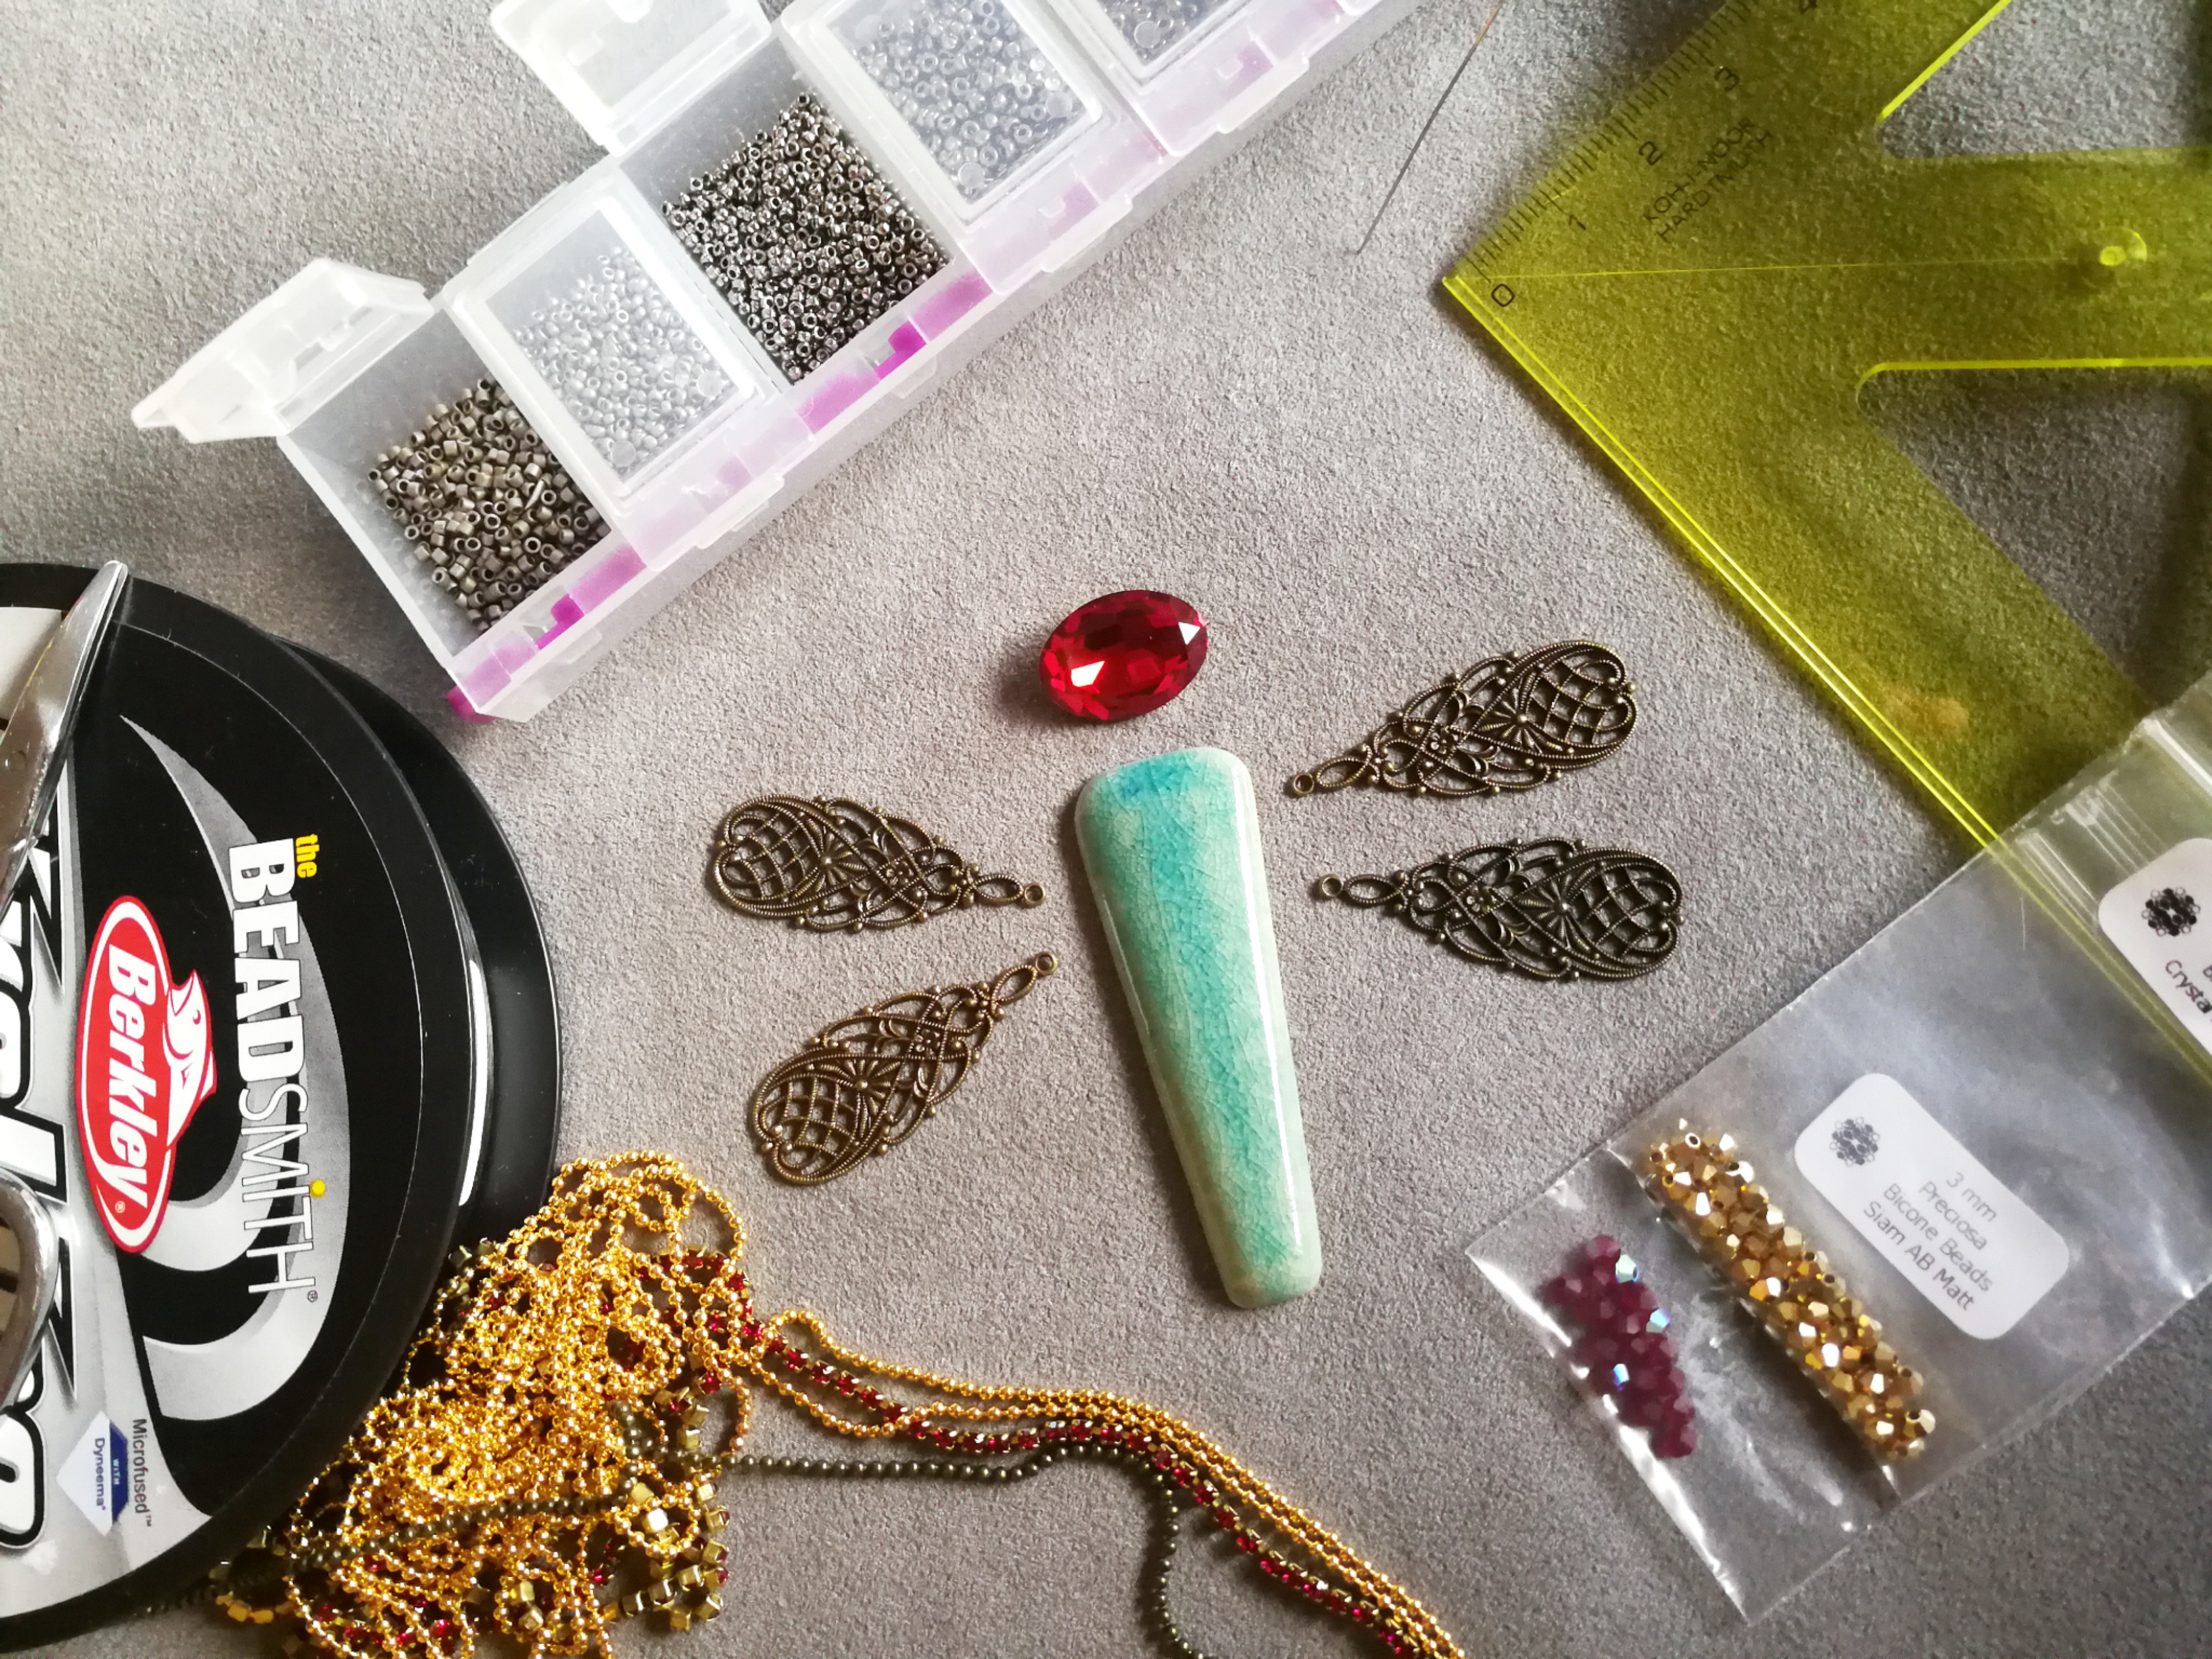
Material list
- Beadingschool Trapezoid art cabochon
- 4 pieces of raindrop or elongated filigrees
- 13x18mm glass cabochon (I used Red Siam) or Preciosa Fancy Stone
- 11/0 Miyuki Delica beads, (1 color)
- 15/0 Miyuki round seed beads, (2-3 colors)
- 2mm fire-polished beads,
- 3mm Preciosa bicone beads,
- 2.1mm Preciosa rhinestone cup chain, (I used Light Siam in raw setting)
- 1.5mm ball chain
- Ultra Suede, (light gray for foundation, brown for the backing. Leather is also an option.)
- Brooch and pendant holder in one (or any other component to suit the choice of jewel you want to create)
Tools
- 0.12 mm Fireline,
- beading needle,
- glue (I used E-6000 or F-6000),
- bead mat,
- sharp scissors,
- cardboard paper. (I used hard paper from chocolate.)
Useful links and tutorials:
- Cabochon bezelling, Backstitch, Attaching Preciosa rhinestone cup chain and Beaded edge – bead embroidery tutorials by Erika.
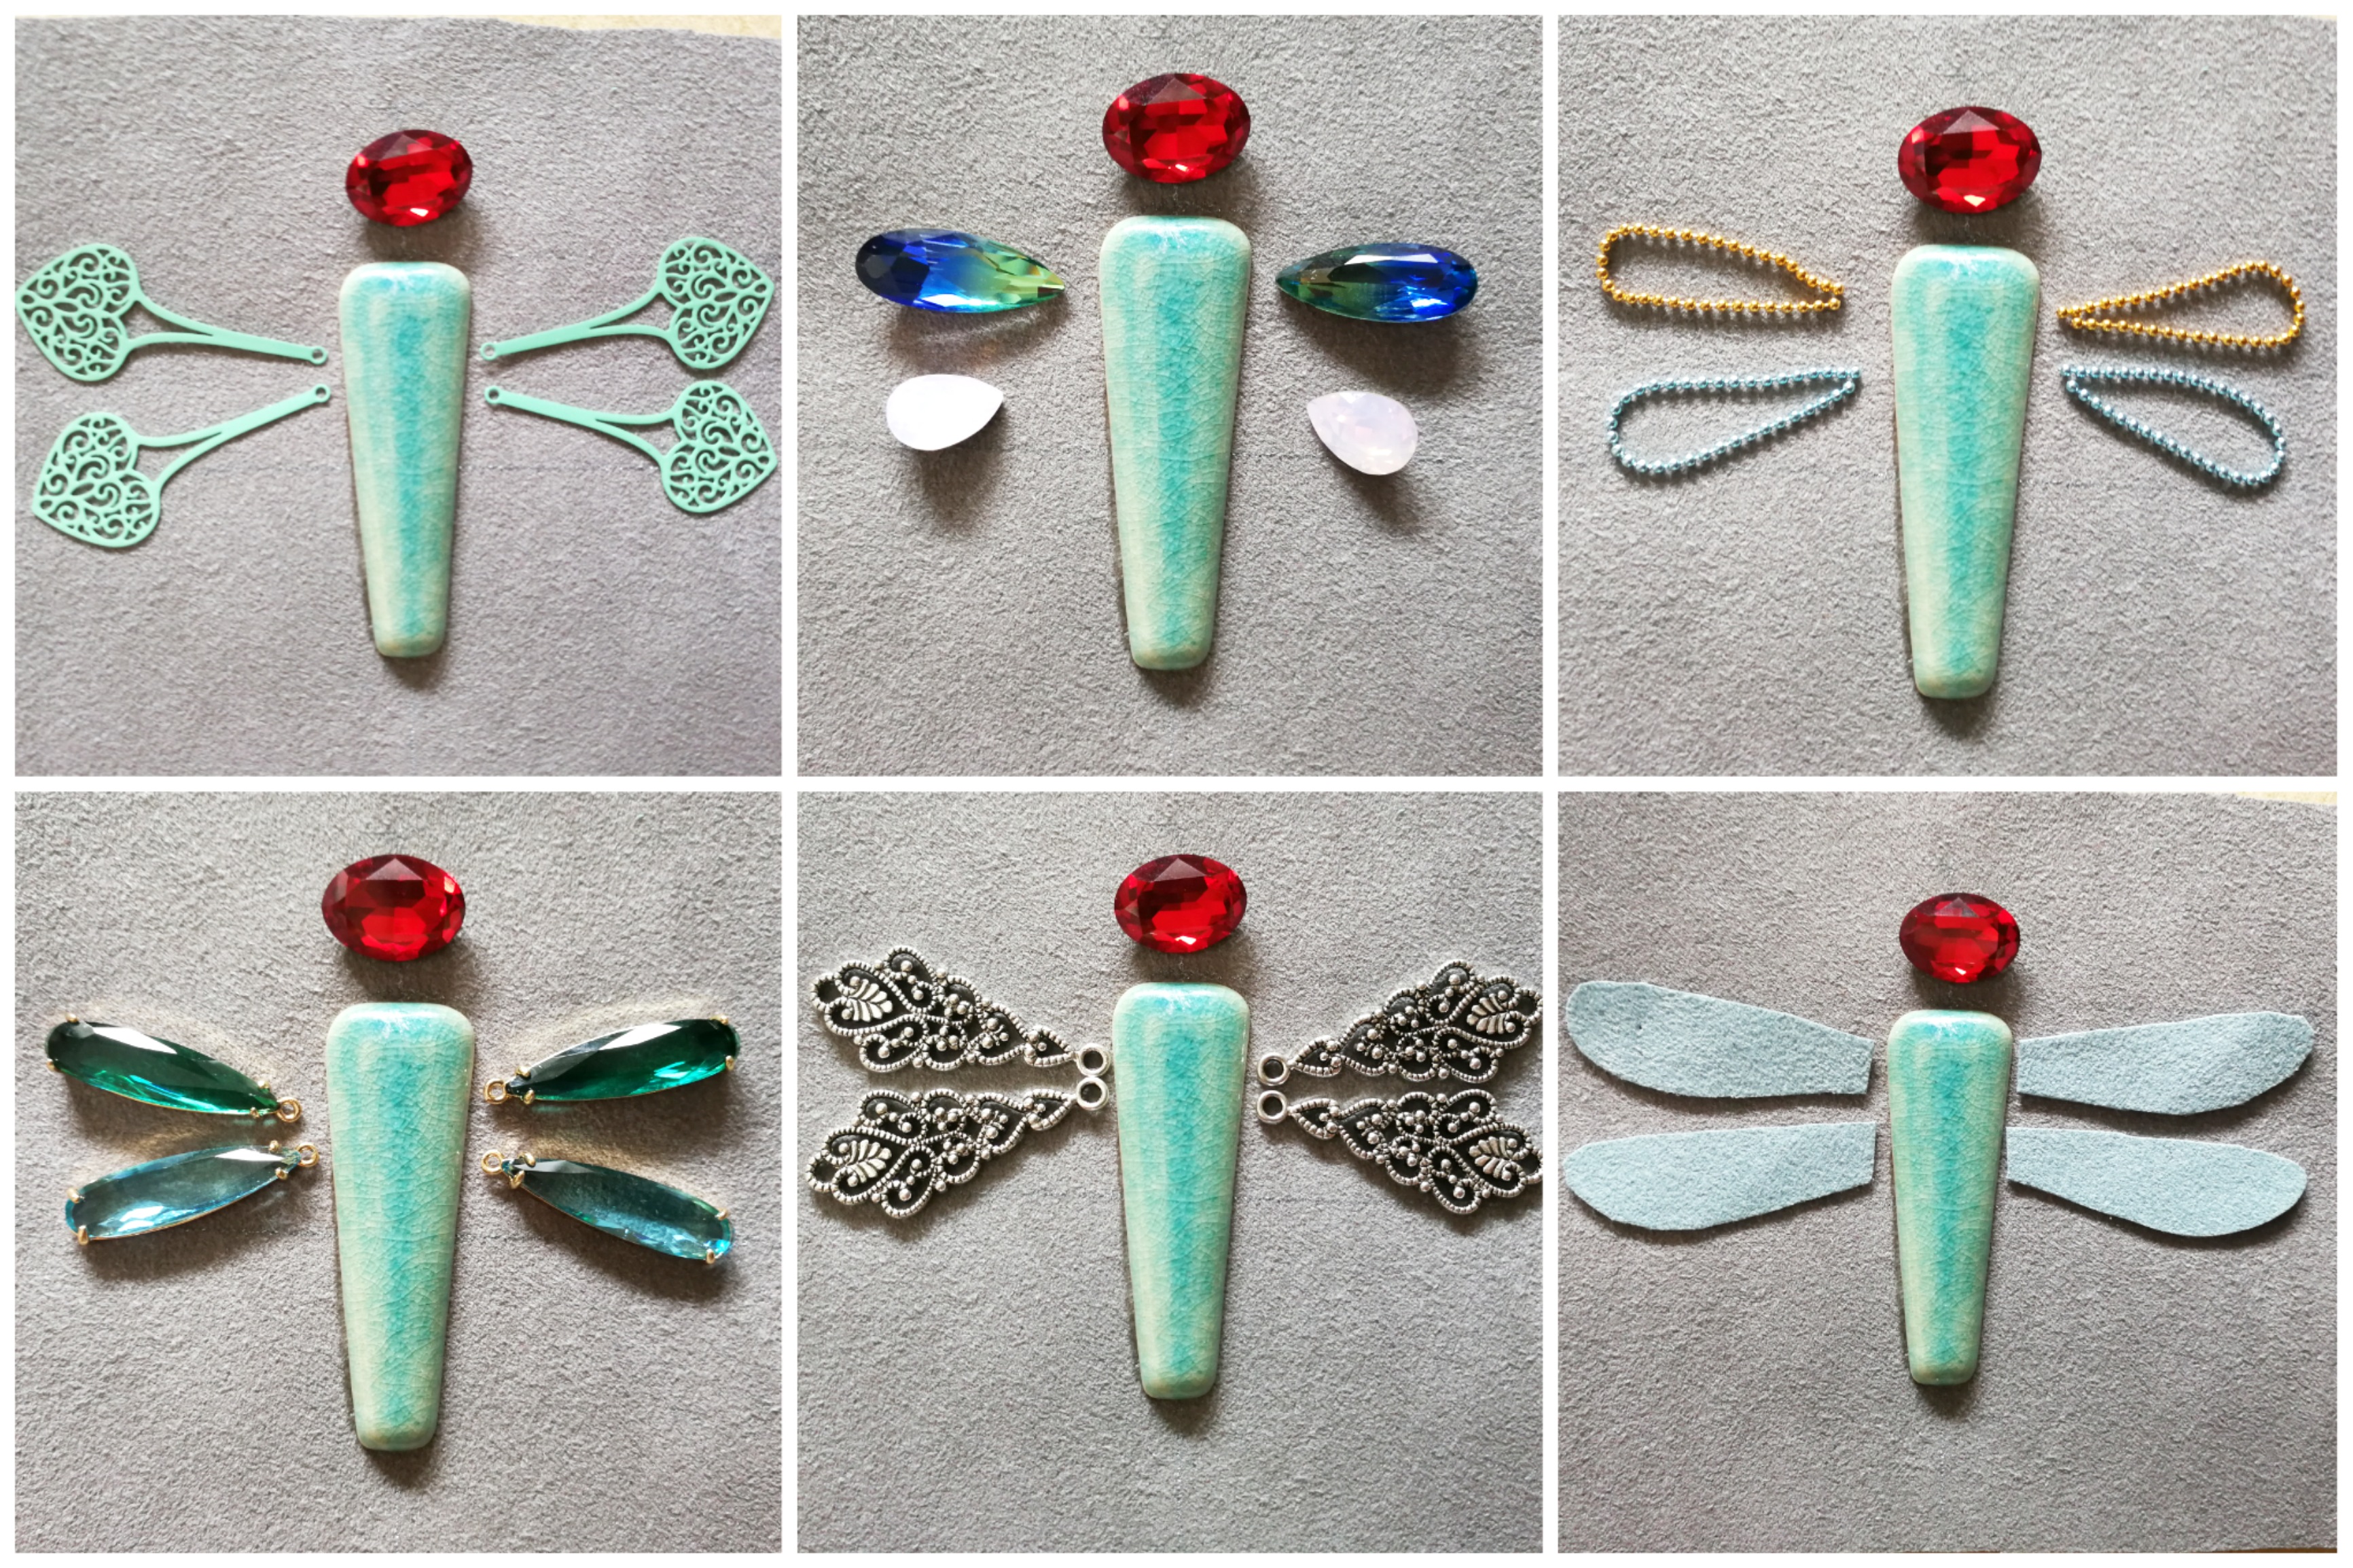
Other inspiring material you can include:
- Glass drops,
- Beads for decorating,
- Different styles and colors of chain,
- Rhinestone chain,
- Pear-shaped cabochons,
- Ultra Suede leftovers you can use for coloring the wings.
How to make your dragonfly?
Tutorial
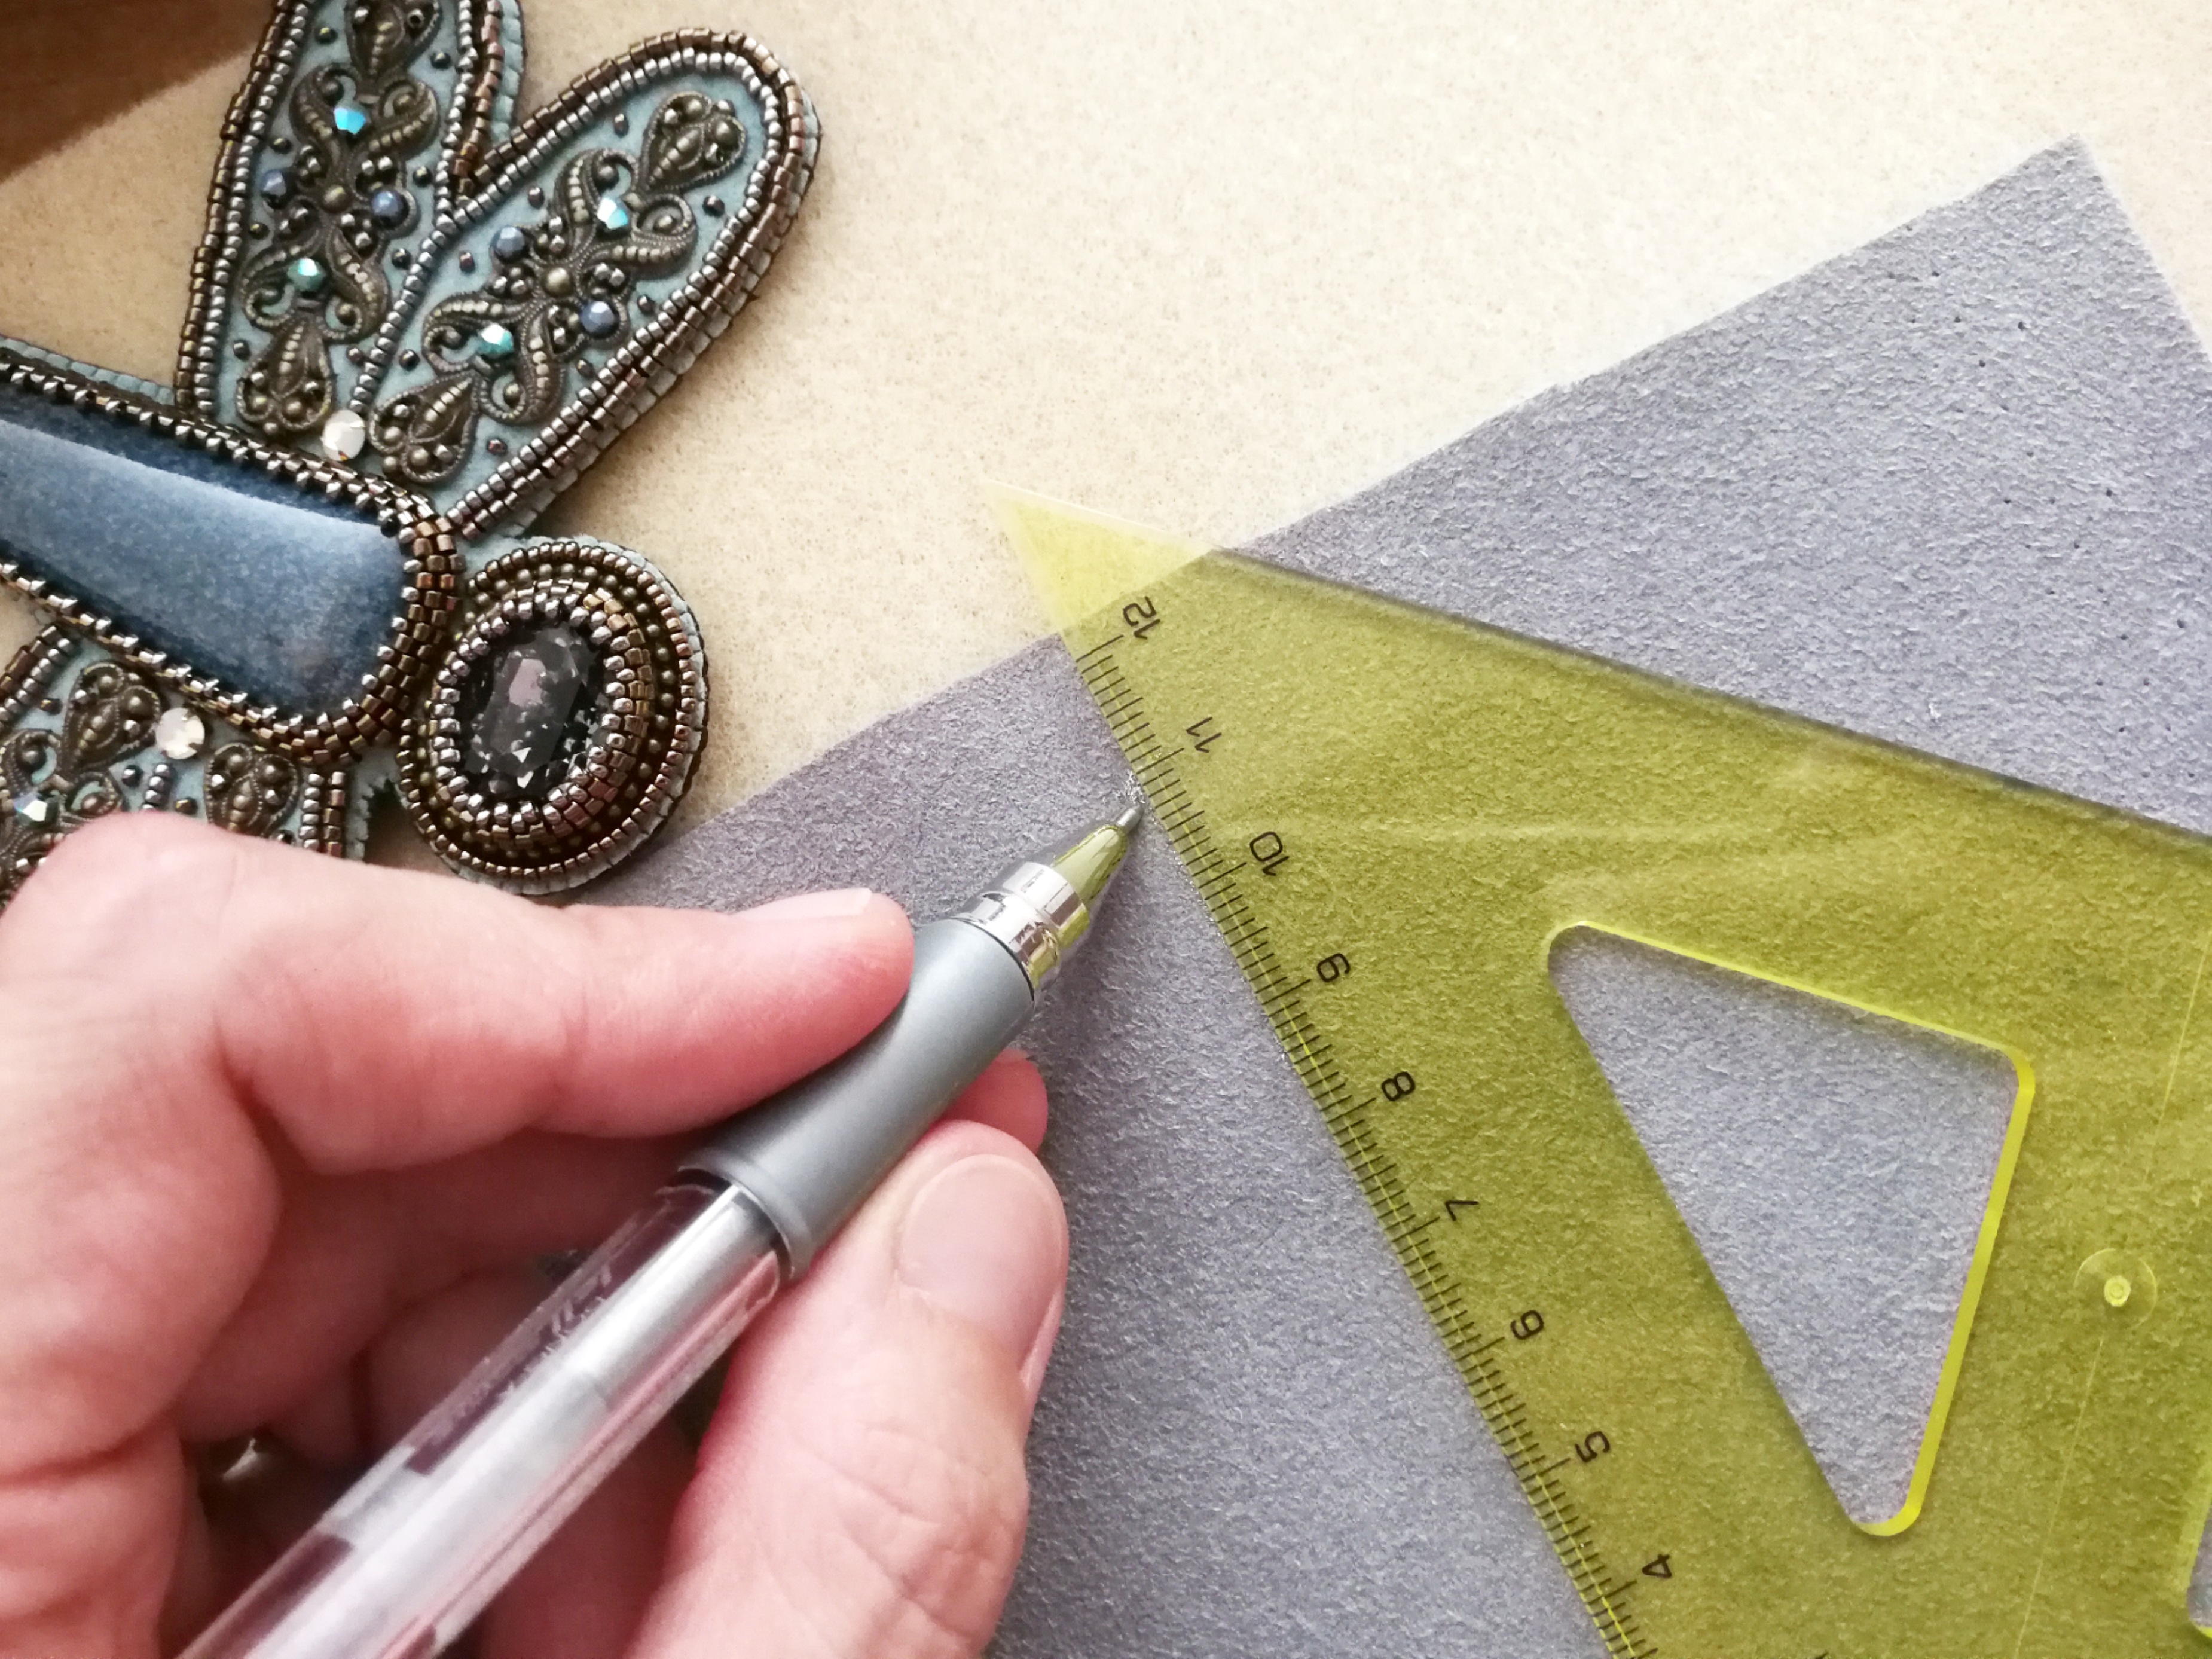
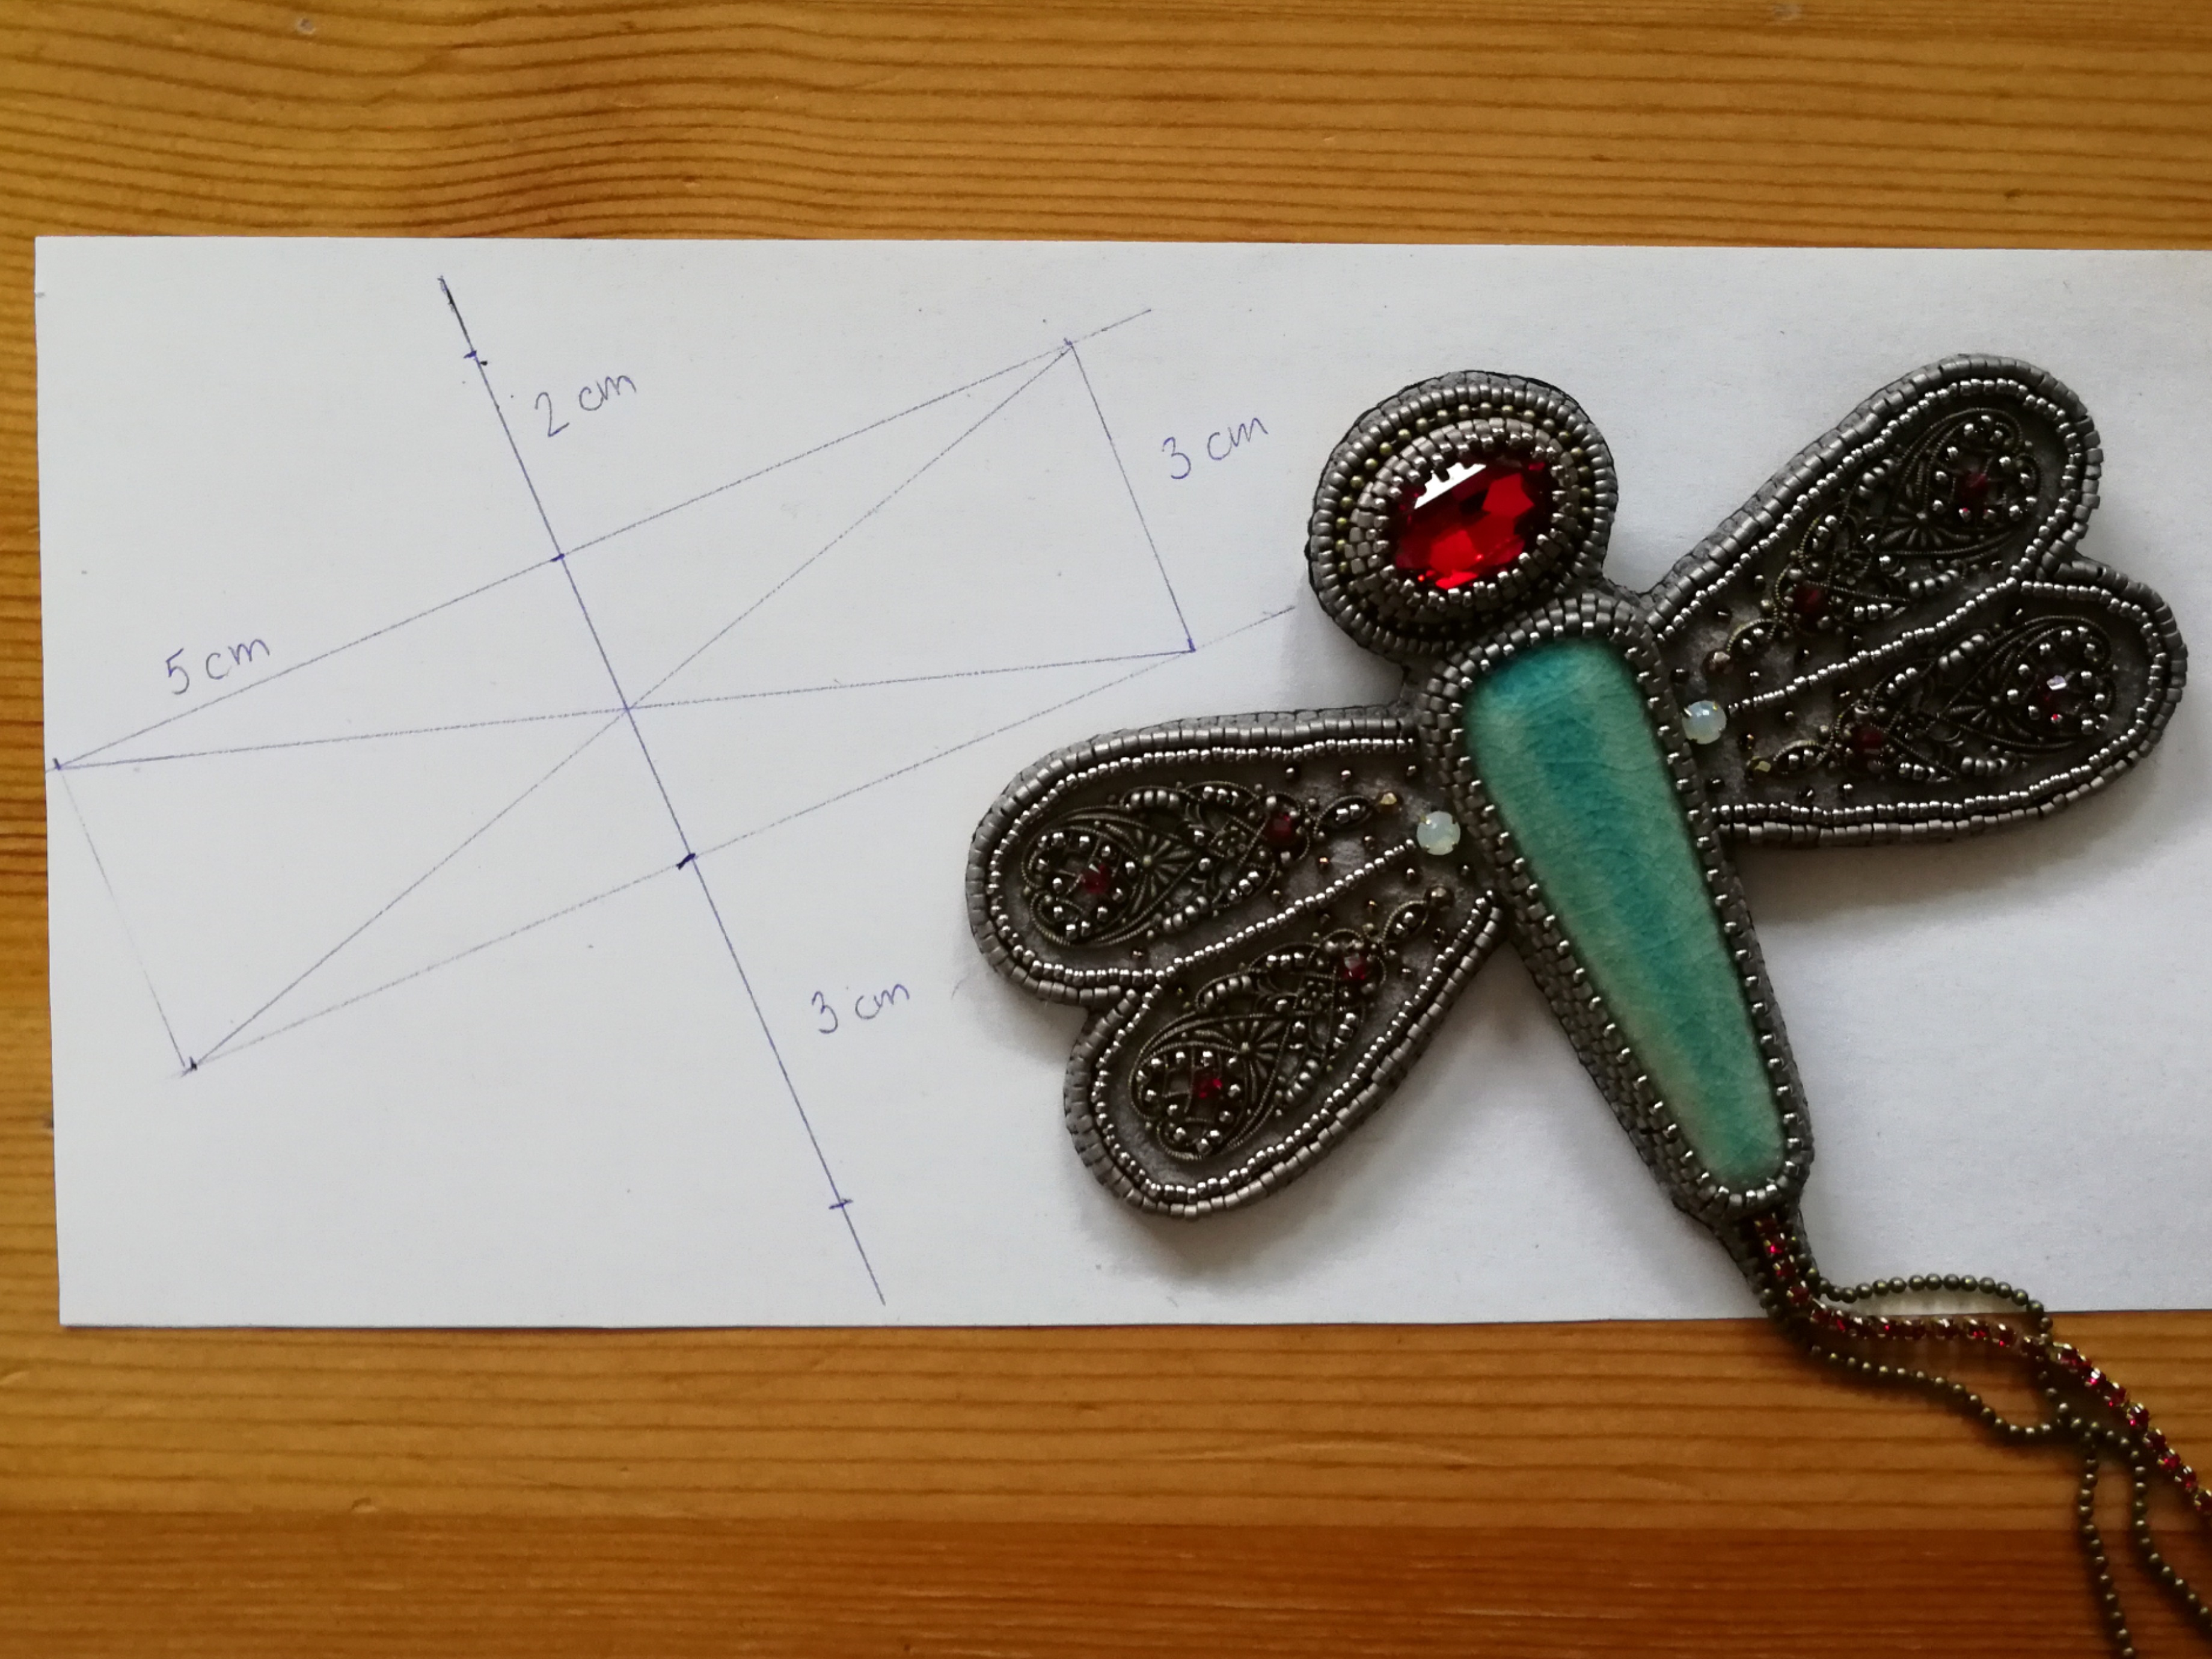
1. Draw your lines in case you like symmetry. The dragonfly’s body can be divided into sections – the head, the upper part of the trapezoid with wings, and the bottom, 2-3-3cm. The final jewel is up to 9.5cm tall and up to 12cm wide – the width depends on the filigrees or other types of components you will choose for wings.
Here is a sample of the usual size of Ultra Suede you can get in the Beadingschool webshop – 10x23cm. I cut it from a piece of paper for better contrast.
Since I use a silver-colored gel pen to draw my lines on Ultra Suede, I made a sample drawn with a pen on the paper. Please note you may need to adjust the part for the wings to the actual size of your components. These may vary, my drawing is just an example!
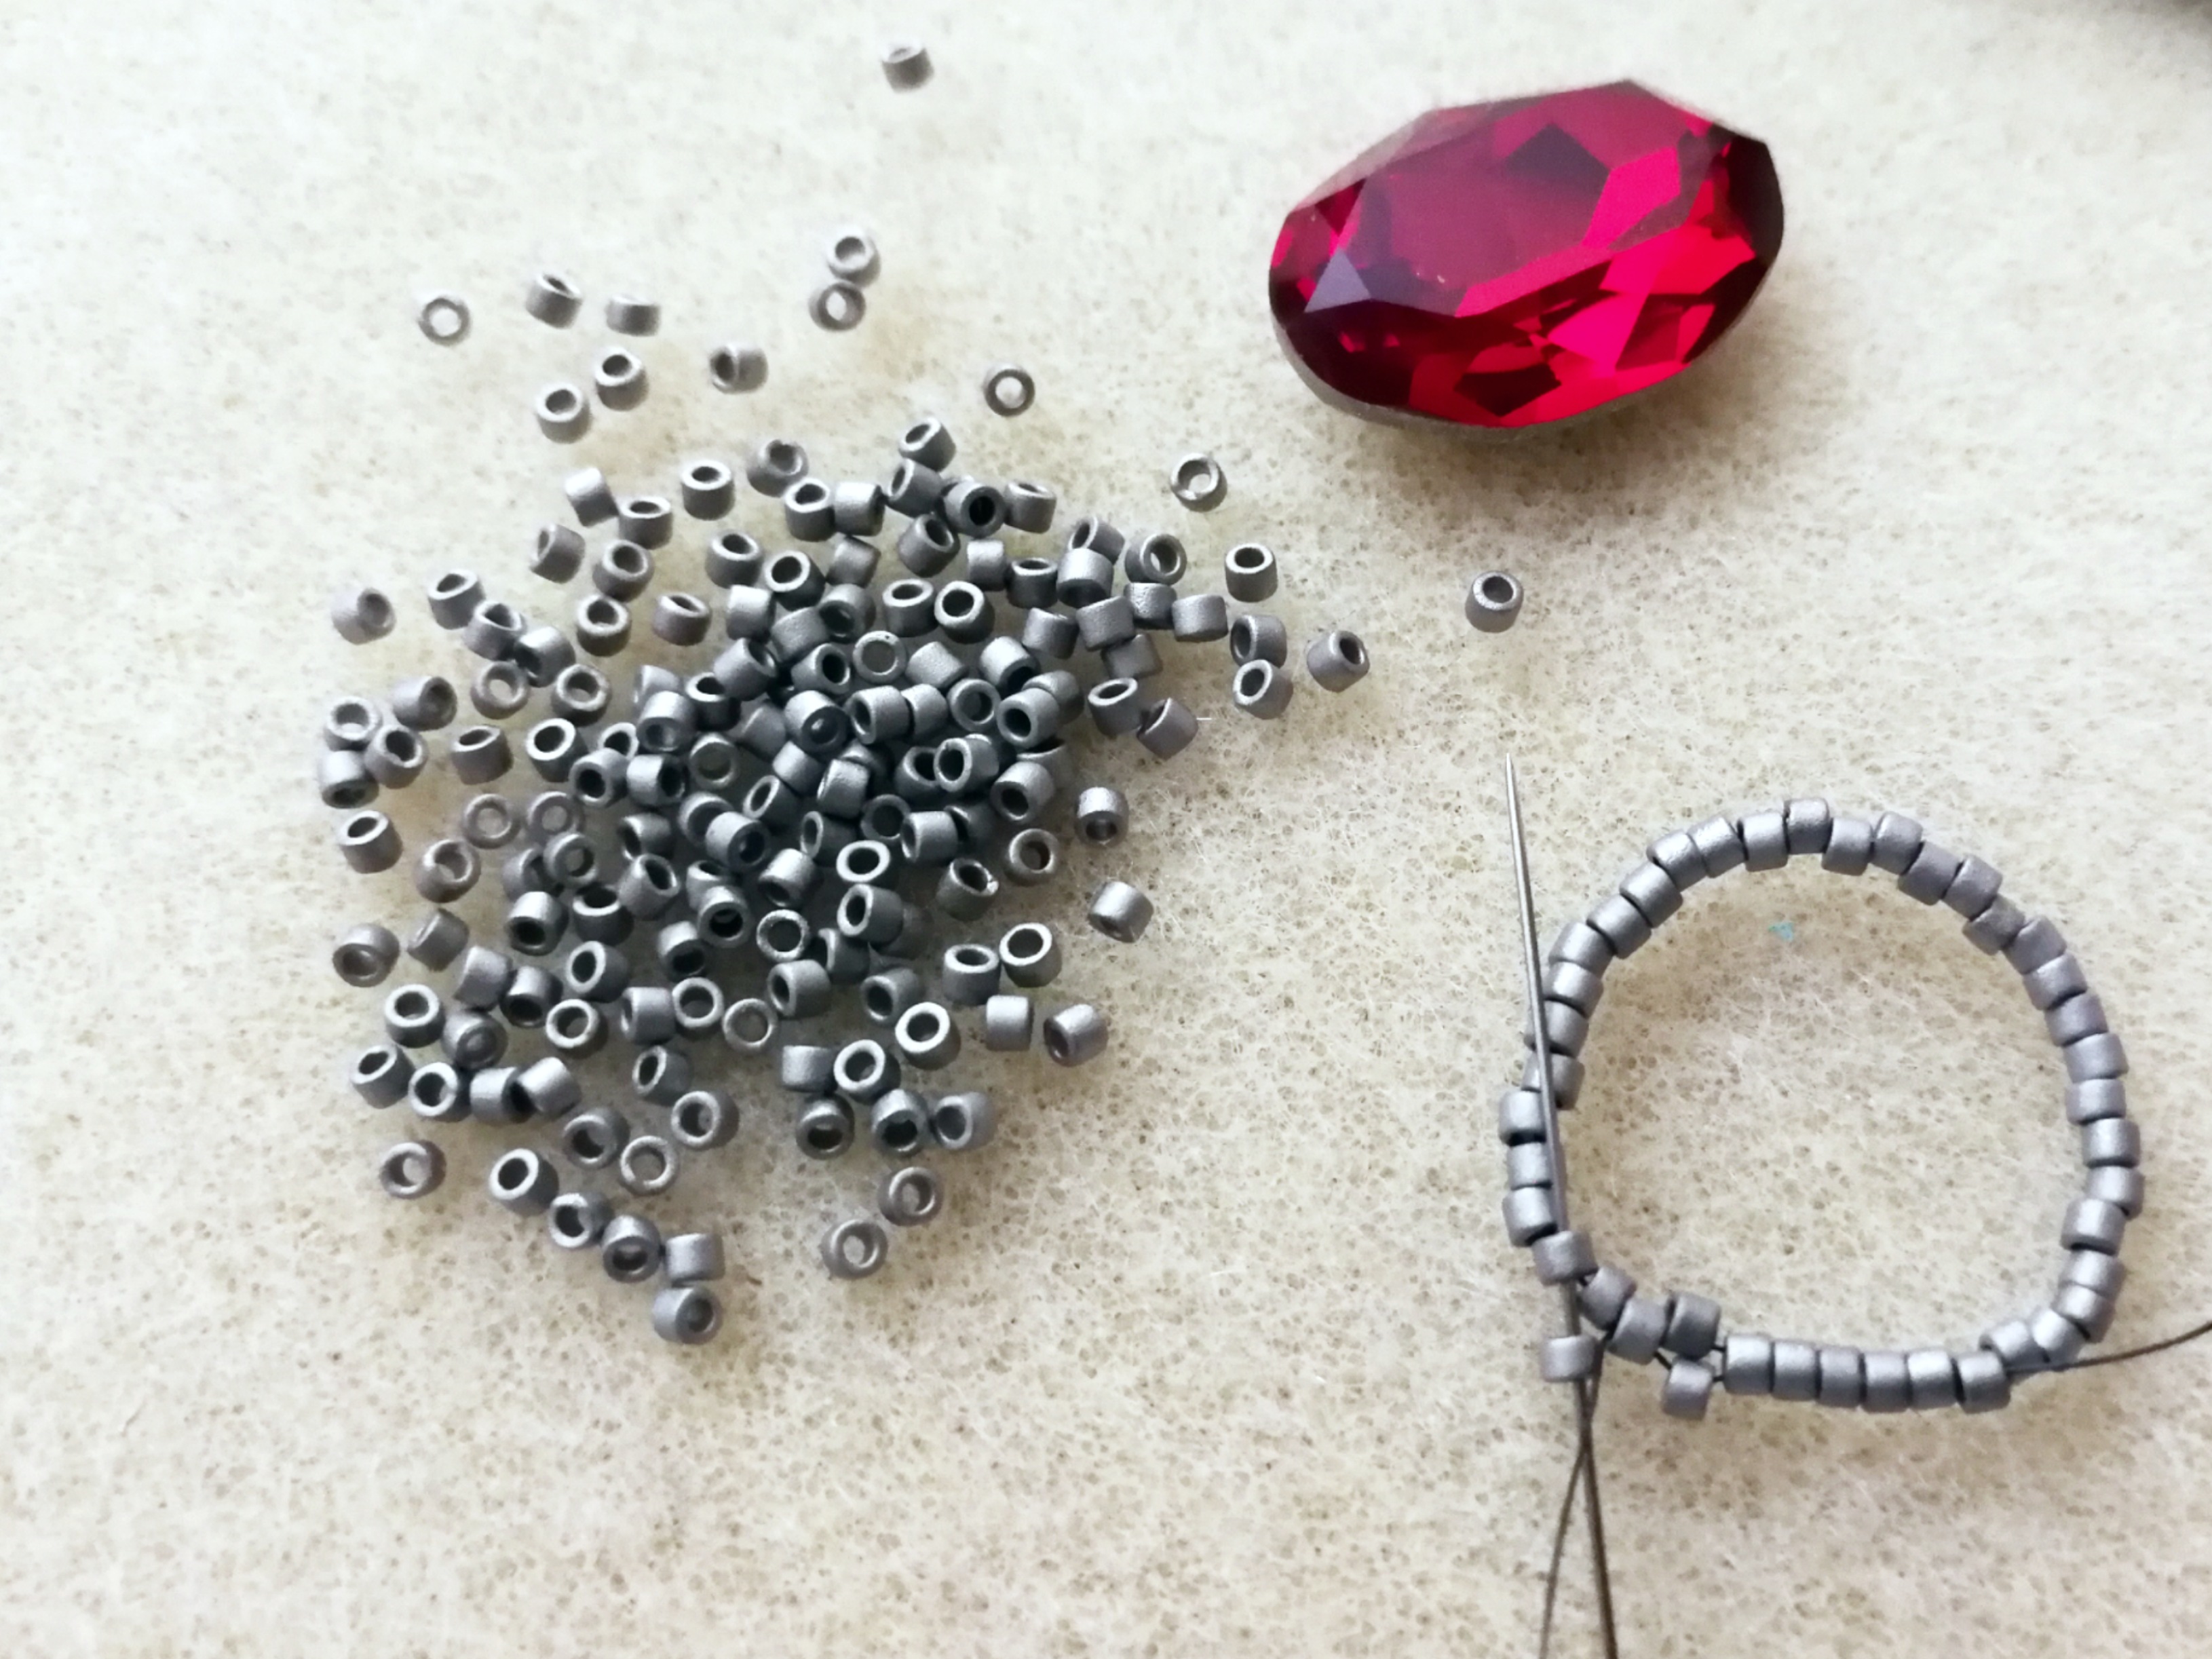
2. Bezel the oval cabochon using peyote stitch. I picked 40 pieces of Miyuki Delica 11/0. Add one more row of Delica beads and 2 rows of 15/0. Place the cabochon and add 2 rows of 15/0 on the backside.
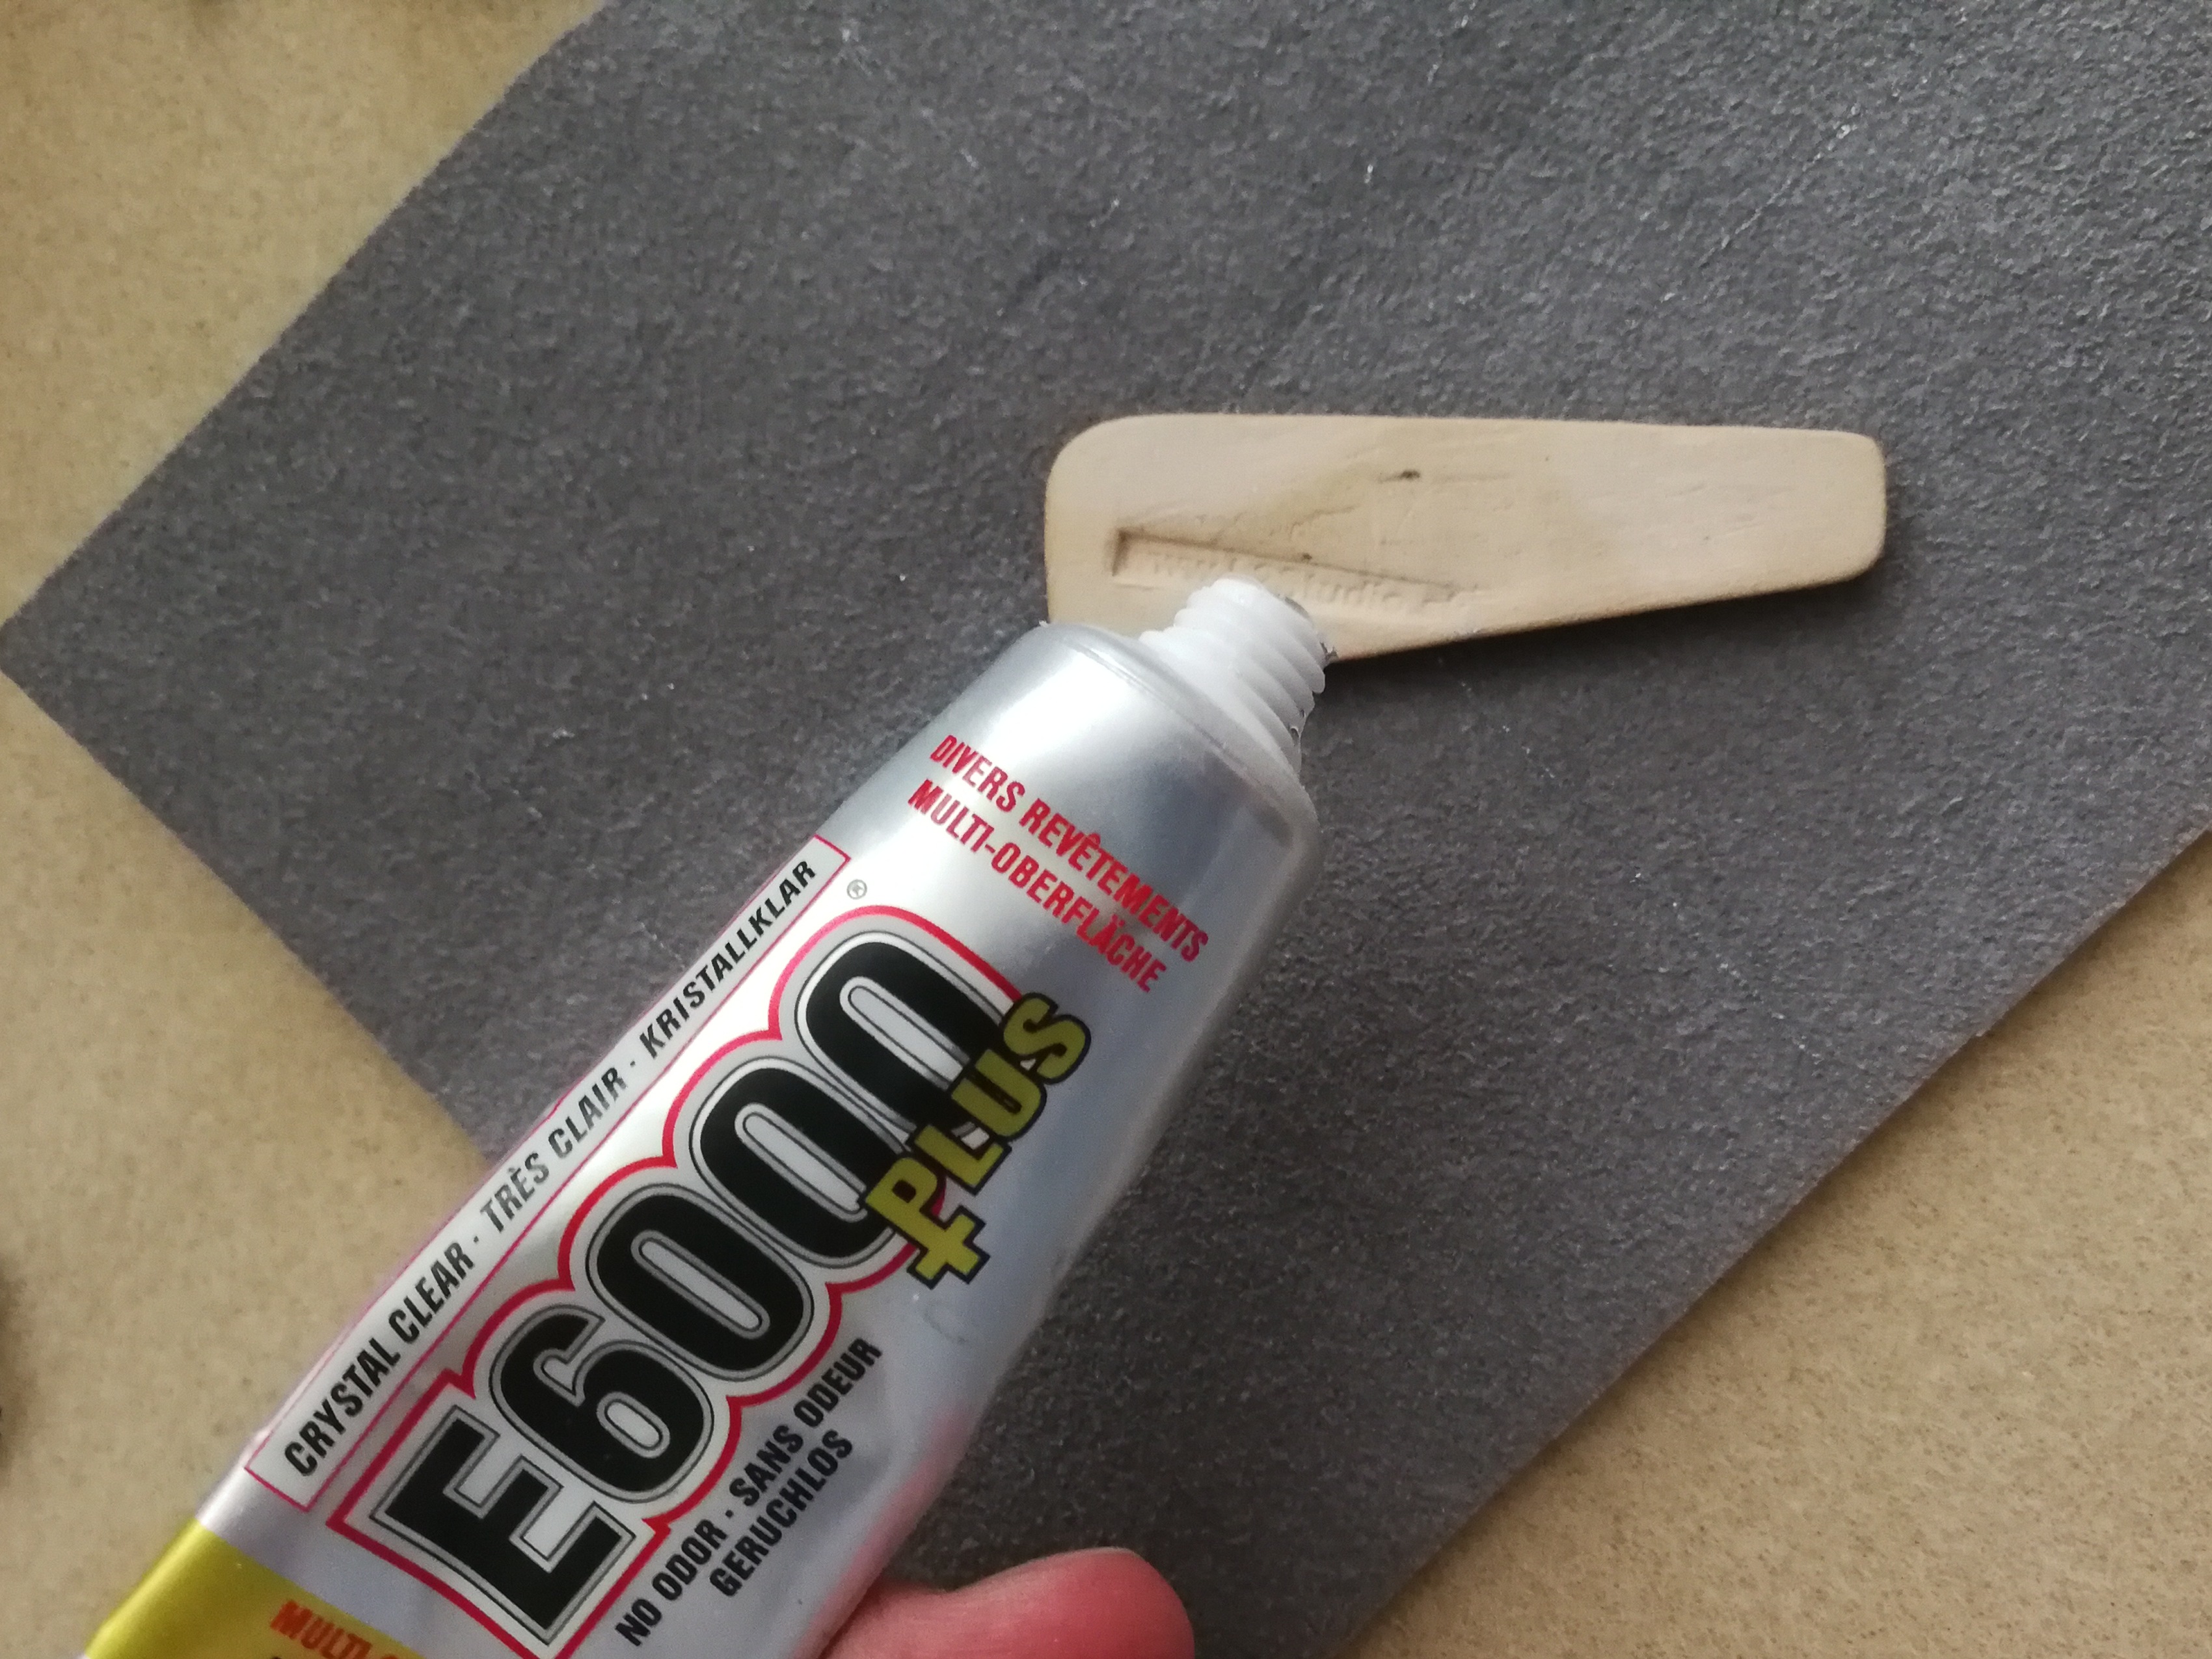
3. Glue your cabochon using E6000 to a piece of Ultra Suede.
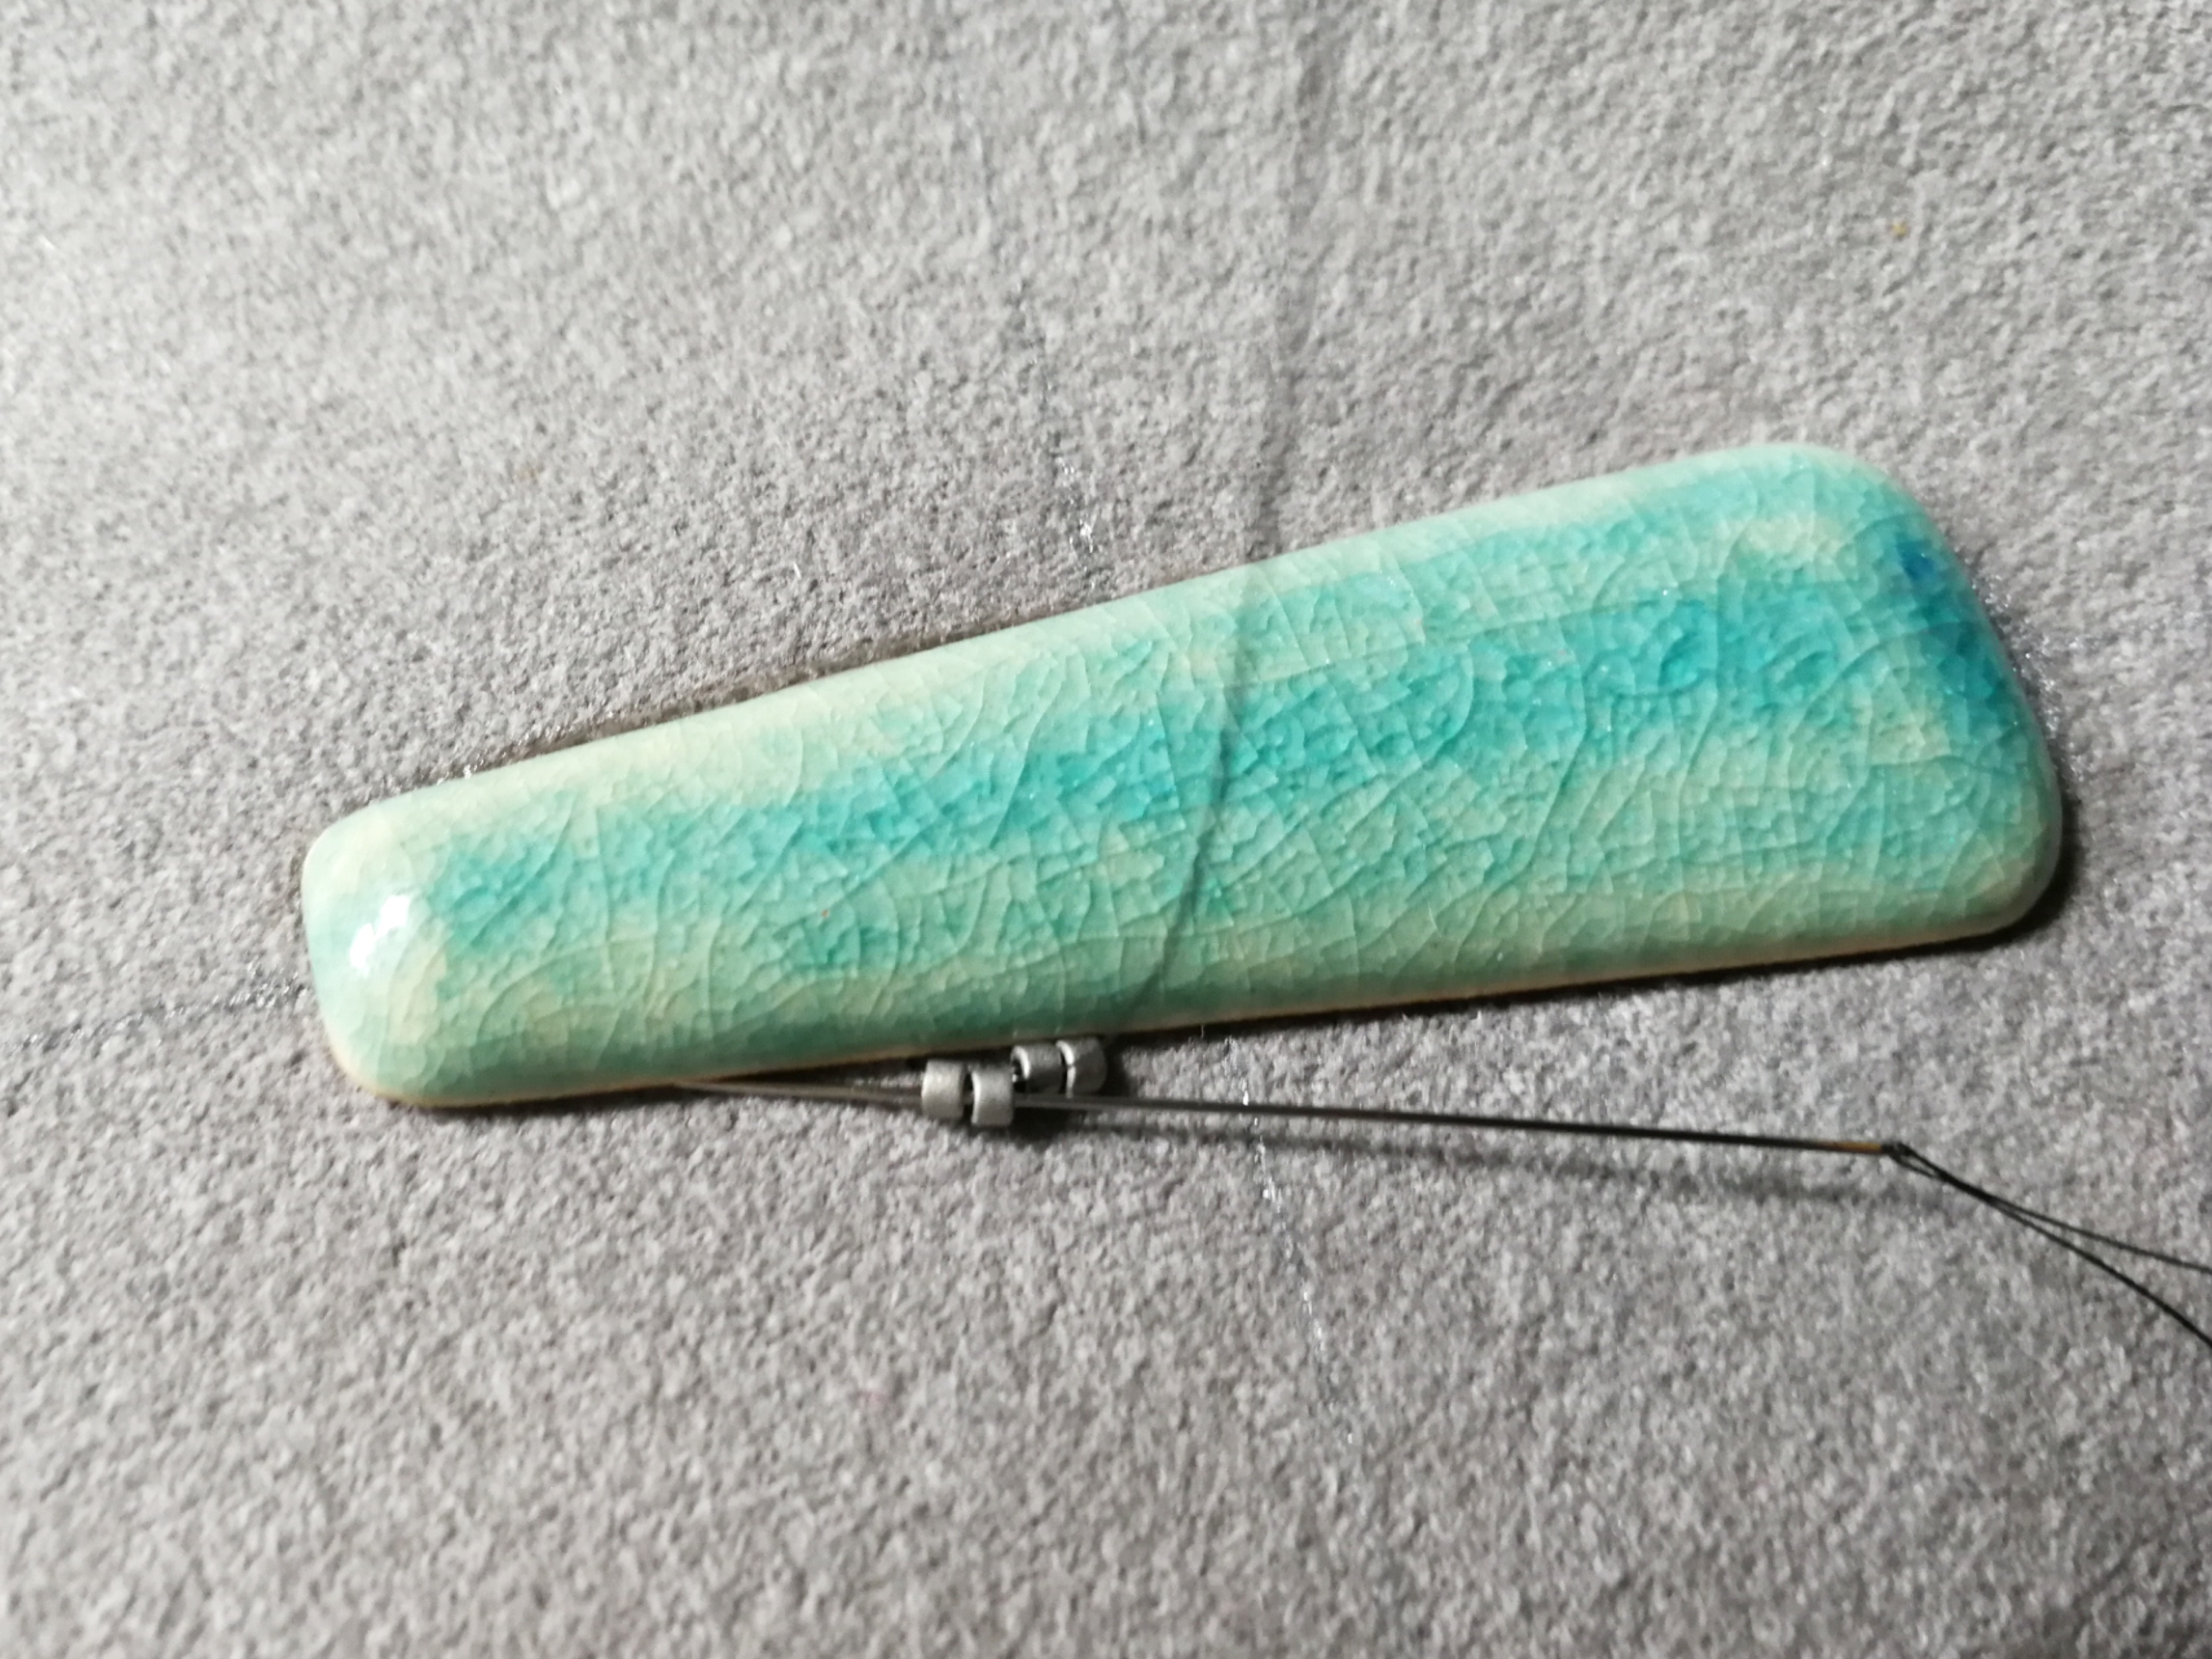
4. Tie a knot on your Fireline and stitch from back to front. Add 2 pieces 11/0 Delica beads using backstitch (check Erika’s video tutorials on the Traveller pendant for guidance), going all around the cabochon in this way. Finish with an even number of Delica beads. This is important so you can continue with the peyote stitch in the next steps.
5. Use peyote stitch, adding one 11/0 Delica bead to every second bead from the first row. When you finish this step, exit the first Delica bead as you see in the picture, so you can start a new row. I added 1 more row of Delica beads in this way and one row of 15/0 round seed beads. The number of rows depends on the cabochon you have. They are handmade, sometimes their thickness or size may vary because of the clay/porcelain or glaze that was used.
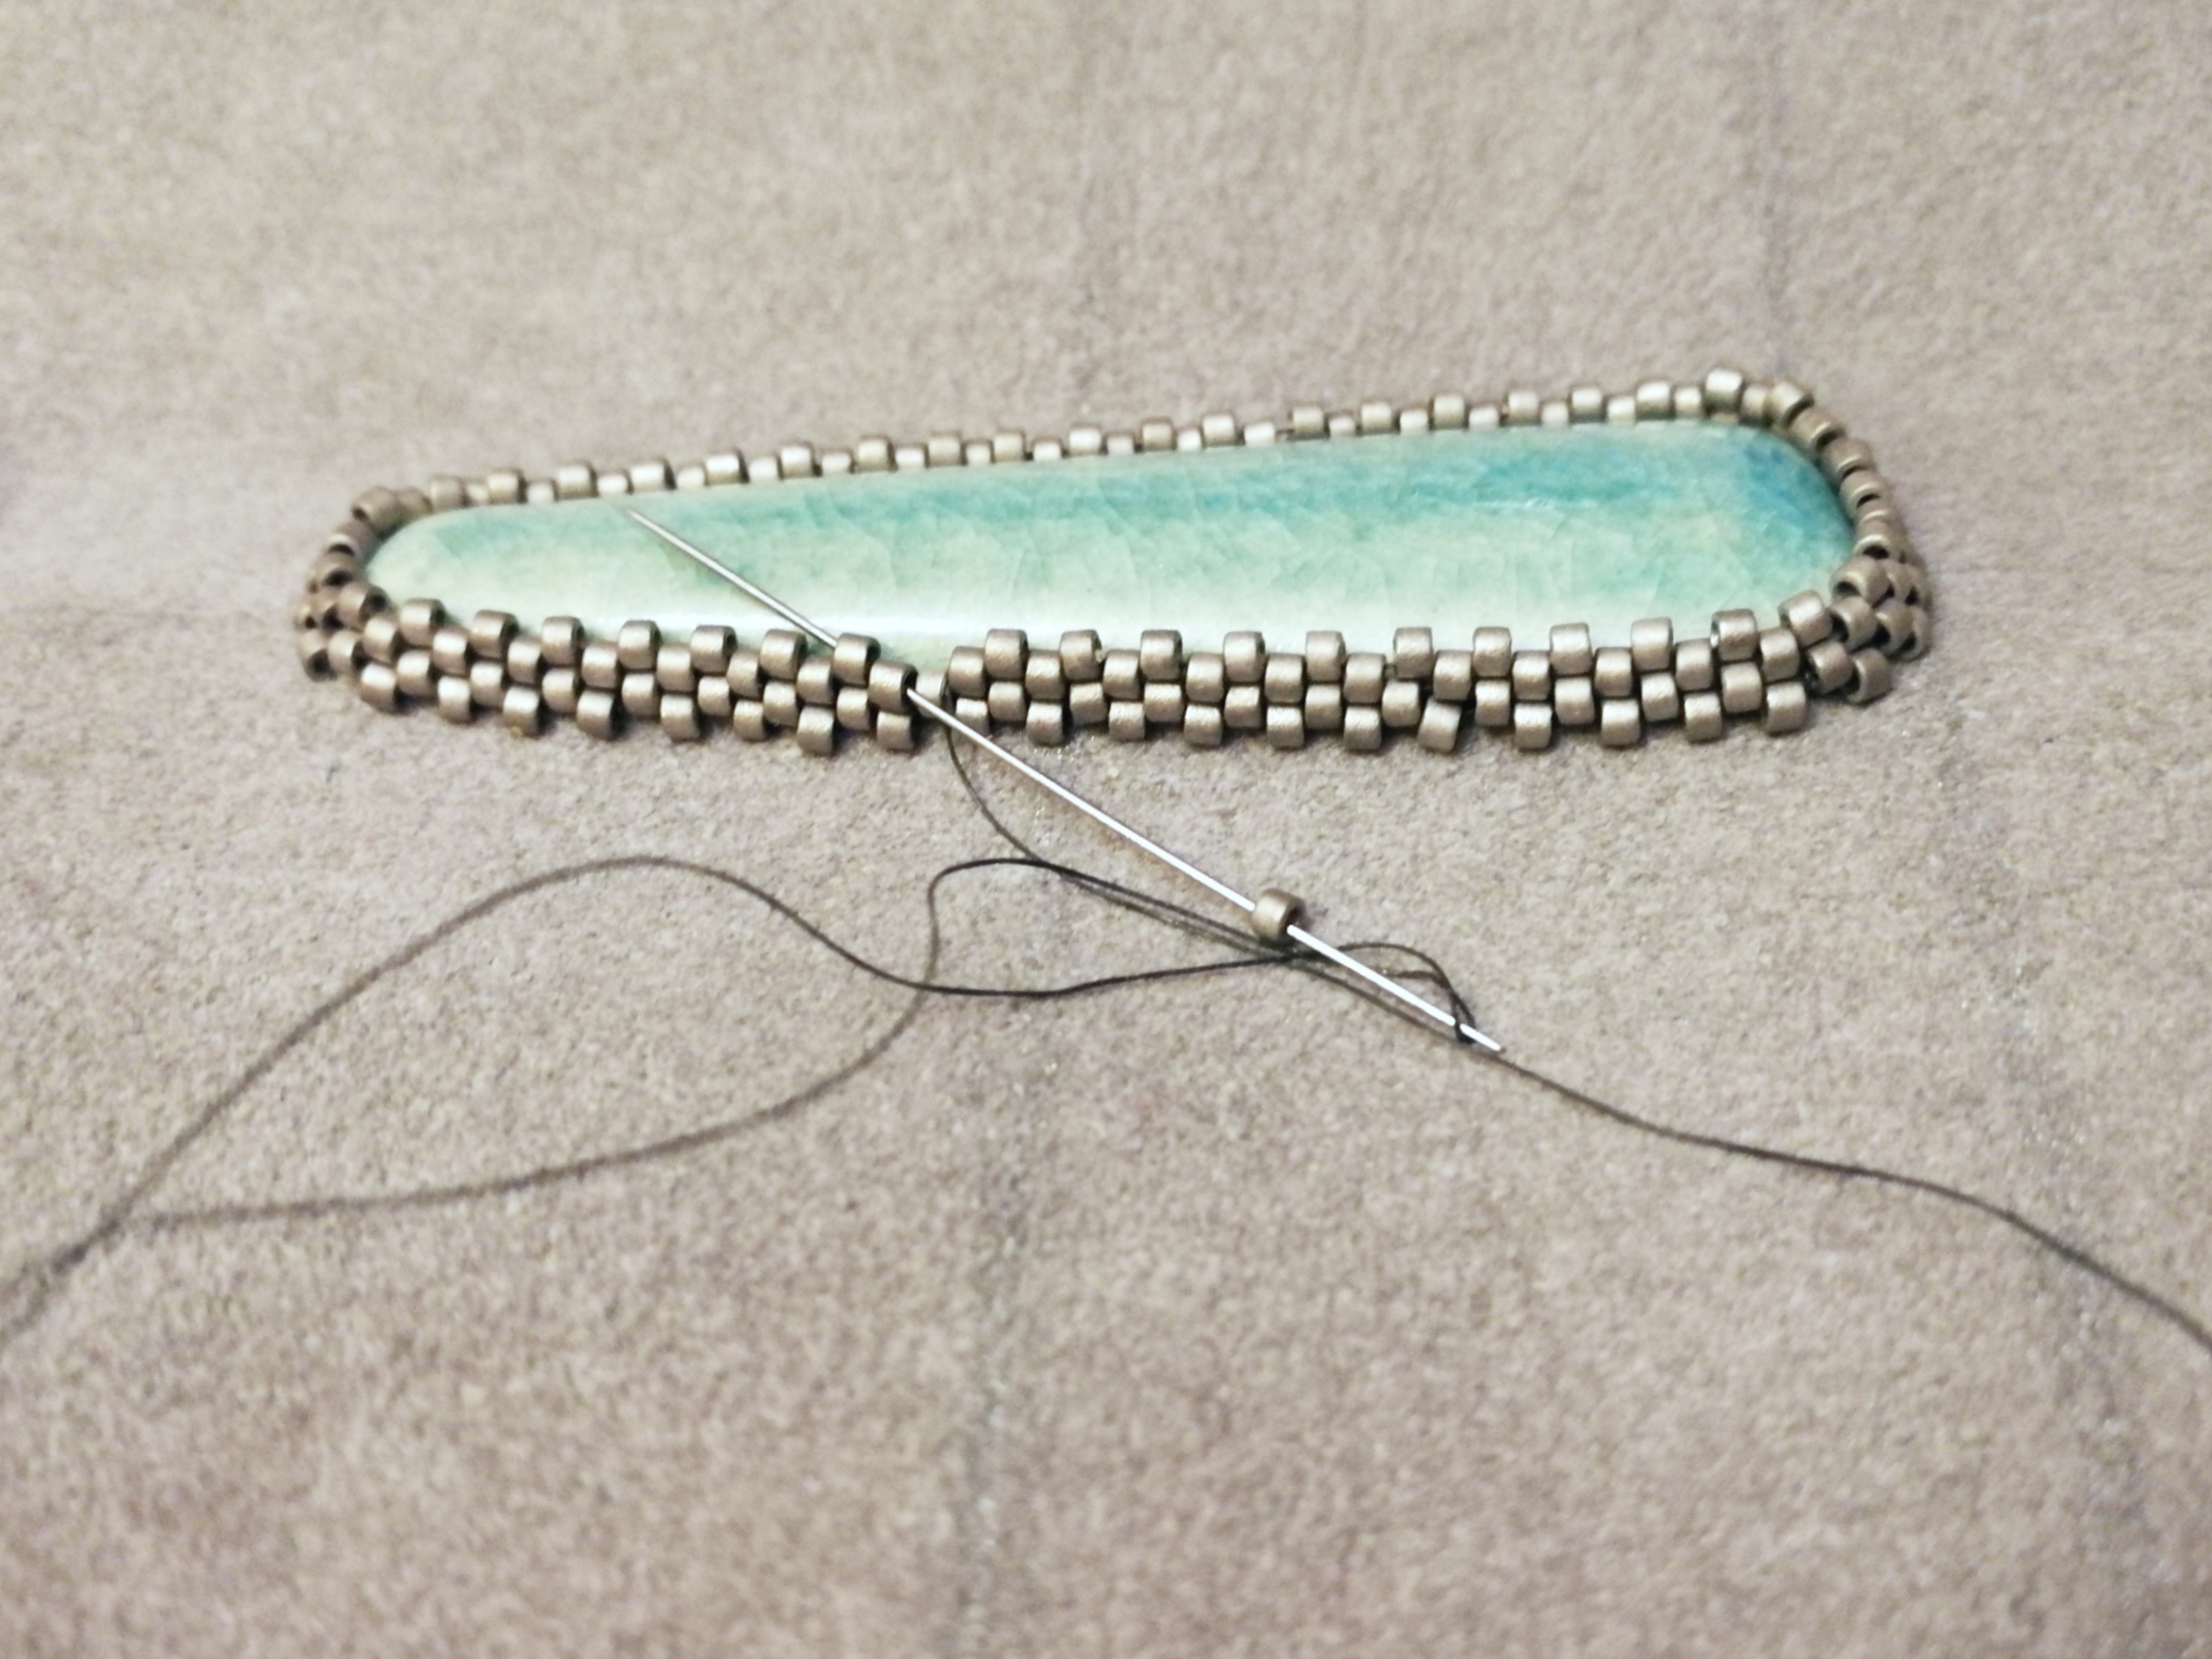
6. Attach the bezelled oval
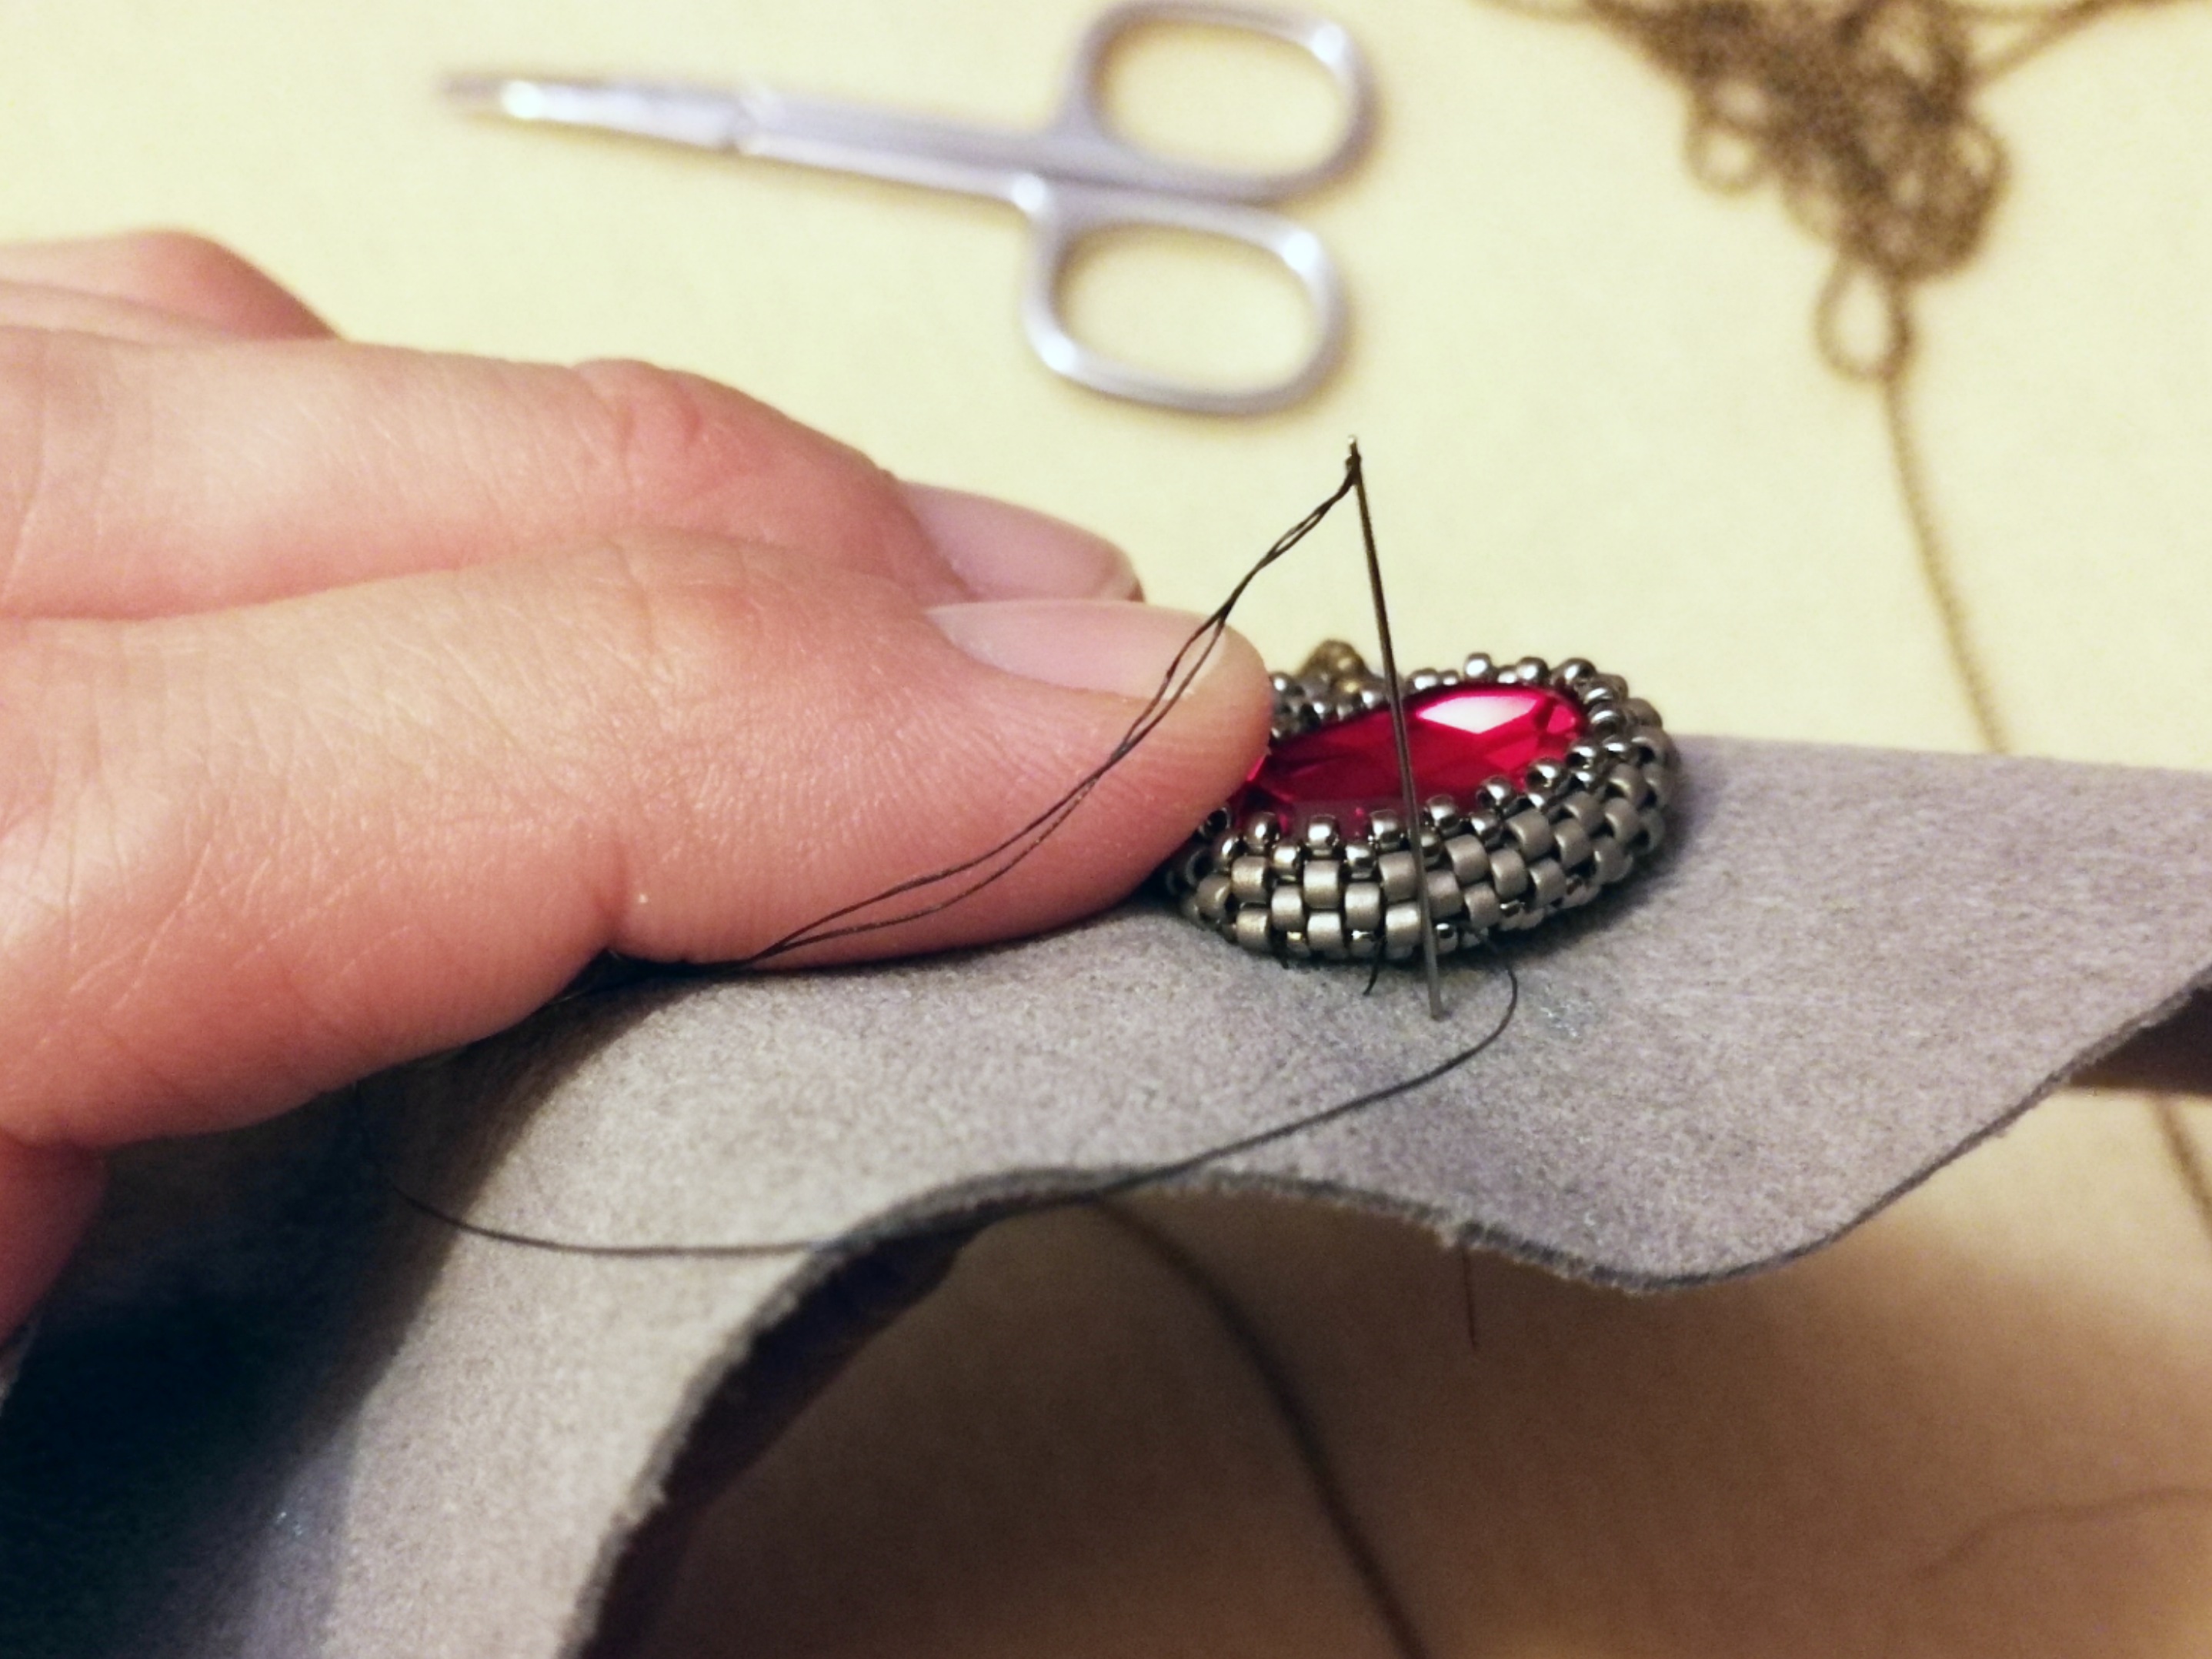
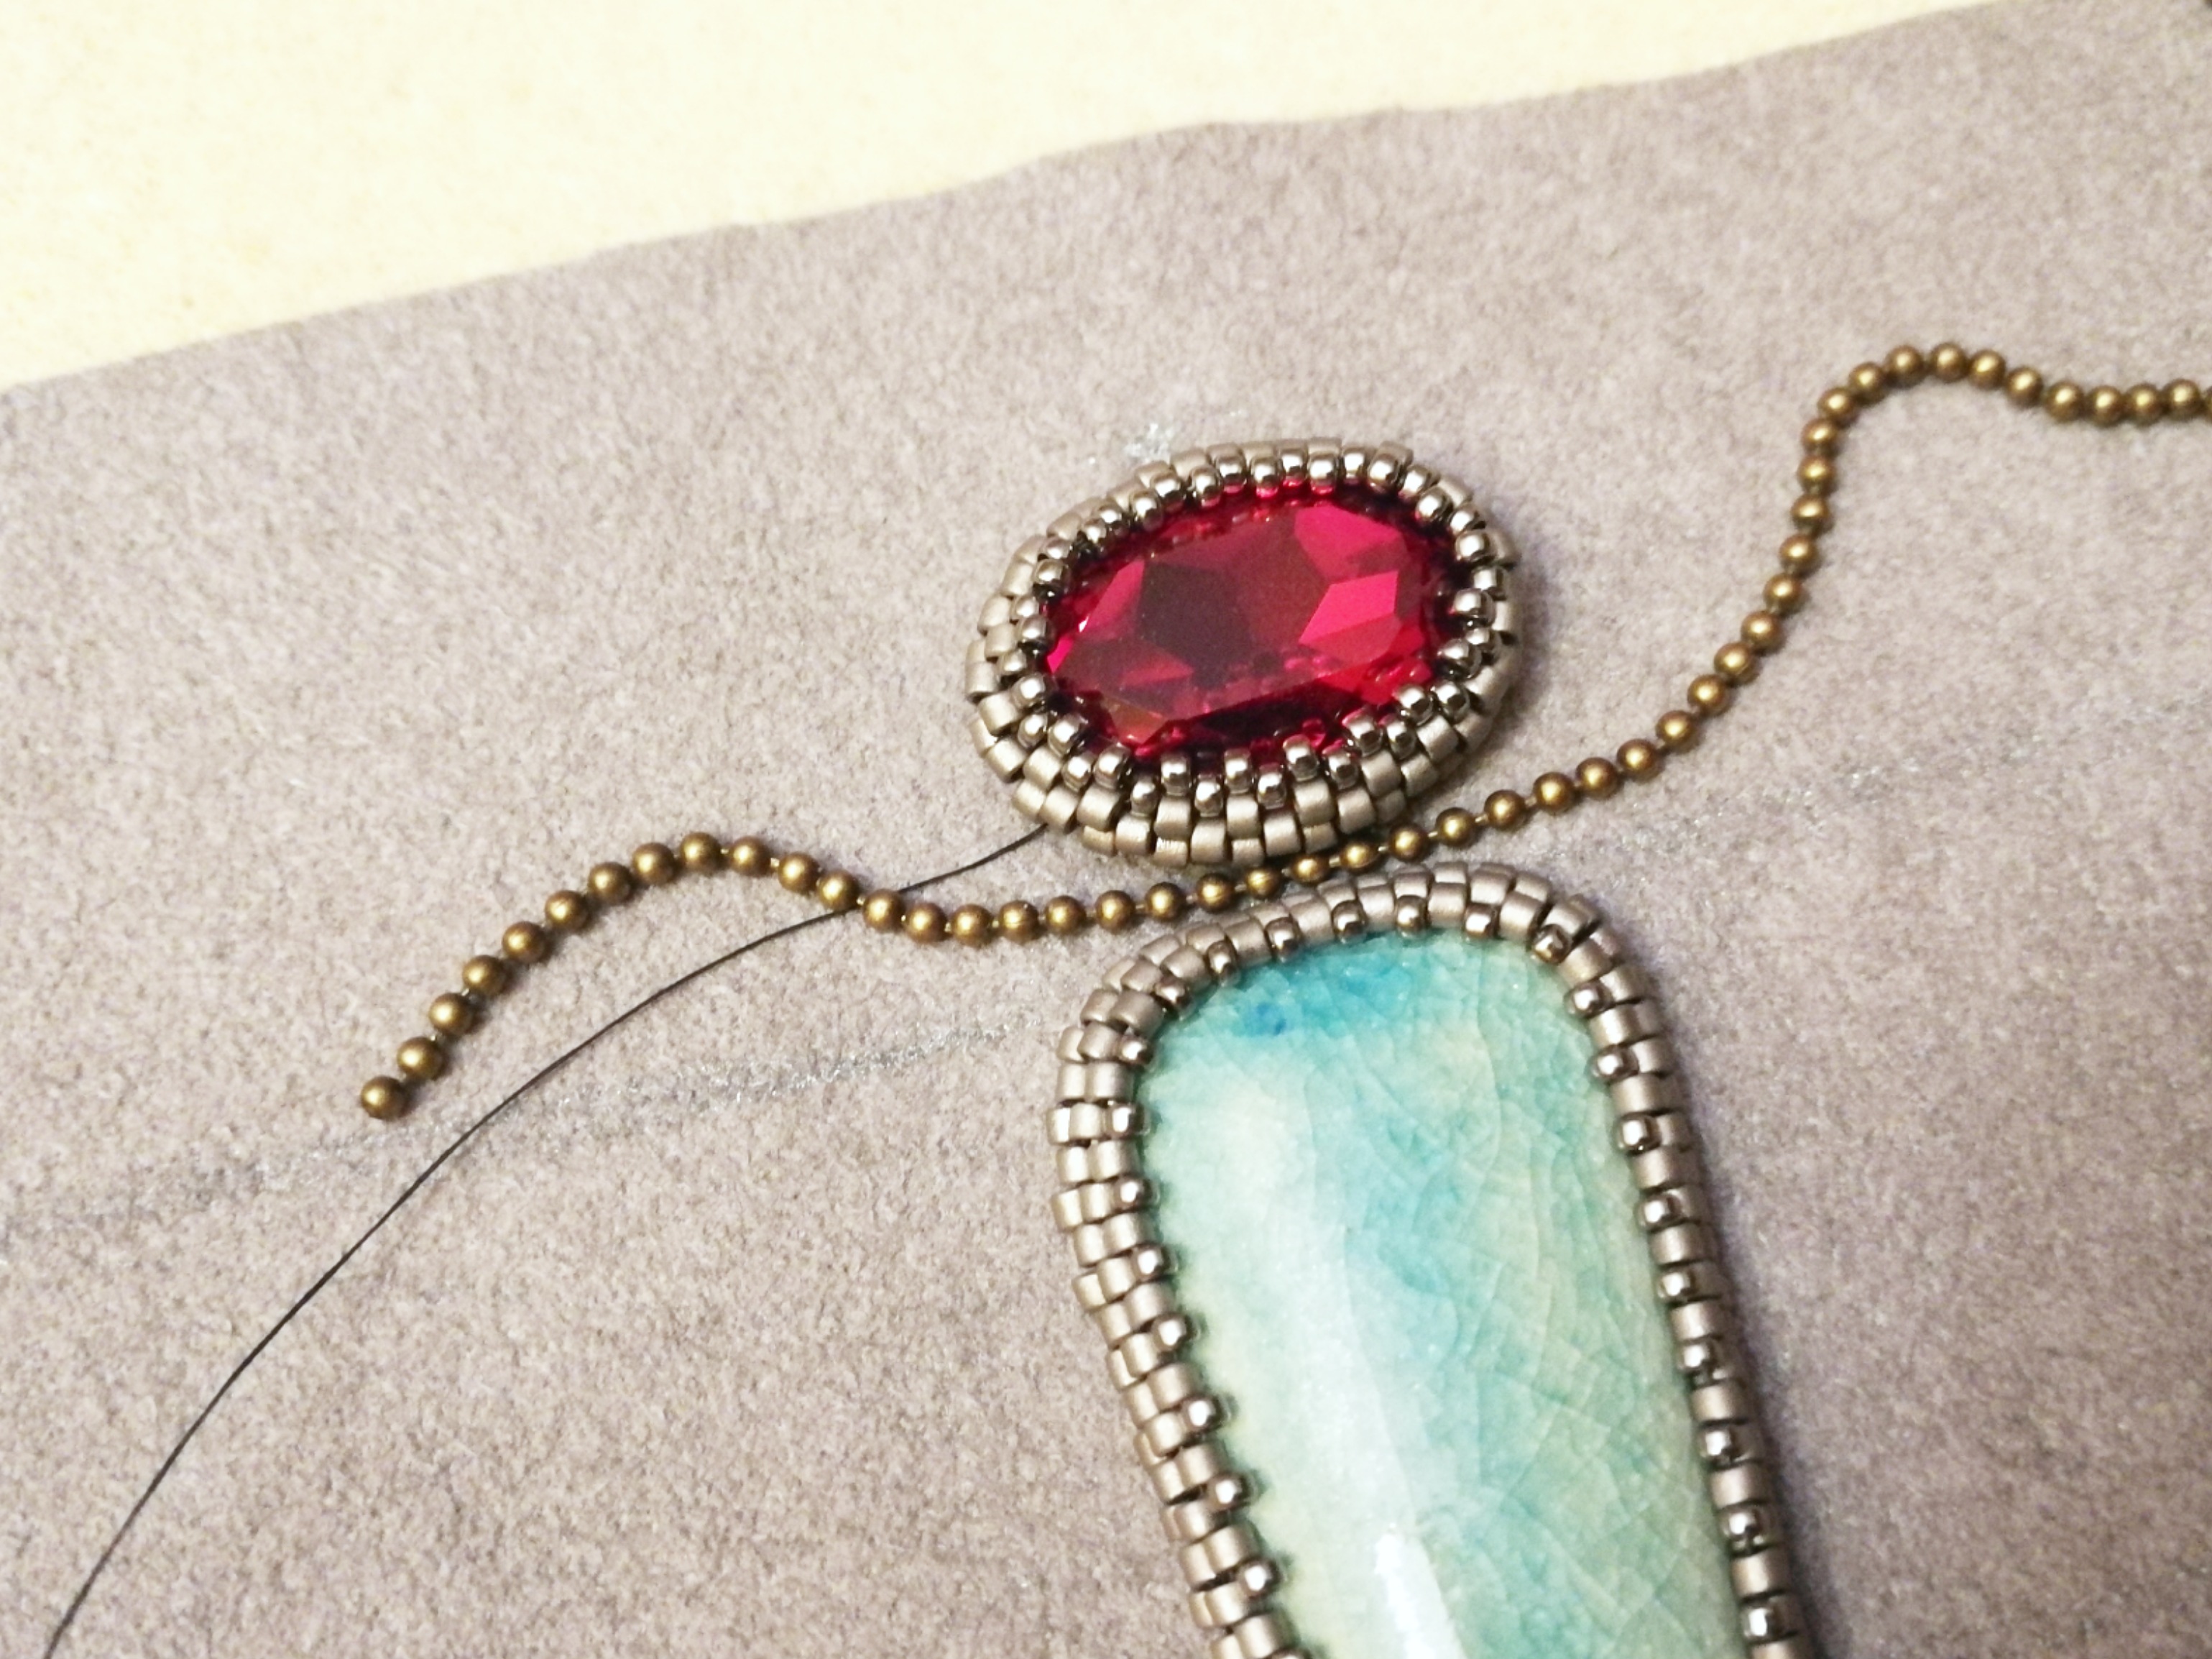
7. Add a ball chain all around the cabochon. Then add one more row of Miyuki seed beads 15/0 using a 4-bead backstitch. Pick new beads in pairs and then sew through them. The number of beads doesn’t need to be even at the end. When you finish your row, you may need to repeat the thread path through all newly added beads. It depends on the thread tension, stitches, beads you used. Tie a knot on the back of the foundation.
8. Position the filigrees to create wings, use the lines on the foundation for keeping symmetry. I sewed the rhinestones first and then filigrees, but this is up to you.
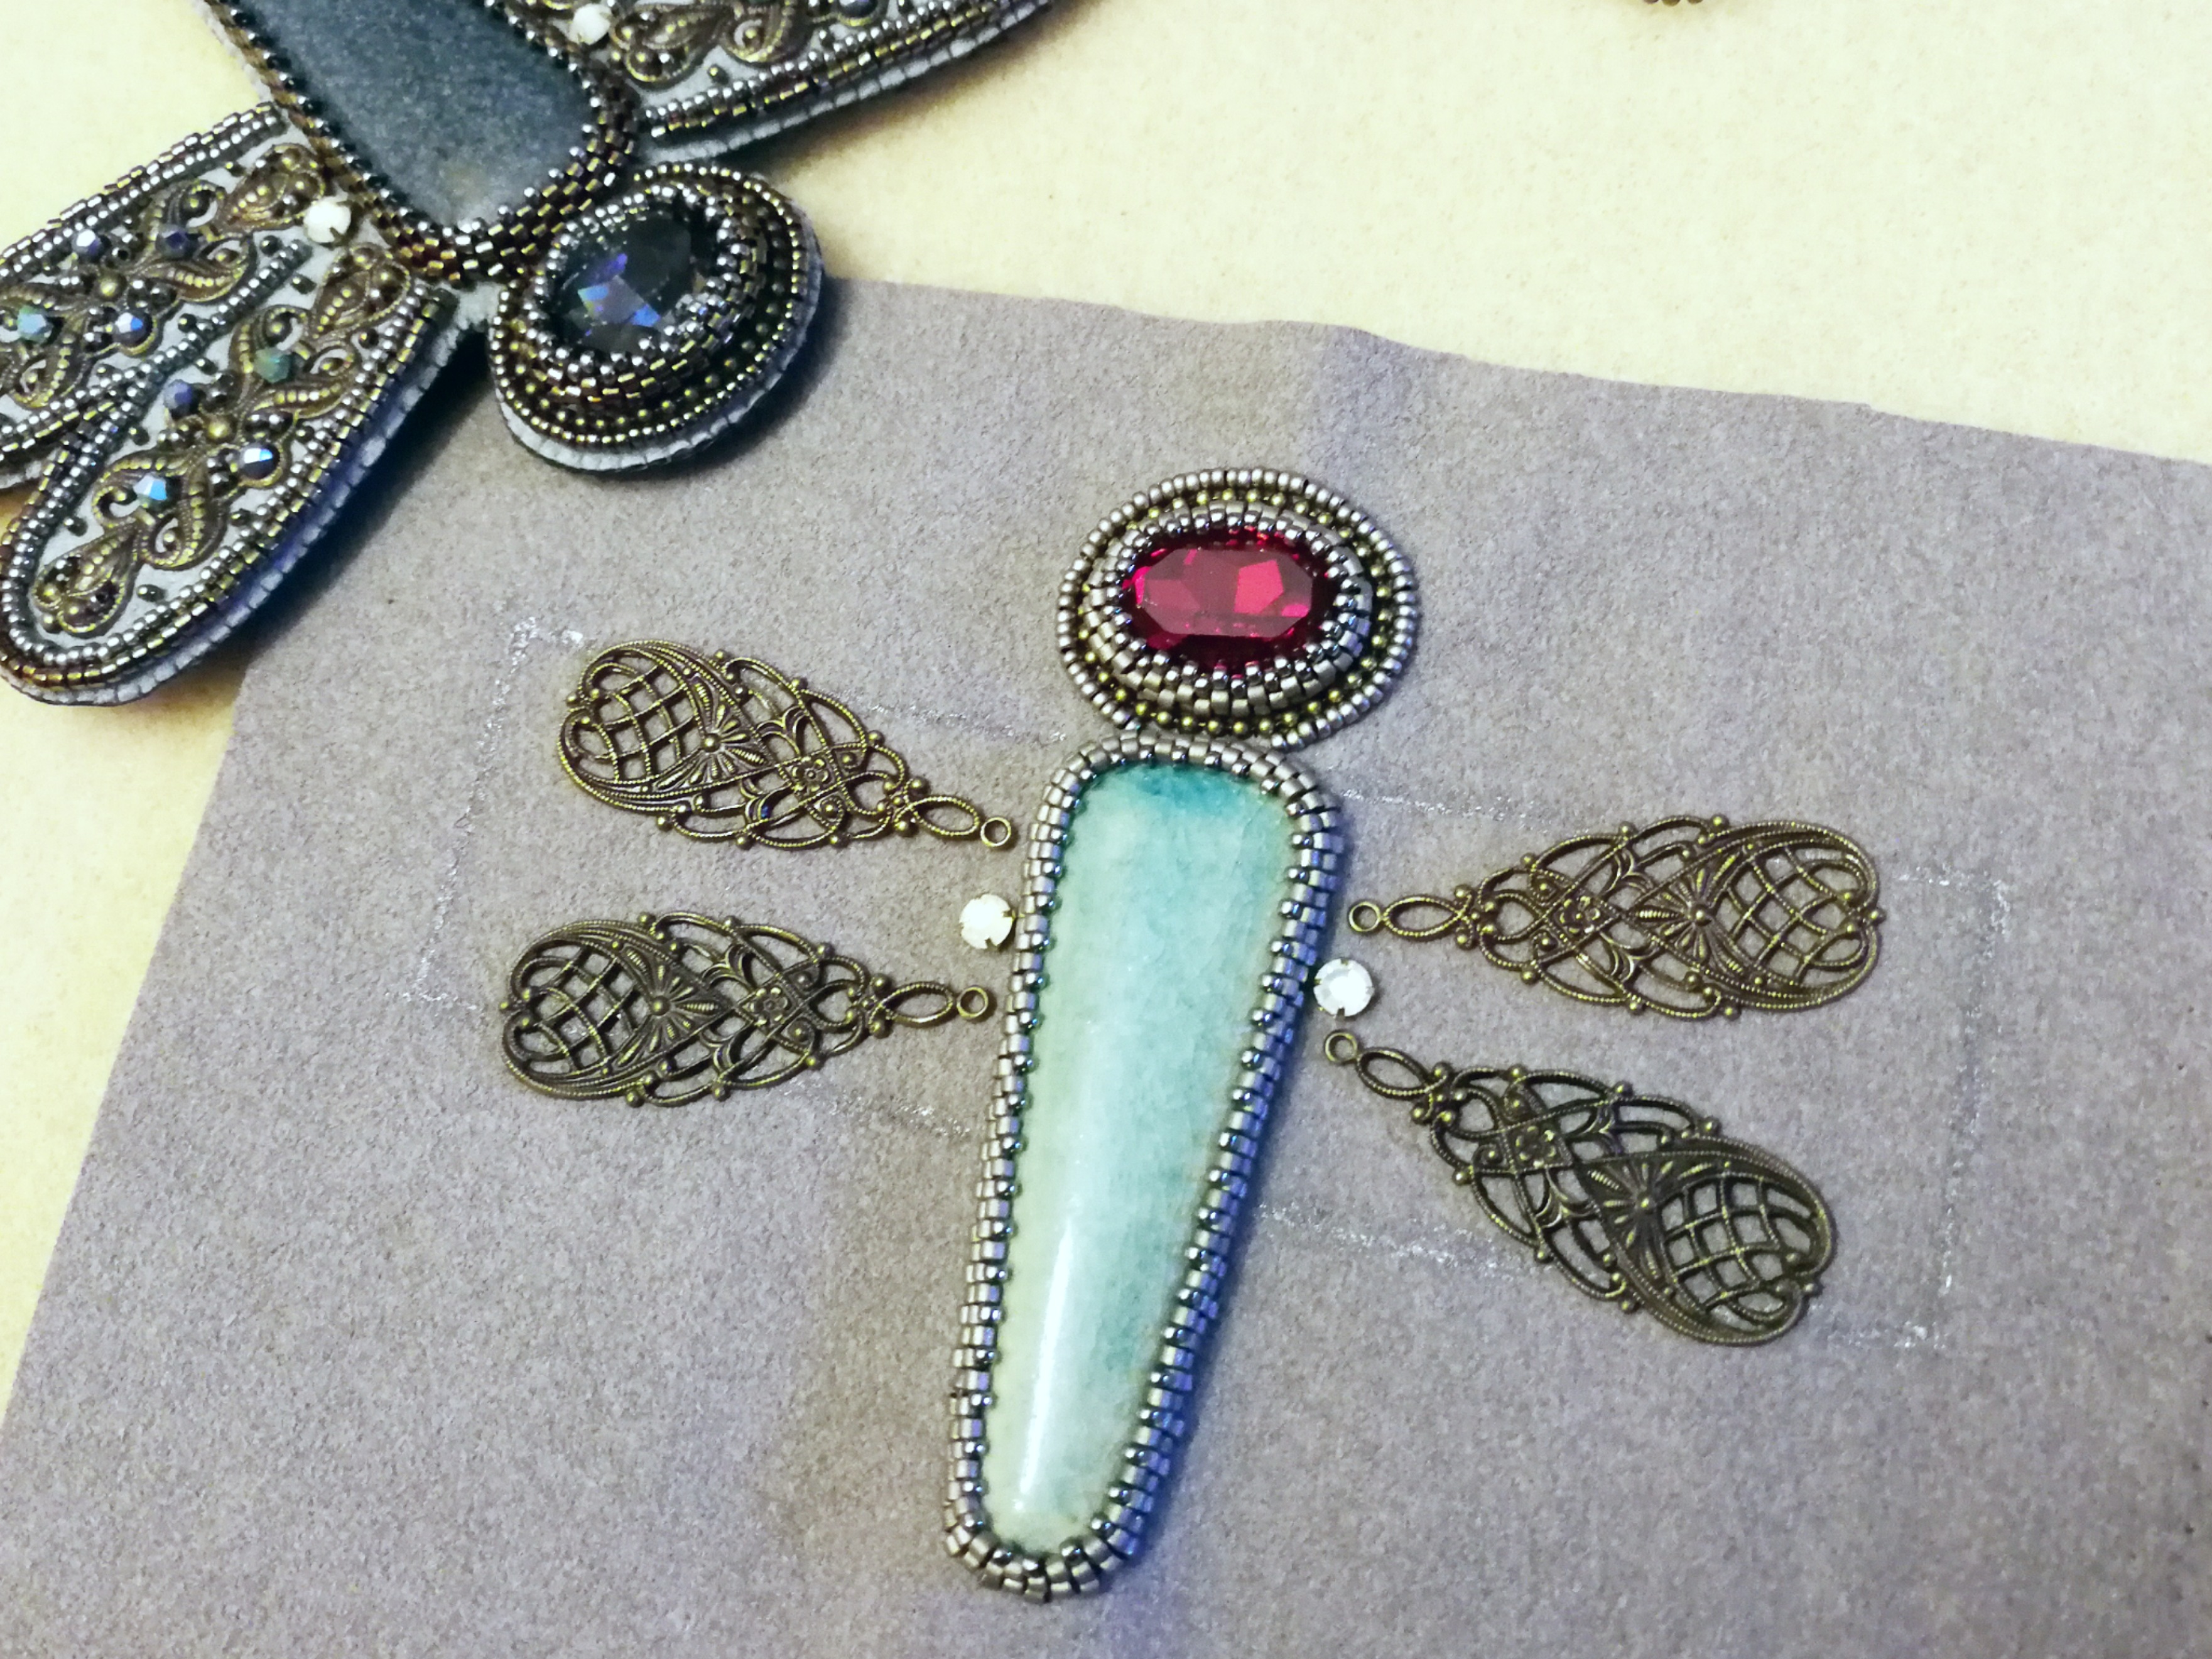
9. Draw lines around the filigrees and work 6 to 4-bead backstitch with Miyuki seed beads 15/0, and Delica 11/0 afterward.
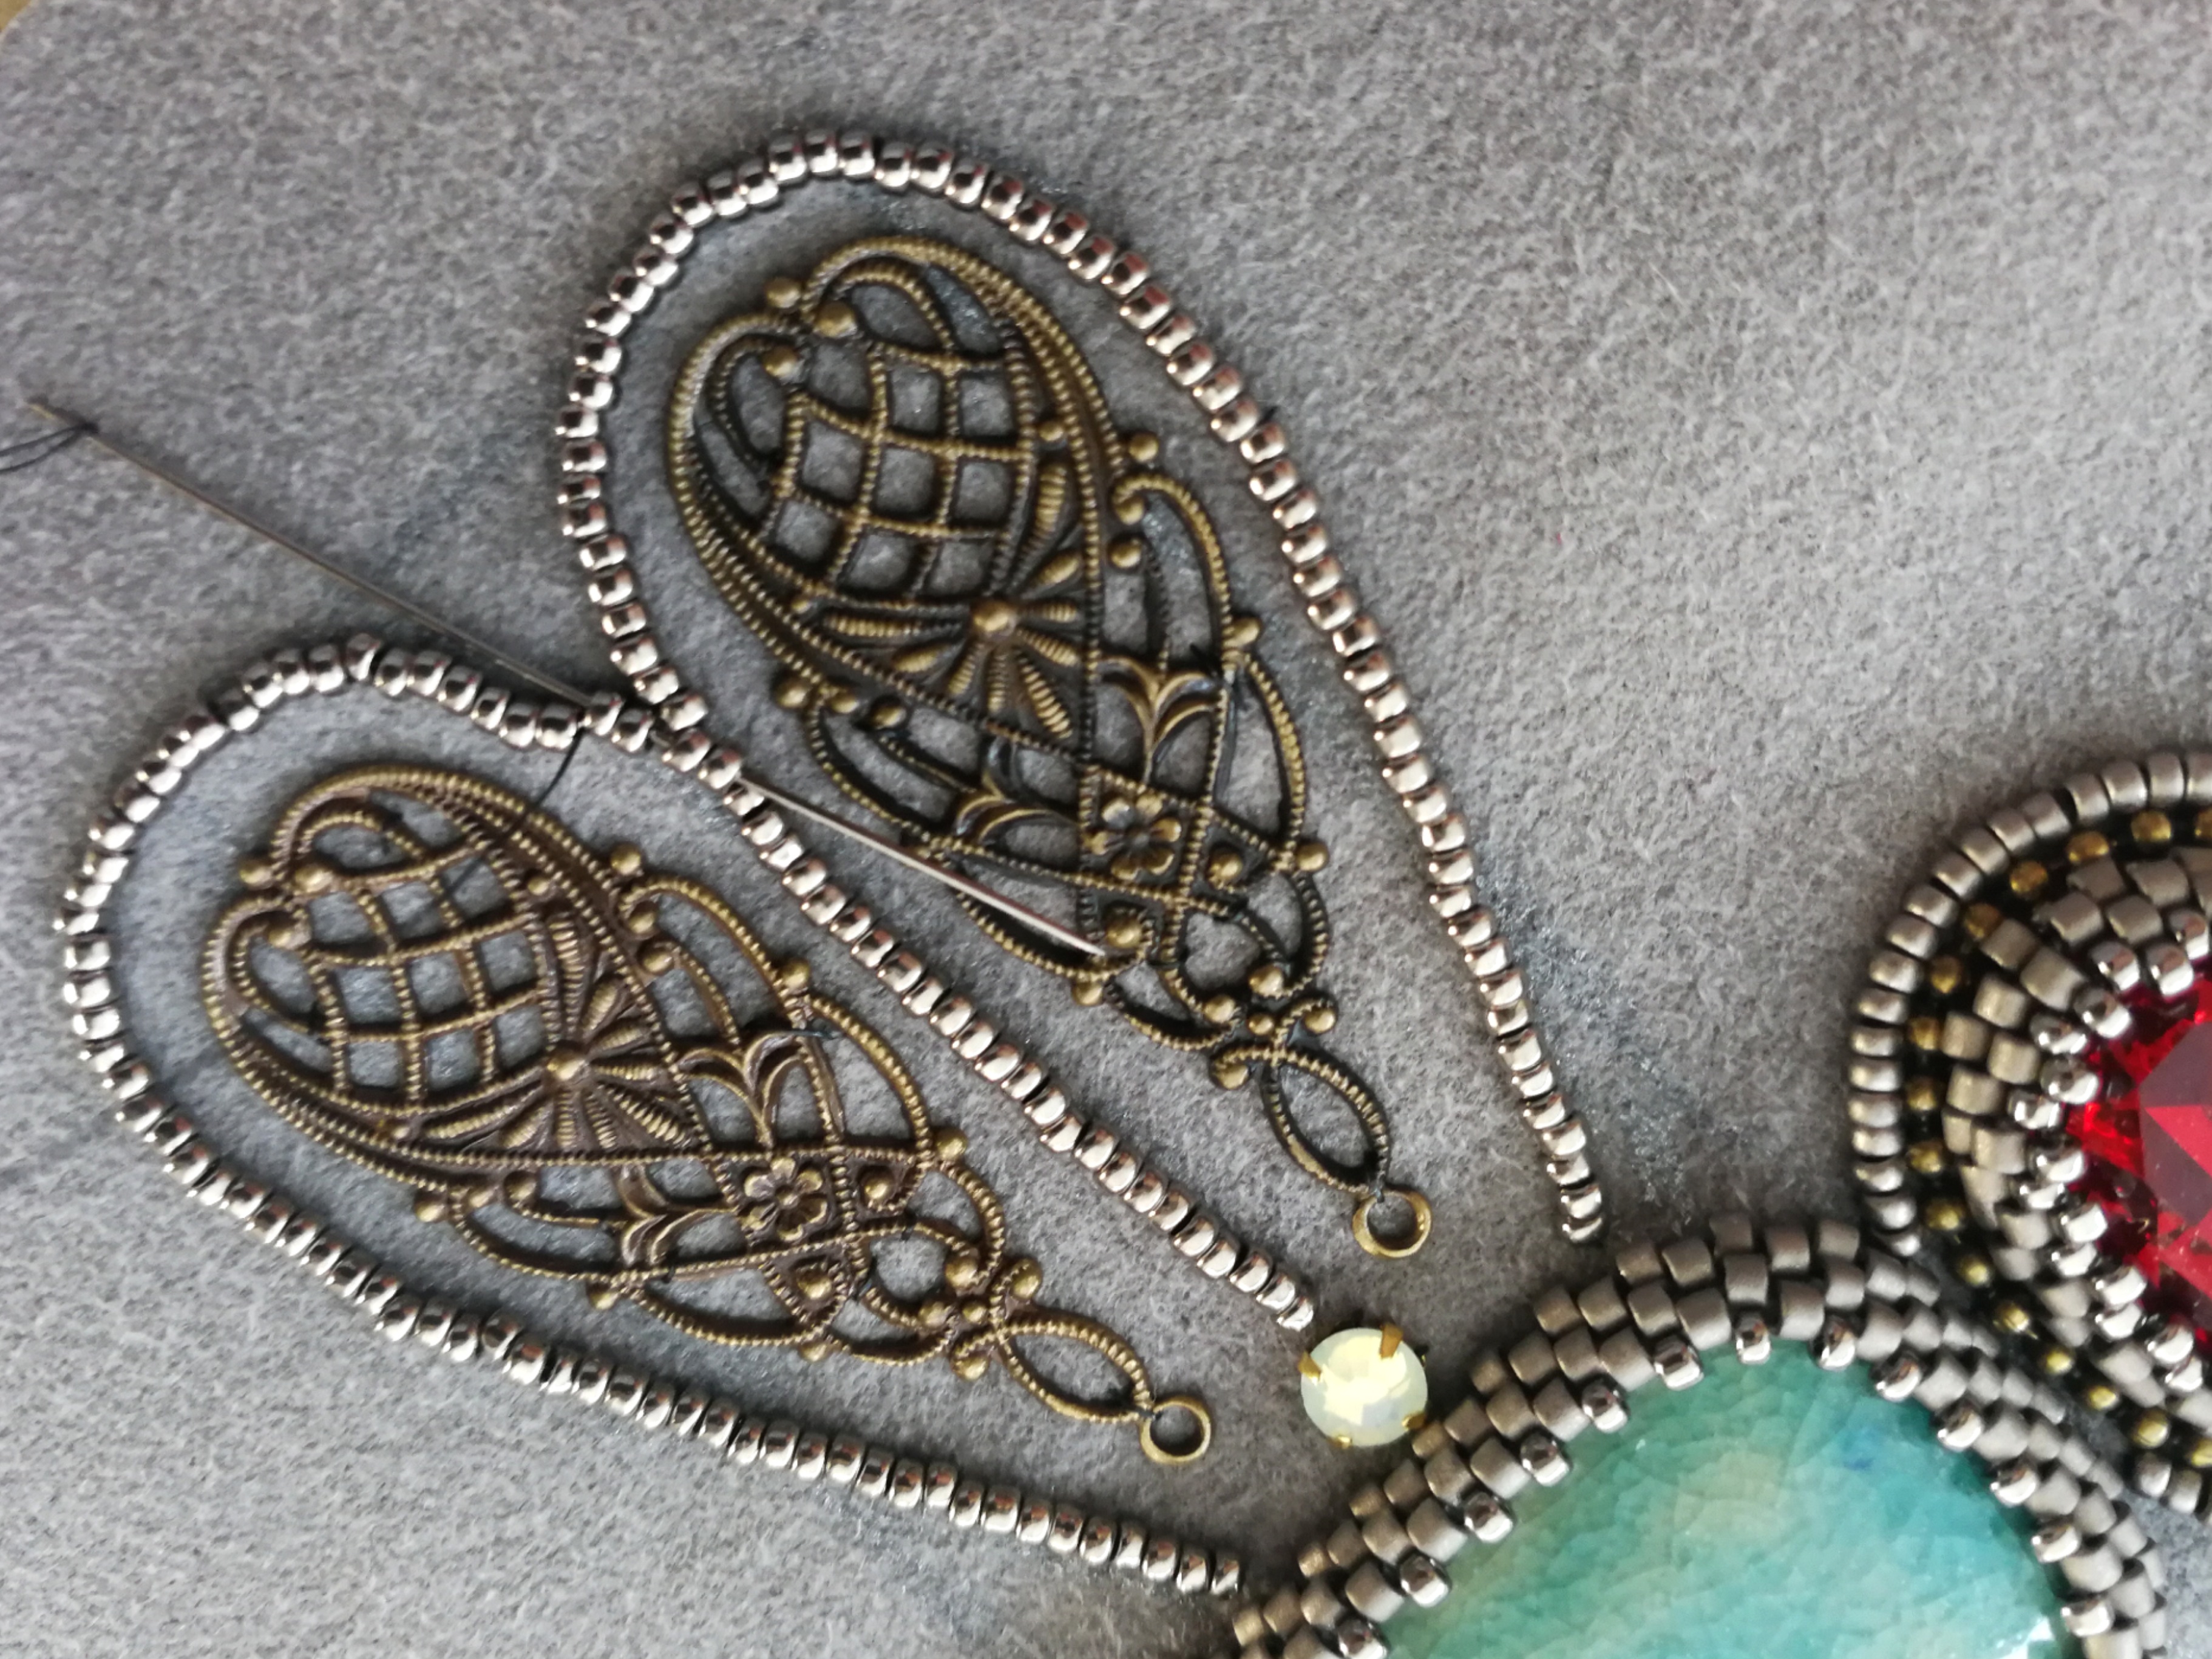
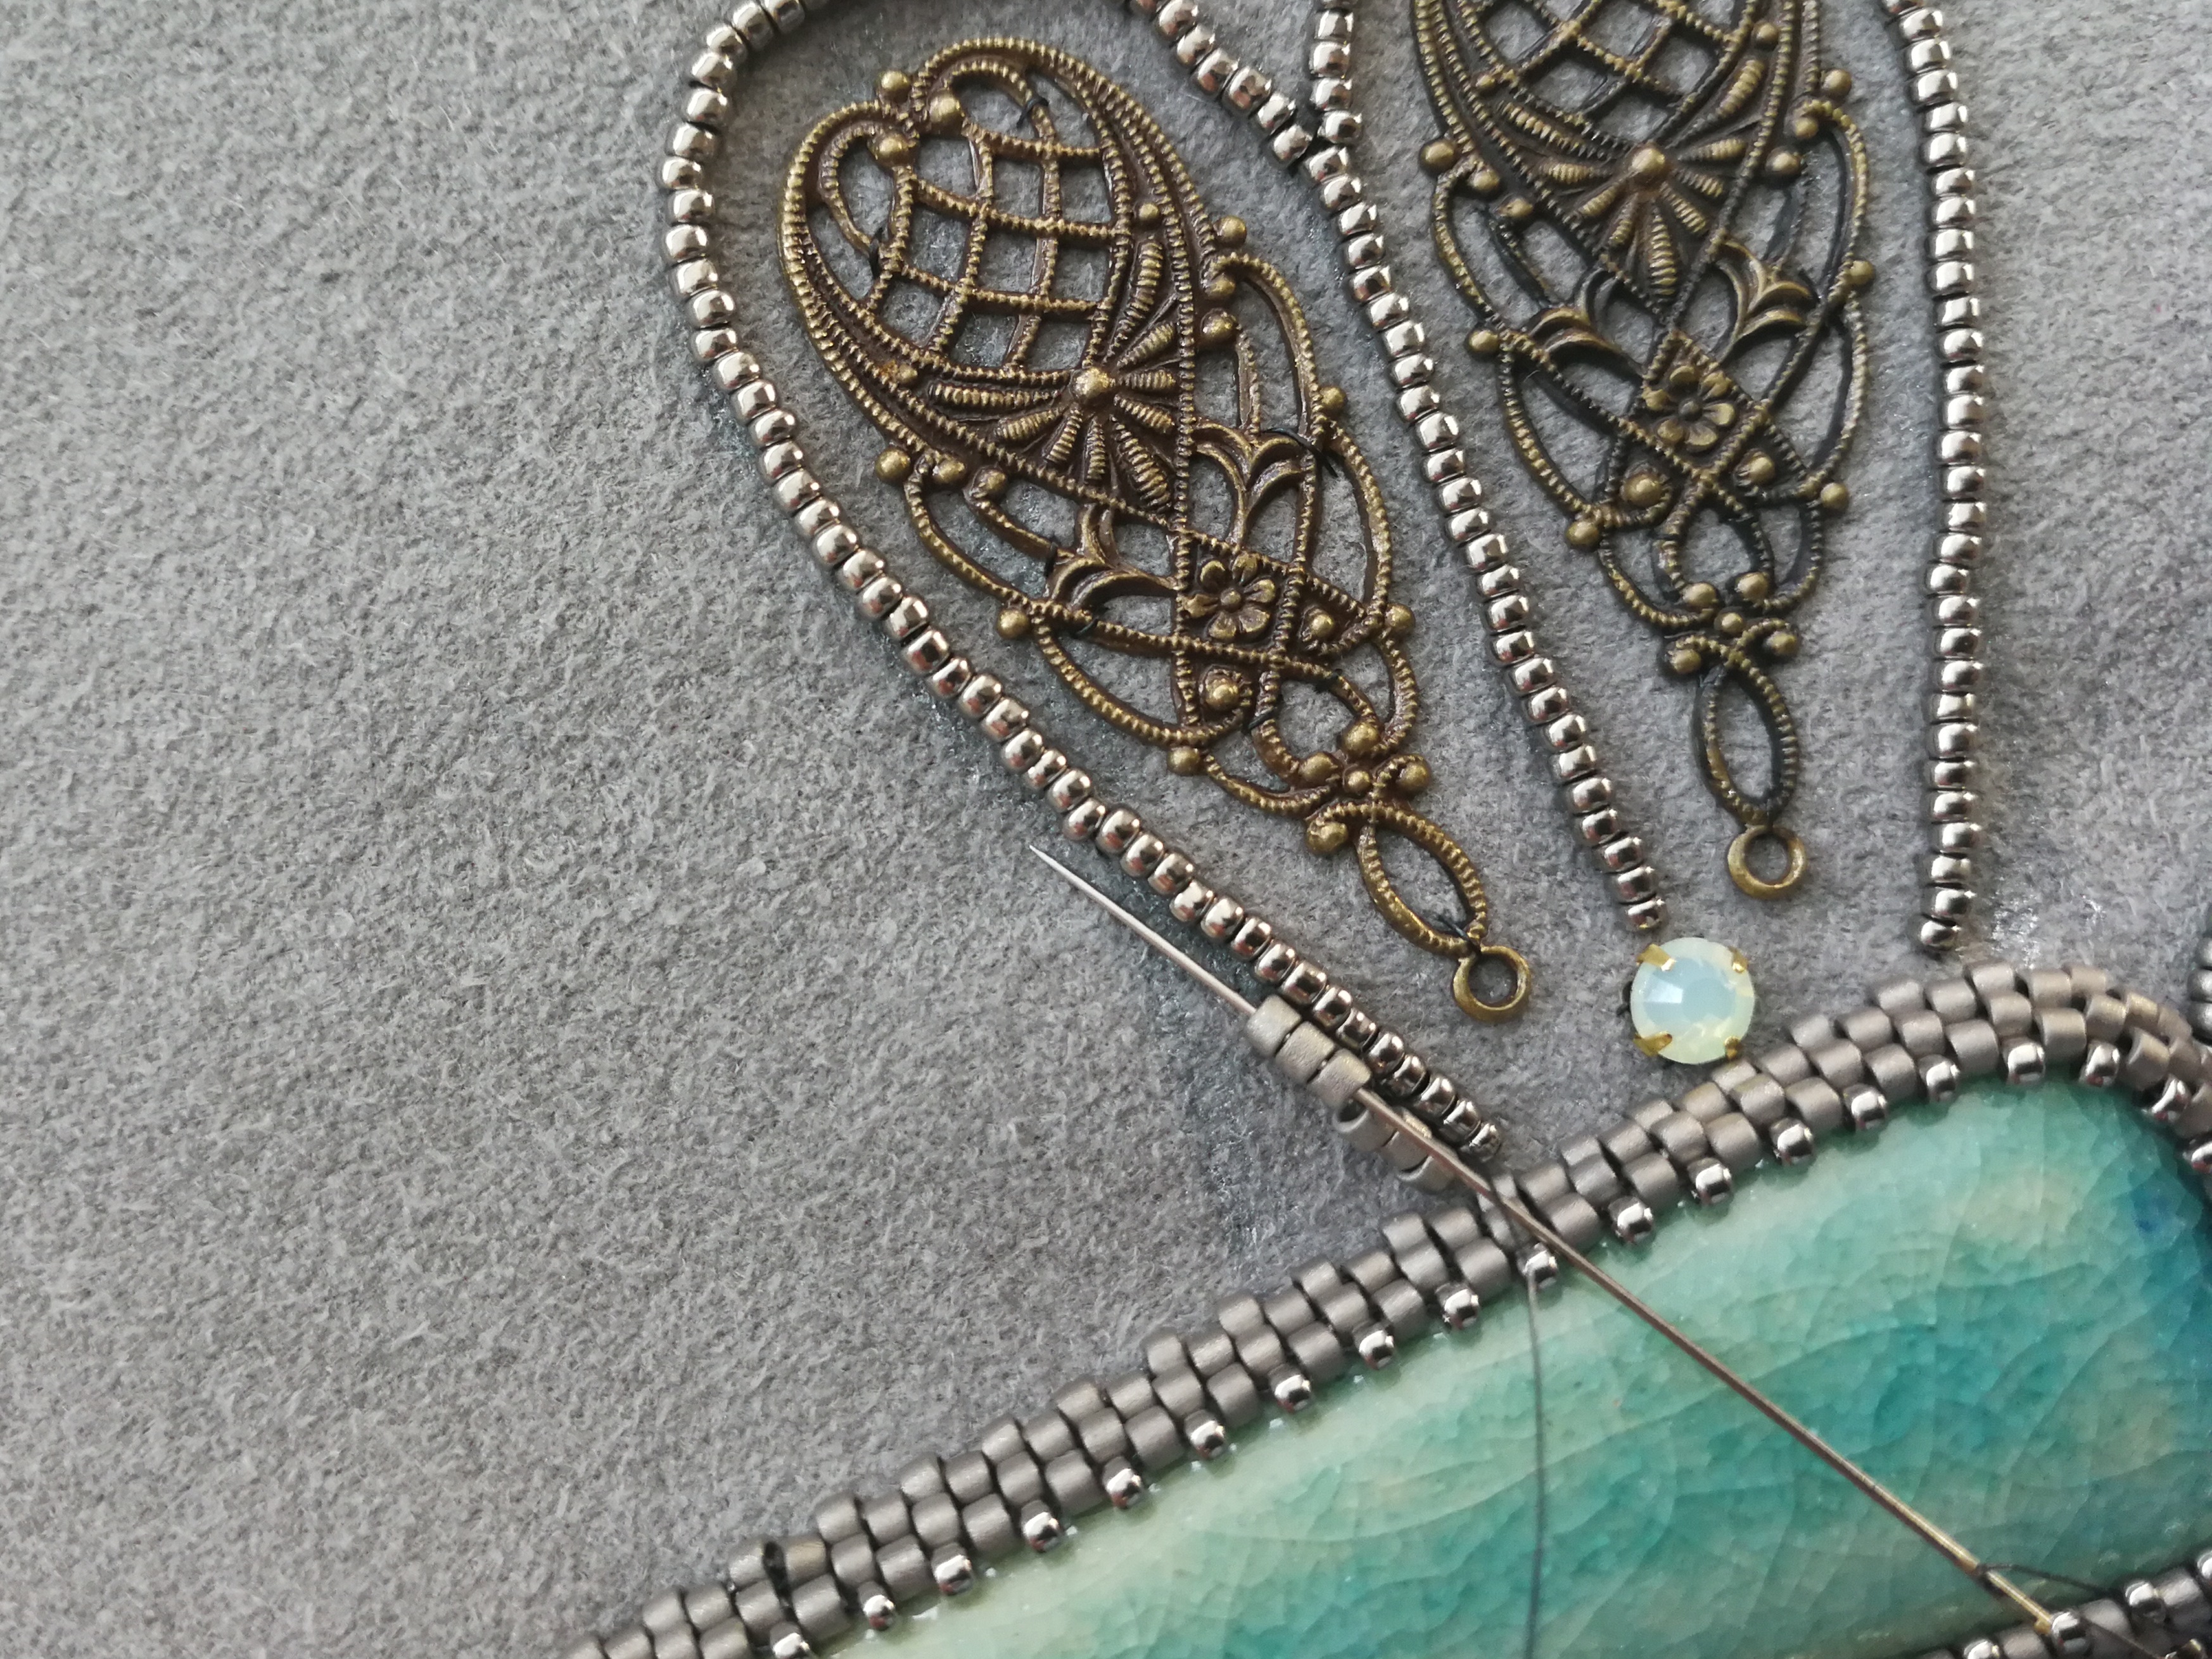
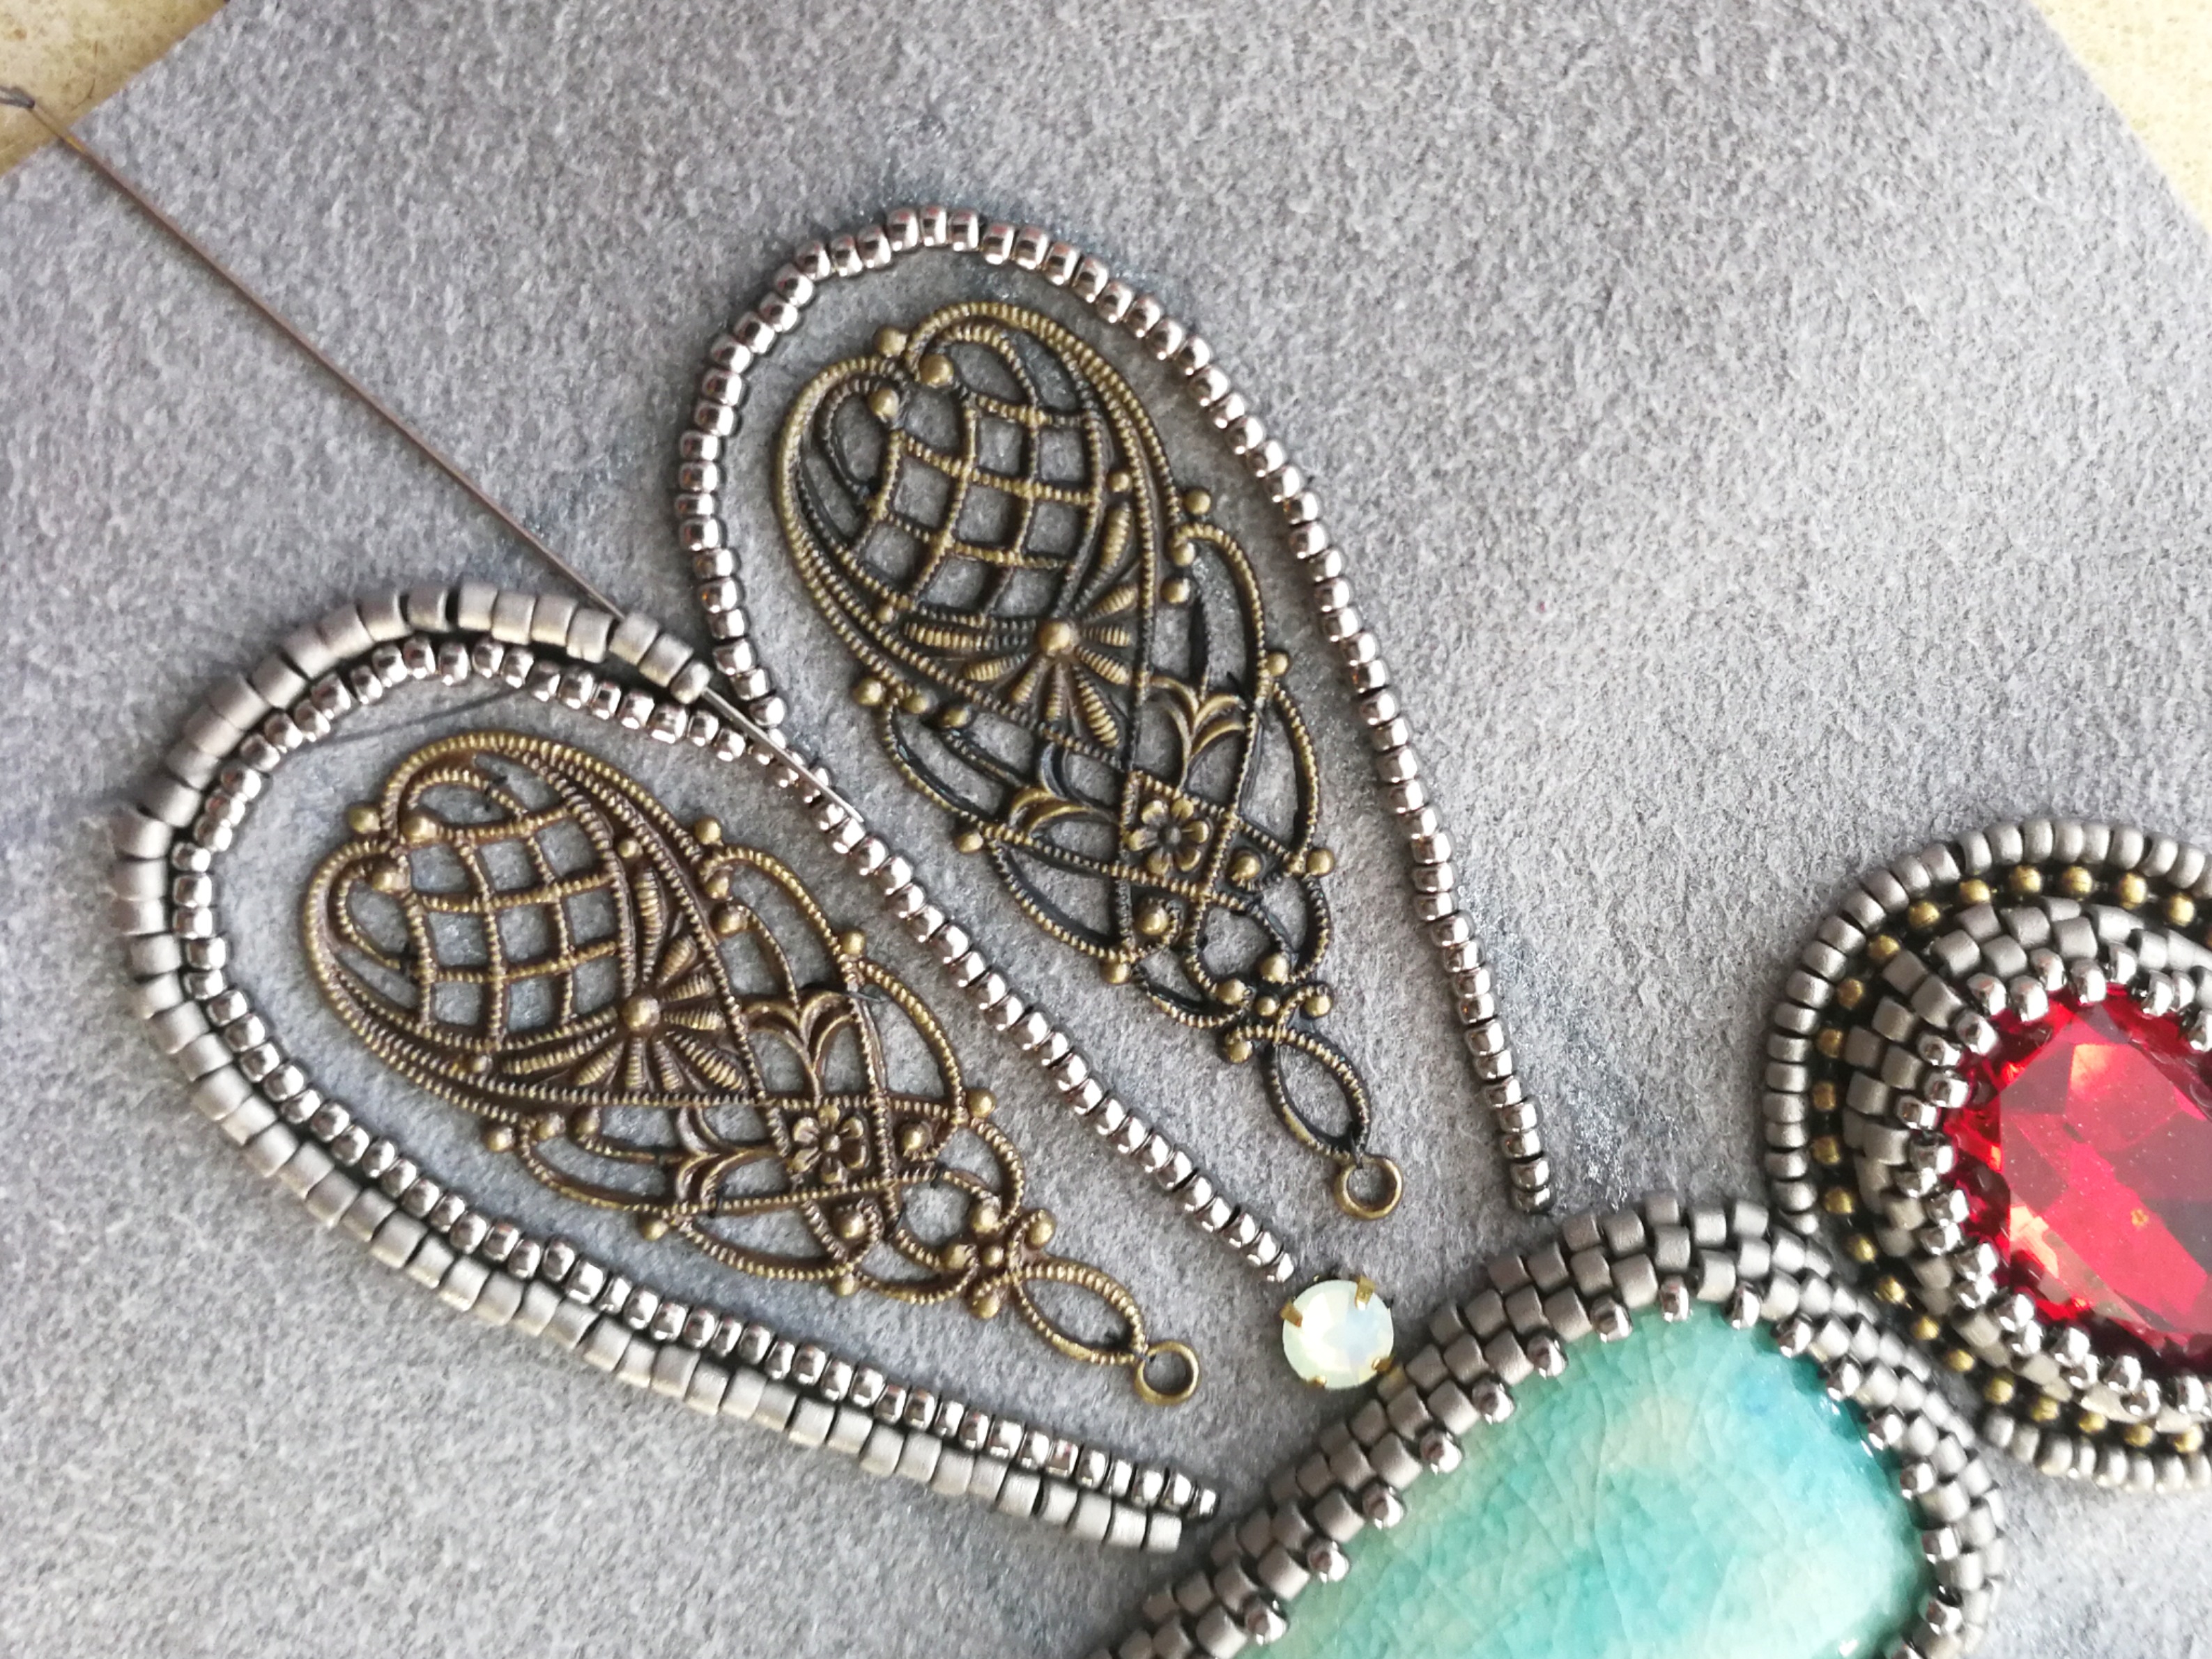
The main work is done 😉
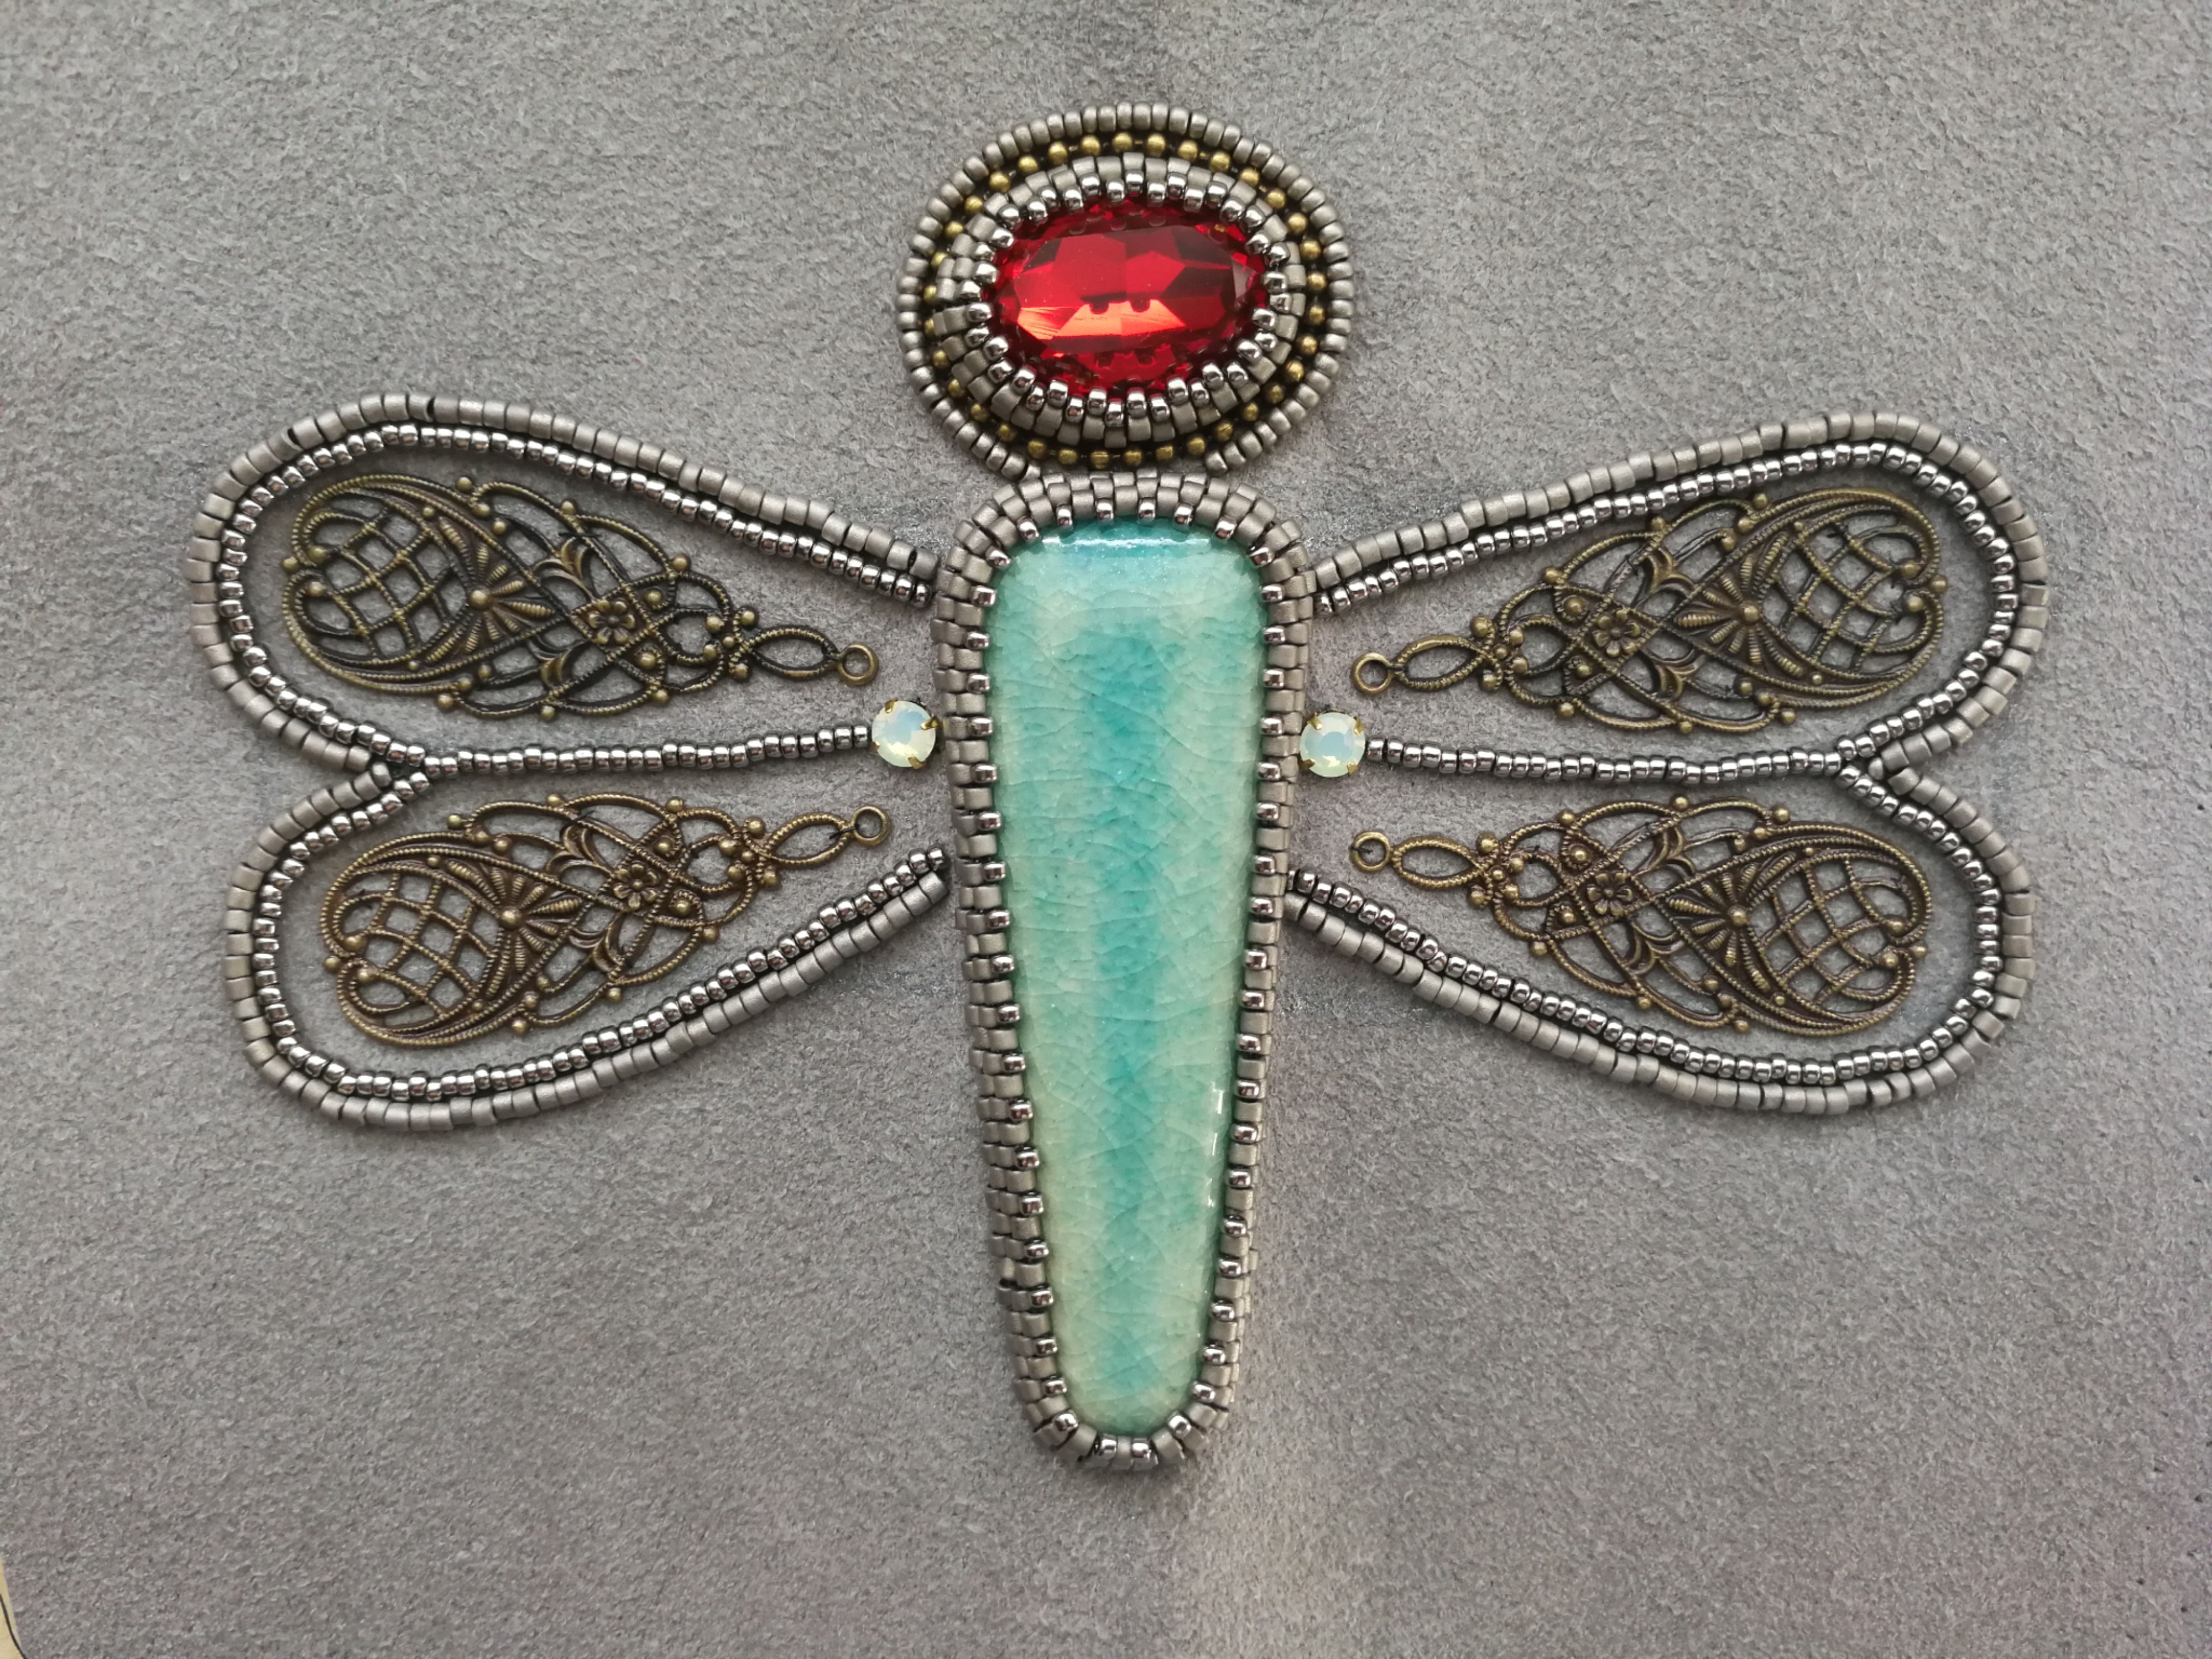
10. Decorate the wings – this is my favorite part!
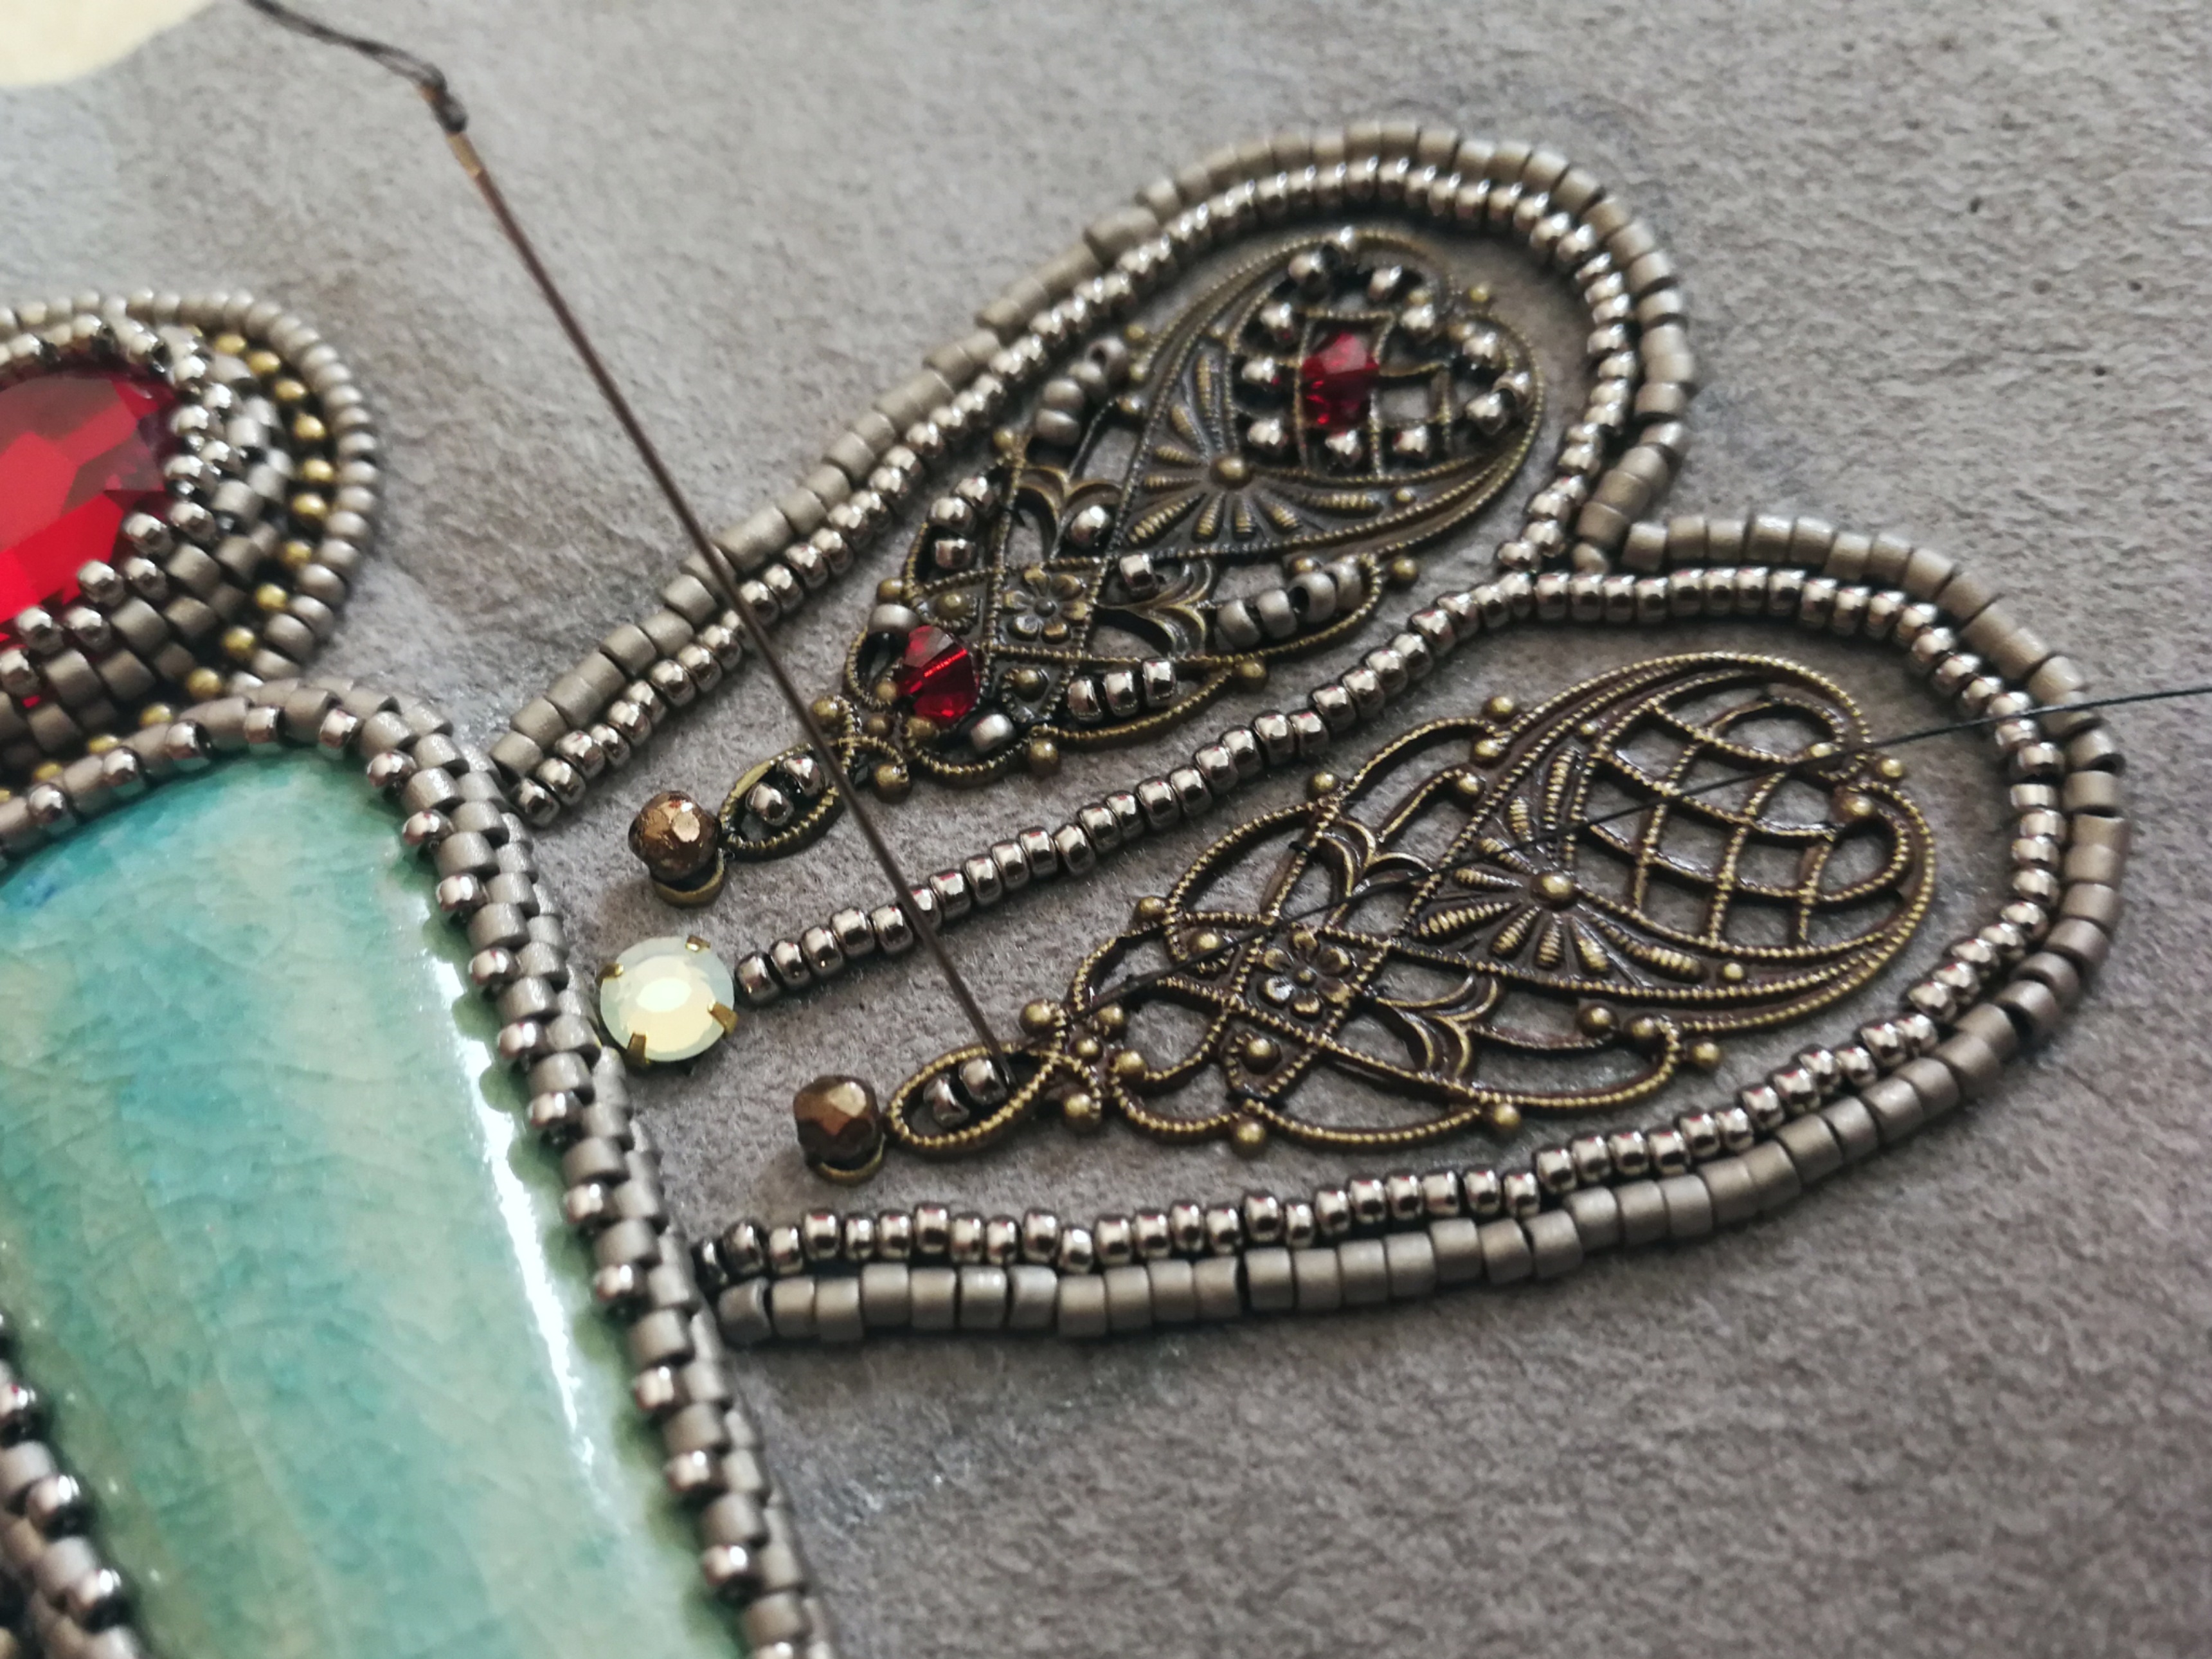
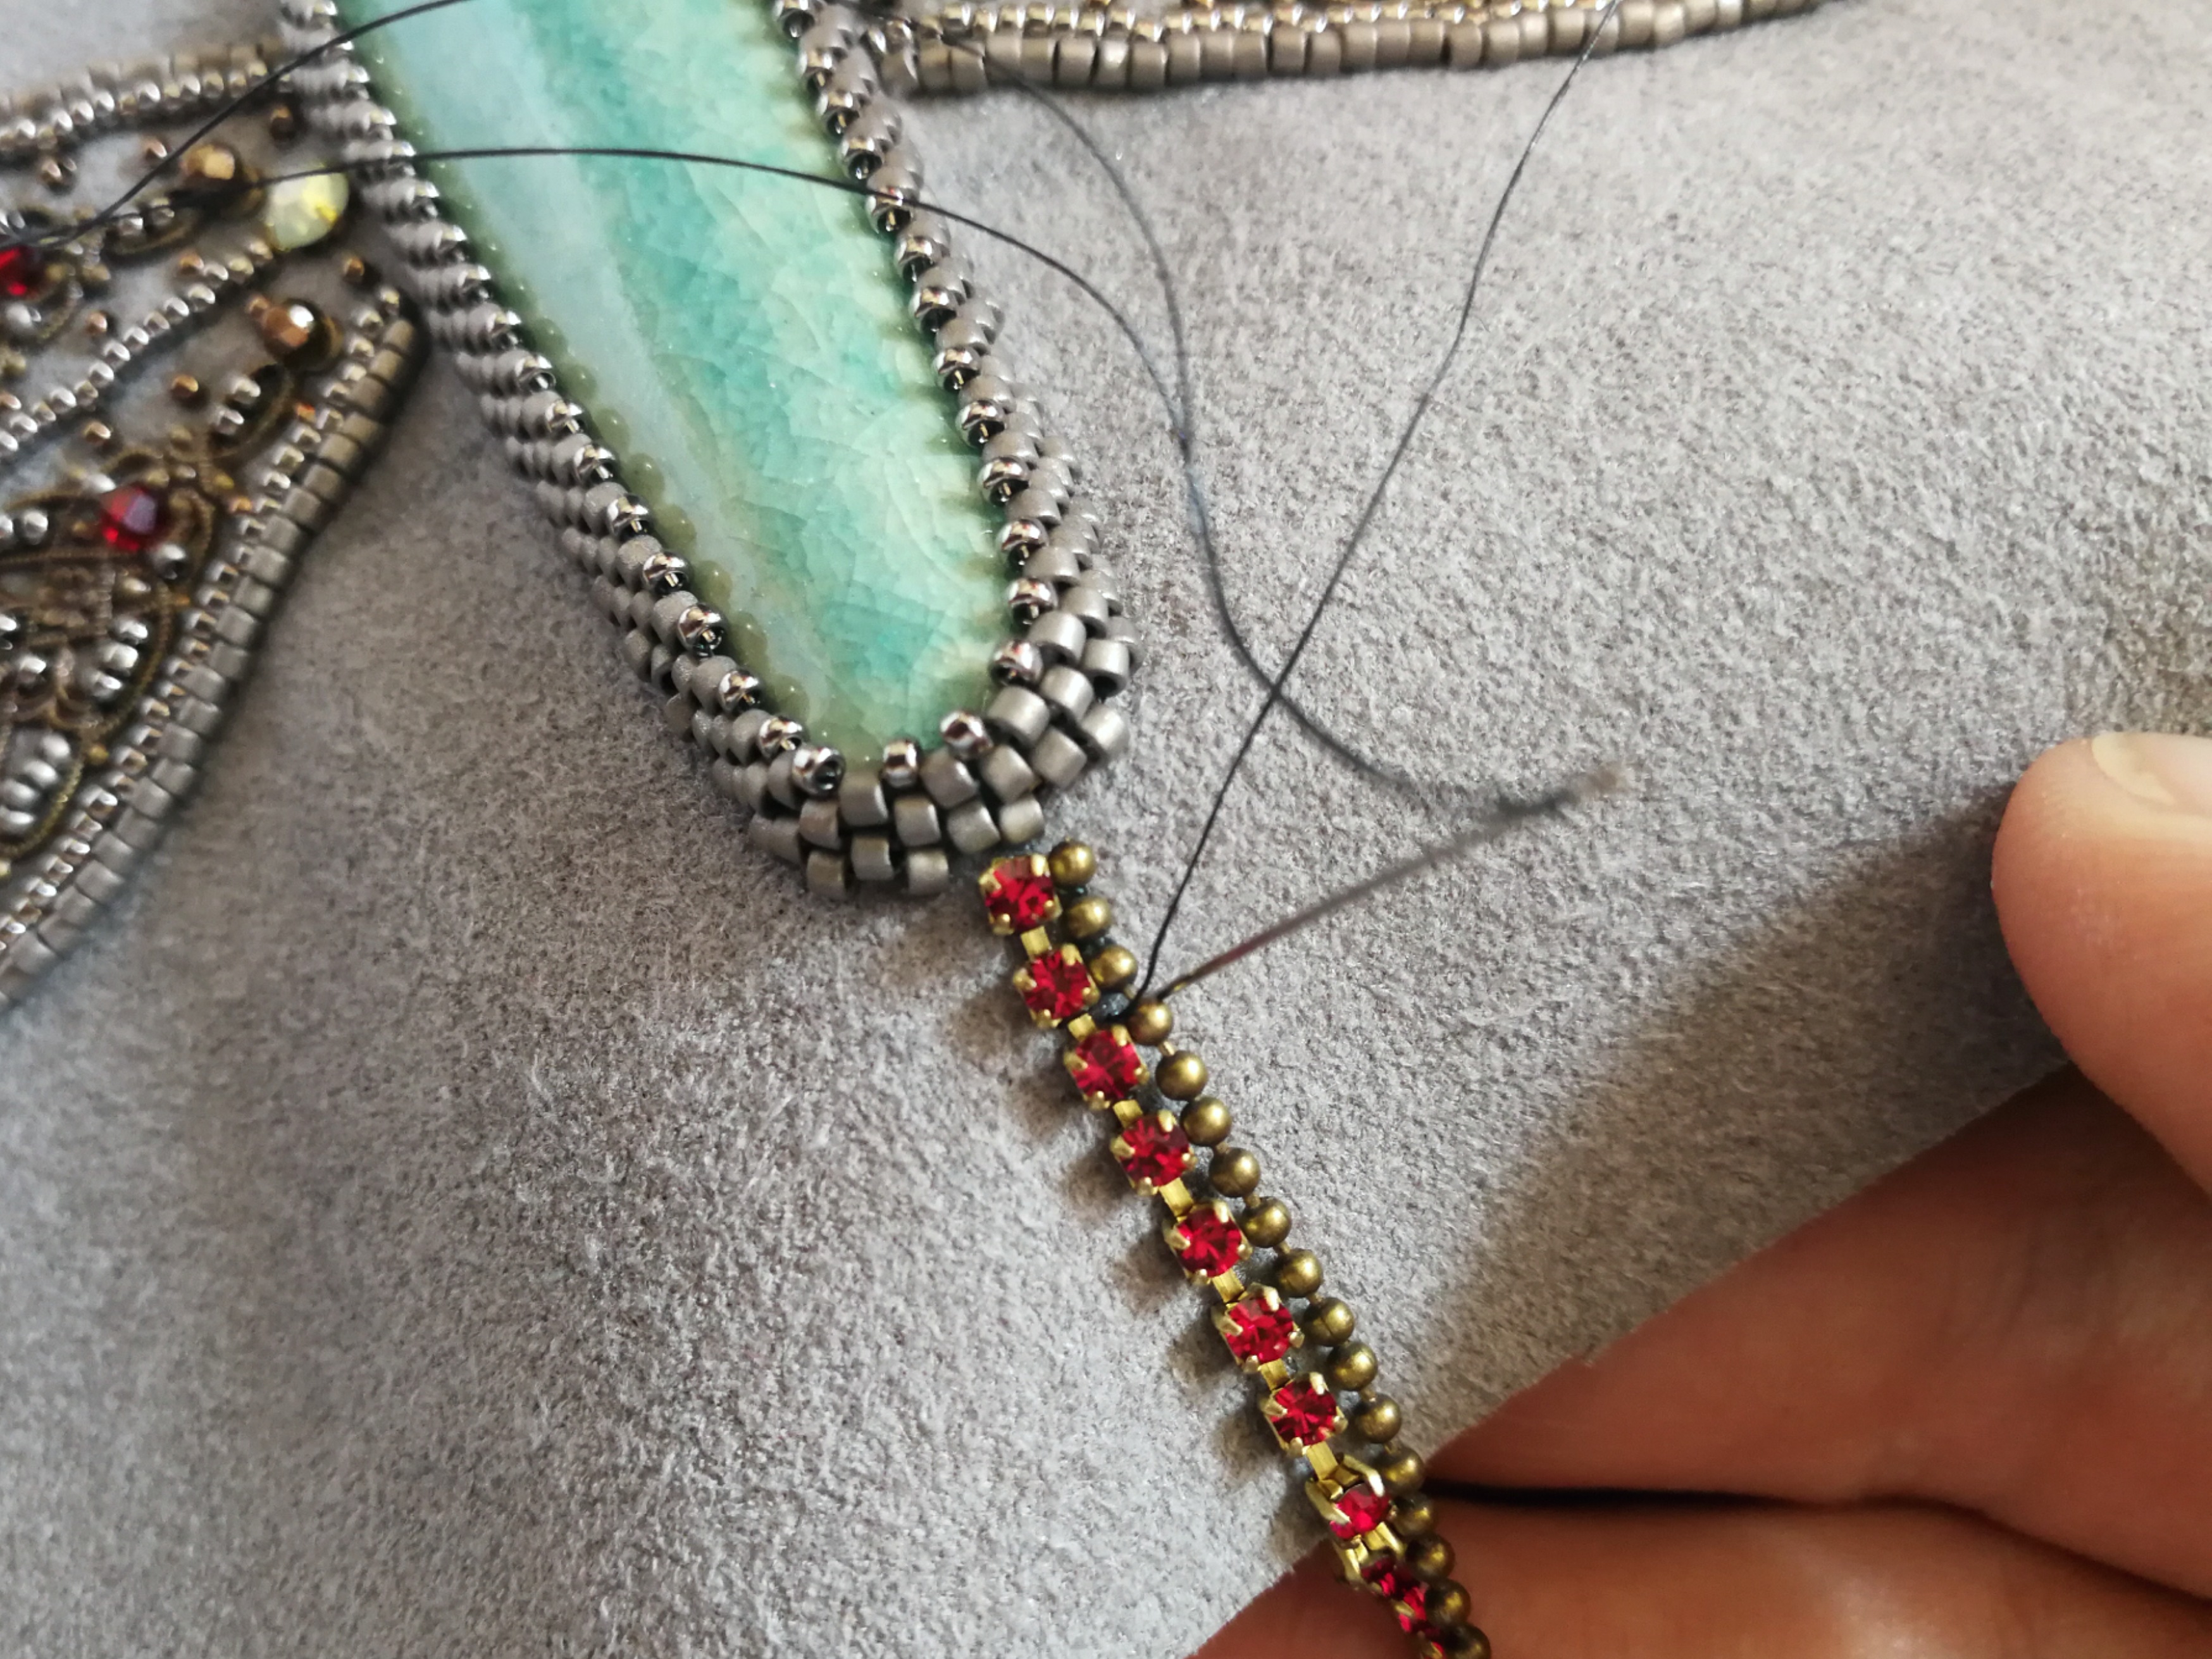
11. Attach your rhinestone cup chain and two pieces of ball chain to create the tassel. Your thread goes through 2 crystals/balls, down to the foundation. Crystals are connected with a flat metal chain, this is the component you need to attach. It’s the same with ball chain. Tie a knot on the back again and cut your thread.
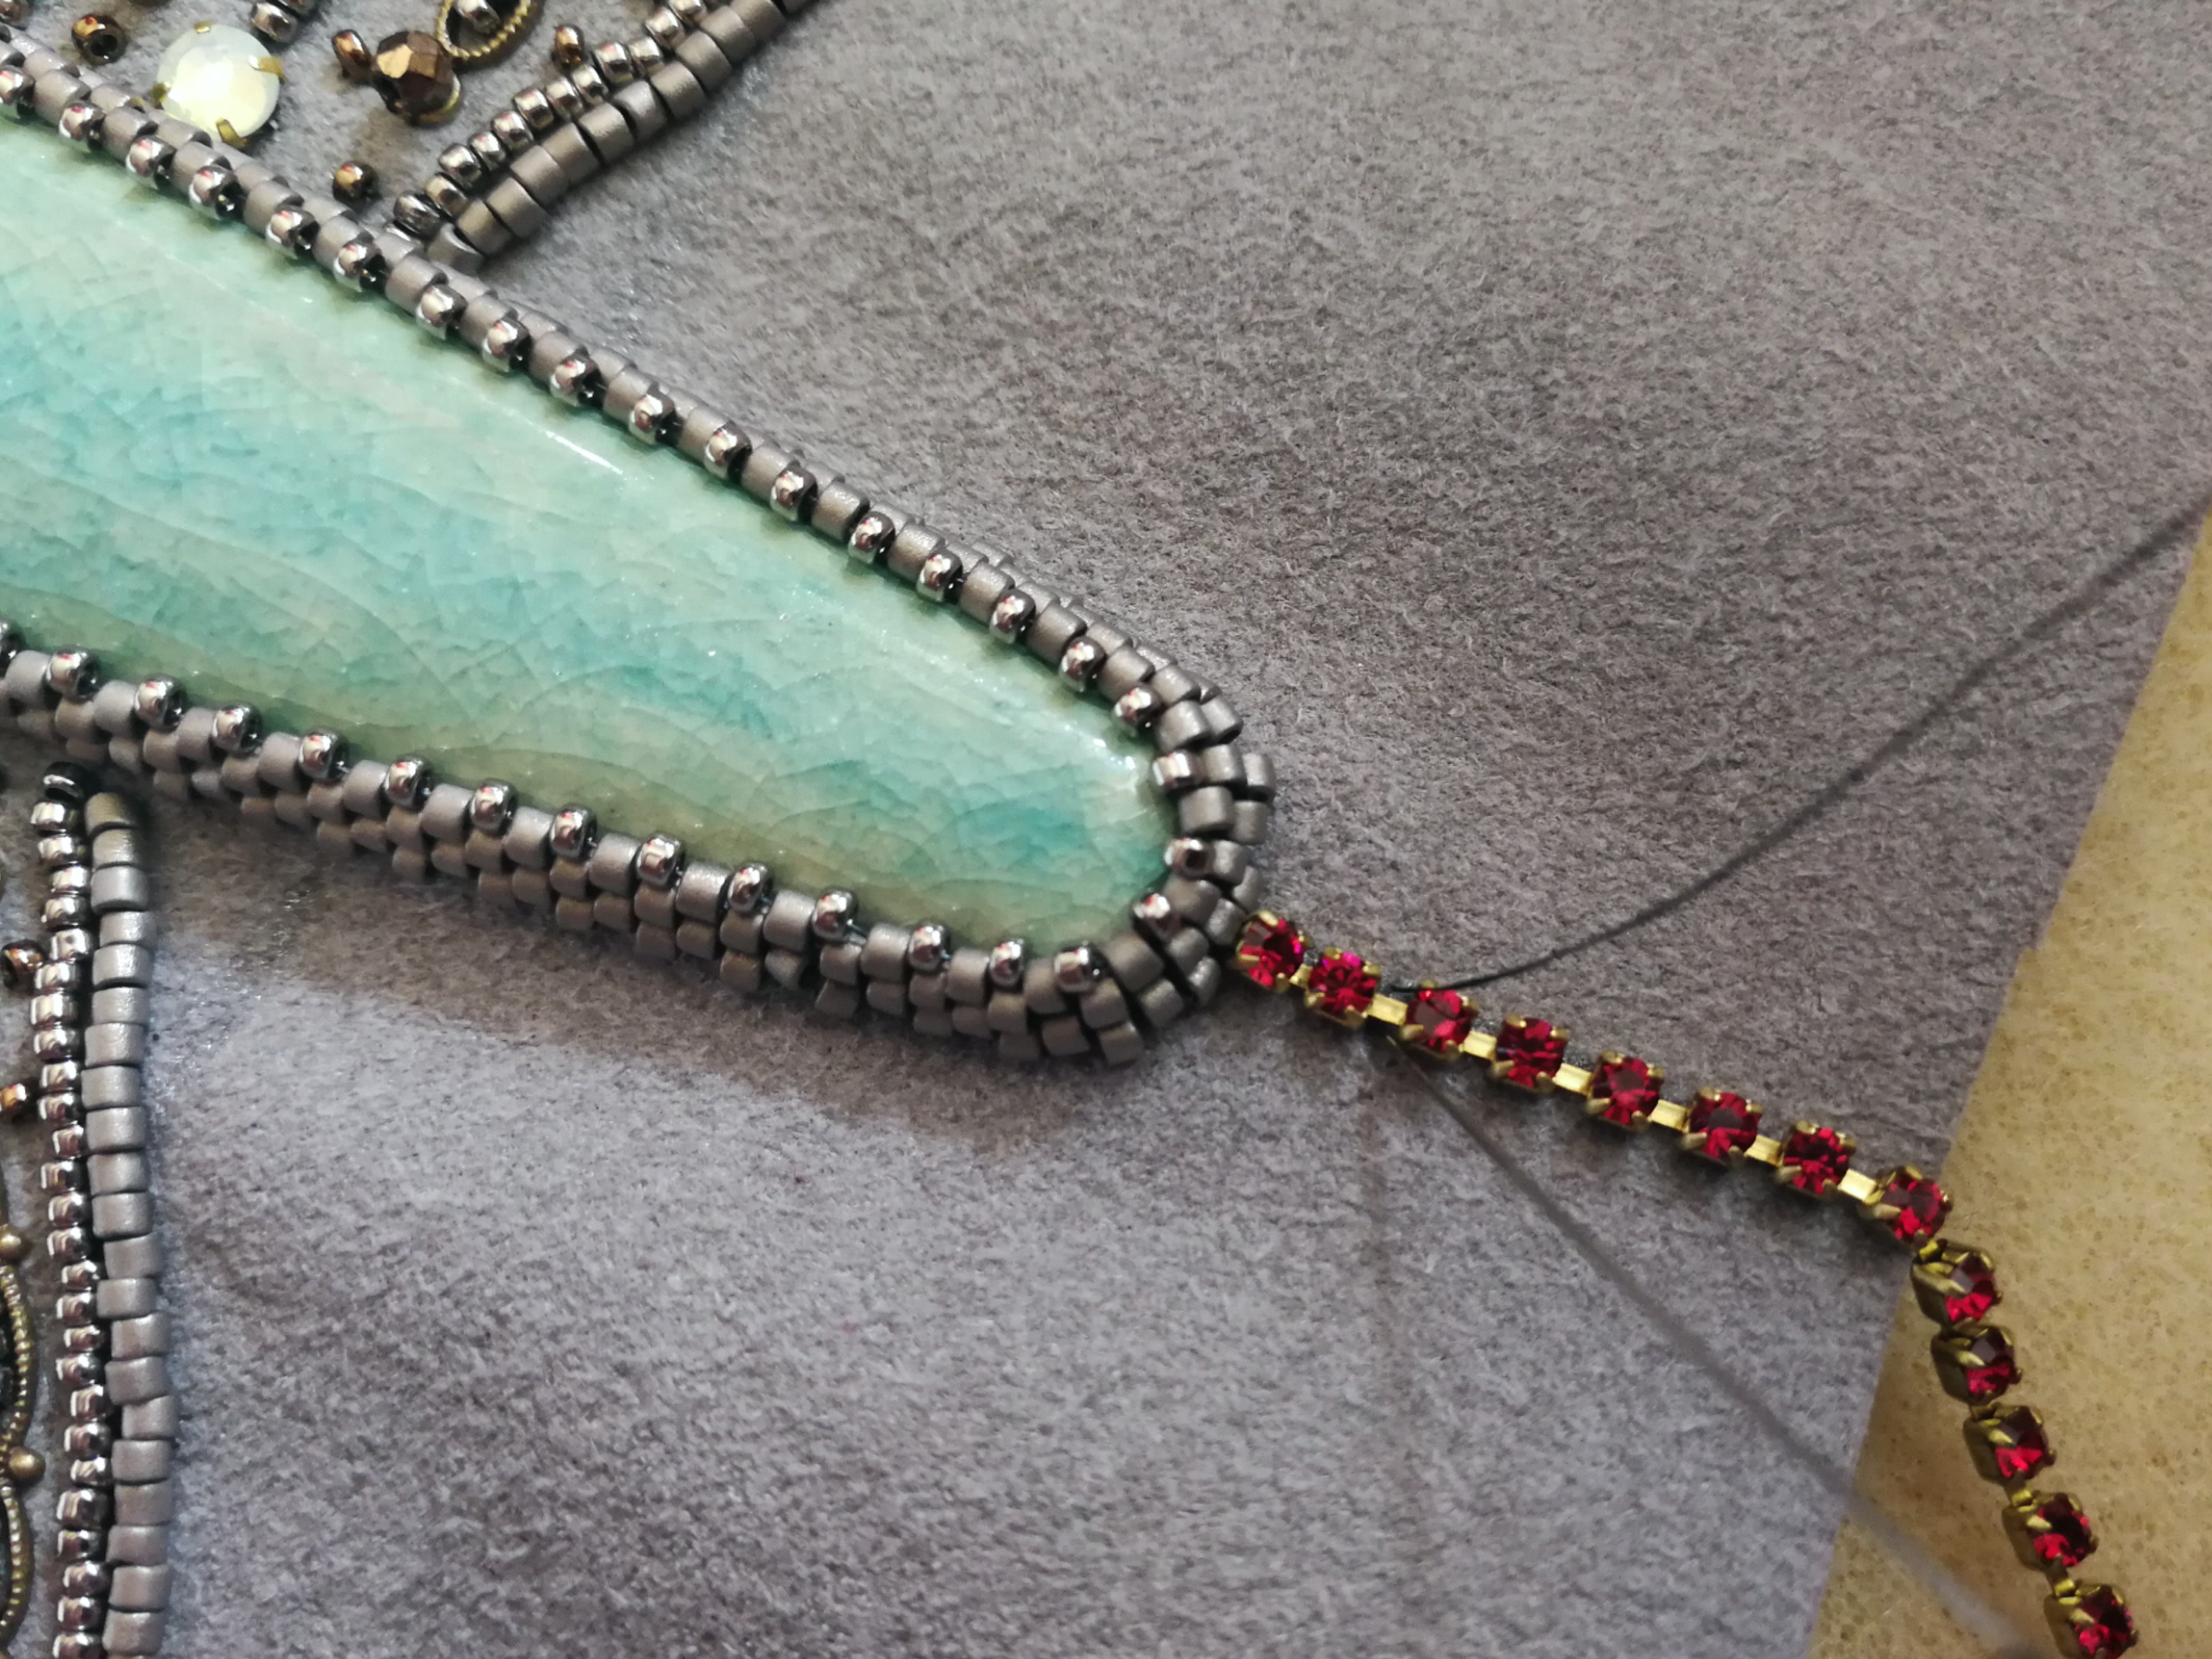
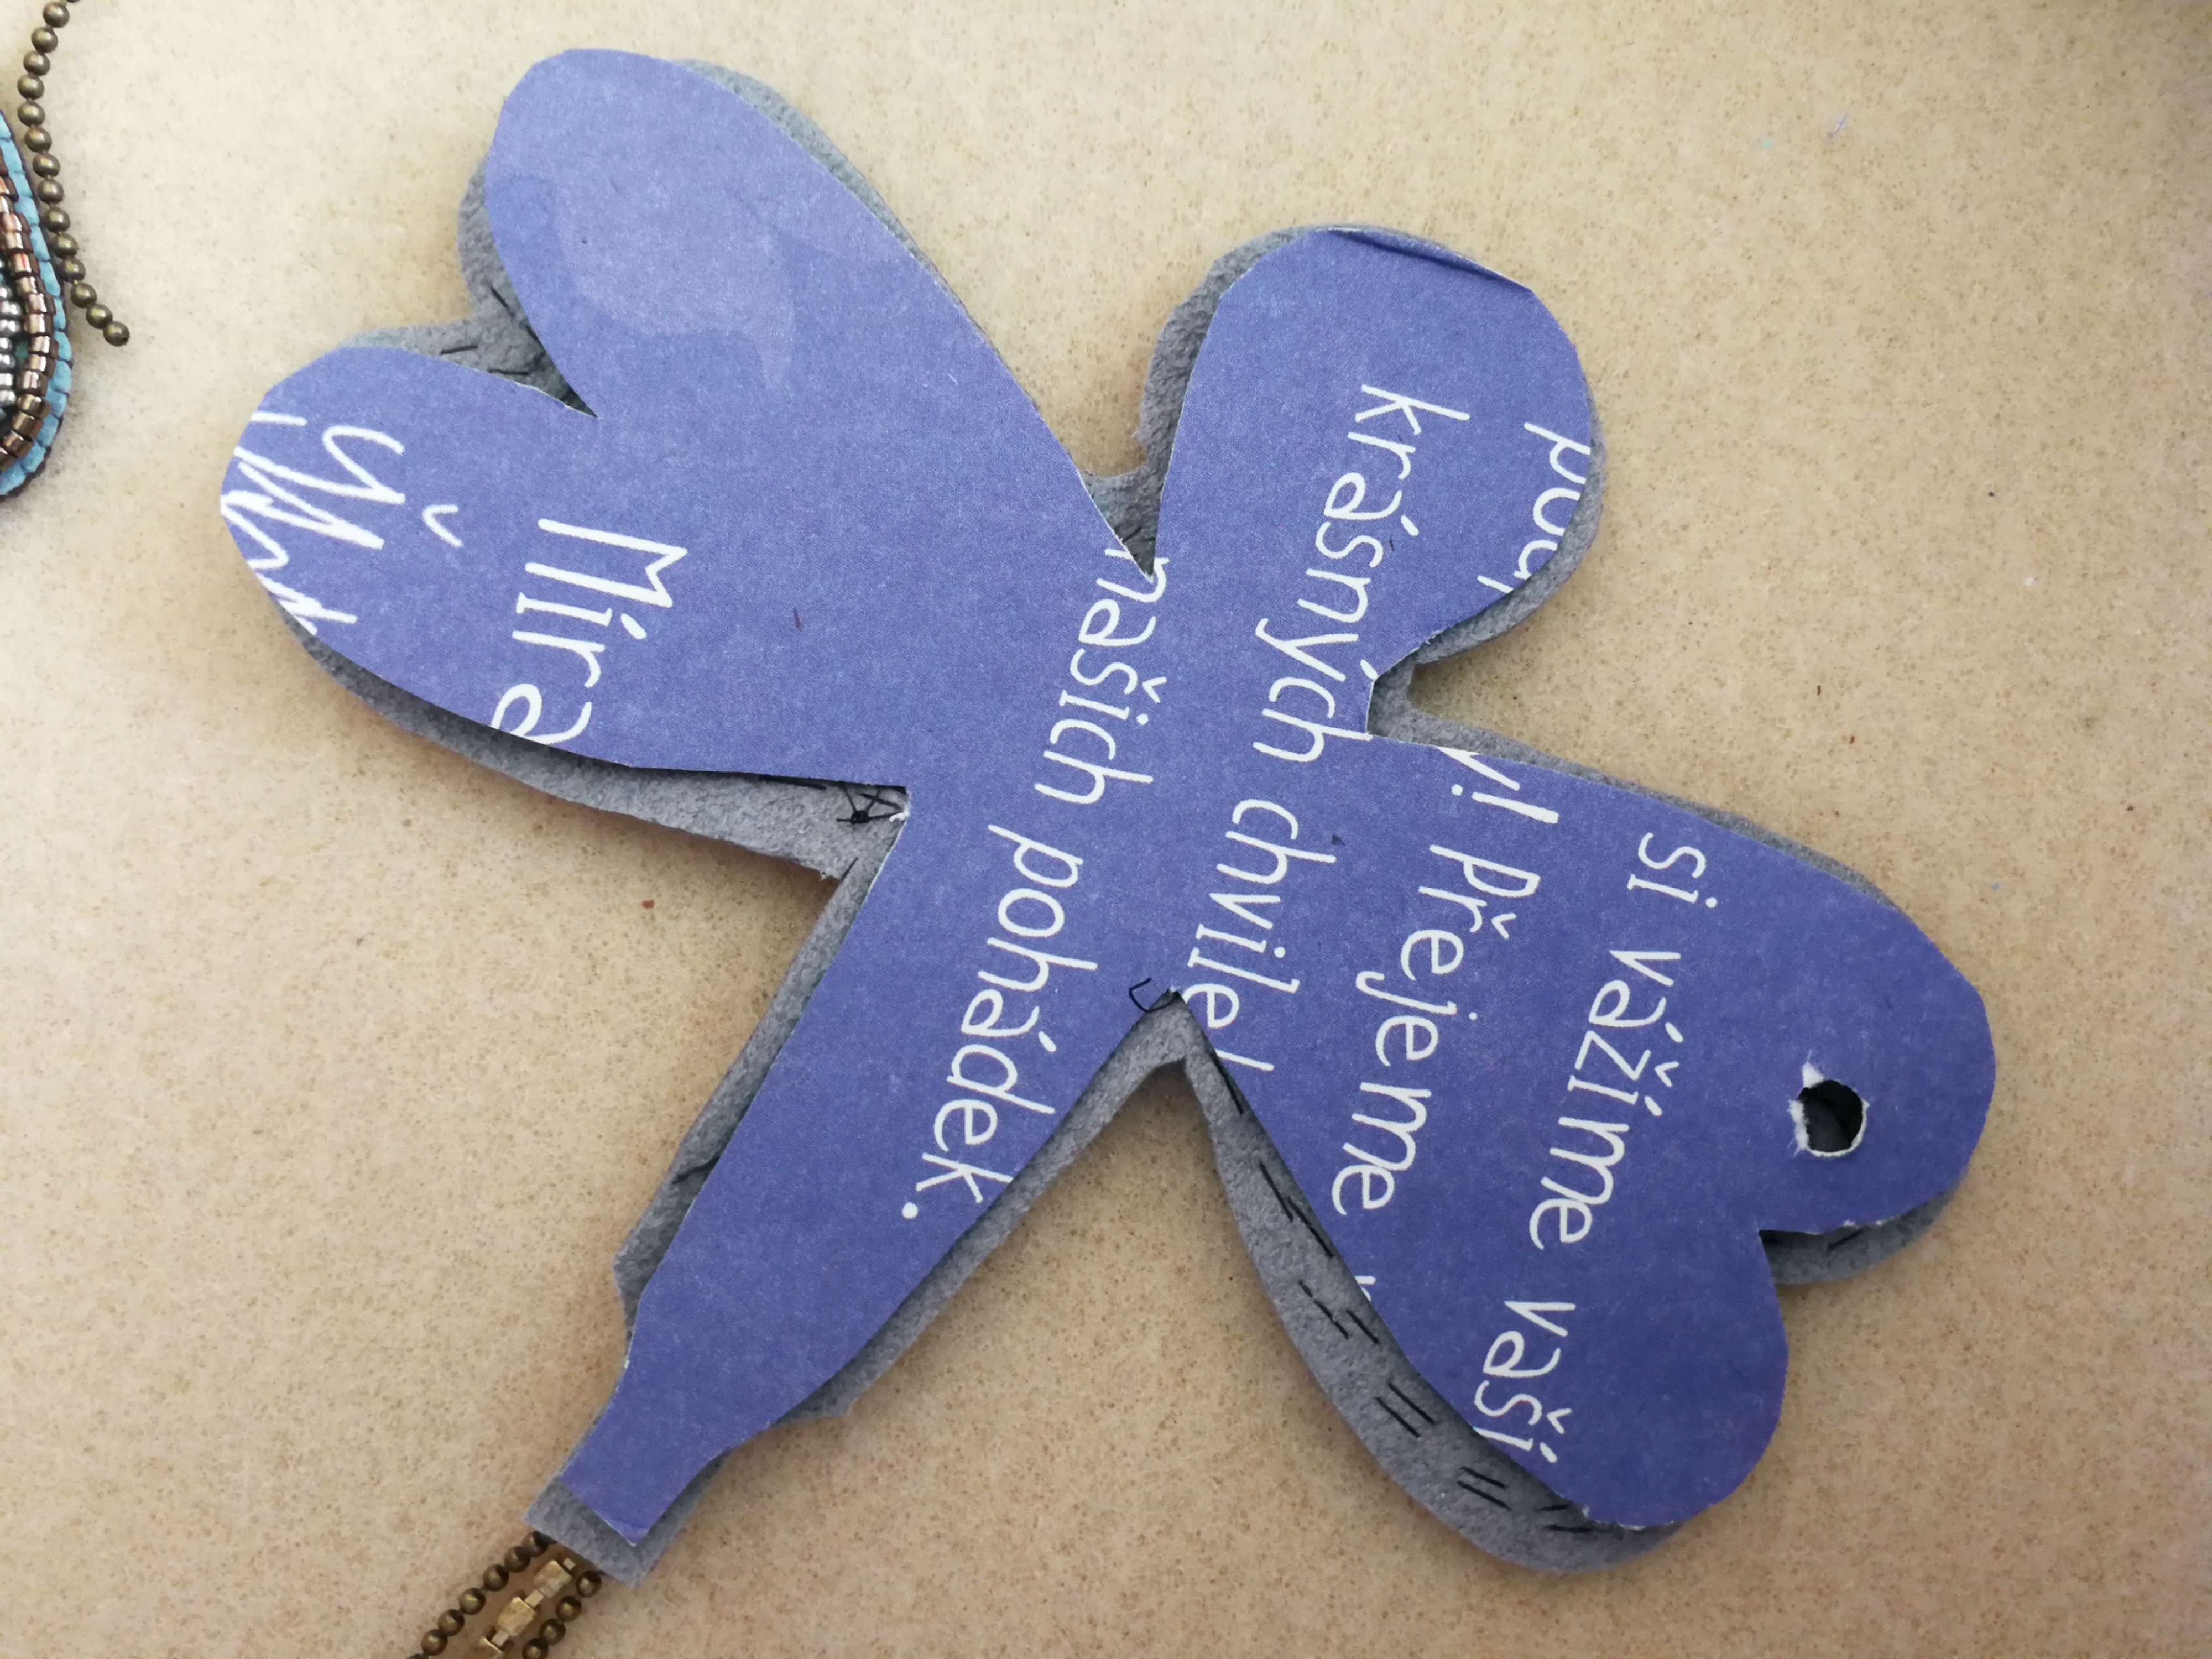
12. Cut your beadwork and glue it on a piece of cardboard paper. Let it dry and cut it all around again, leaving only a 0.5 mm edge.
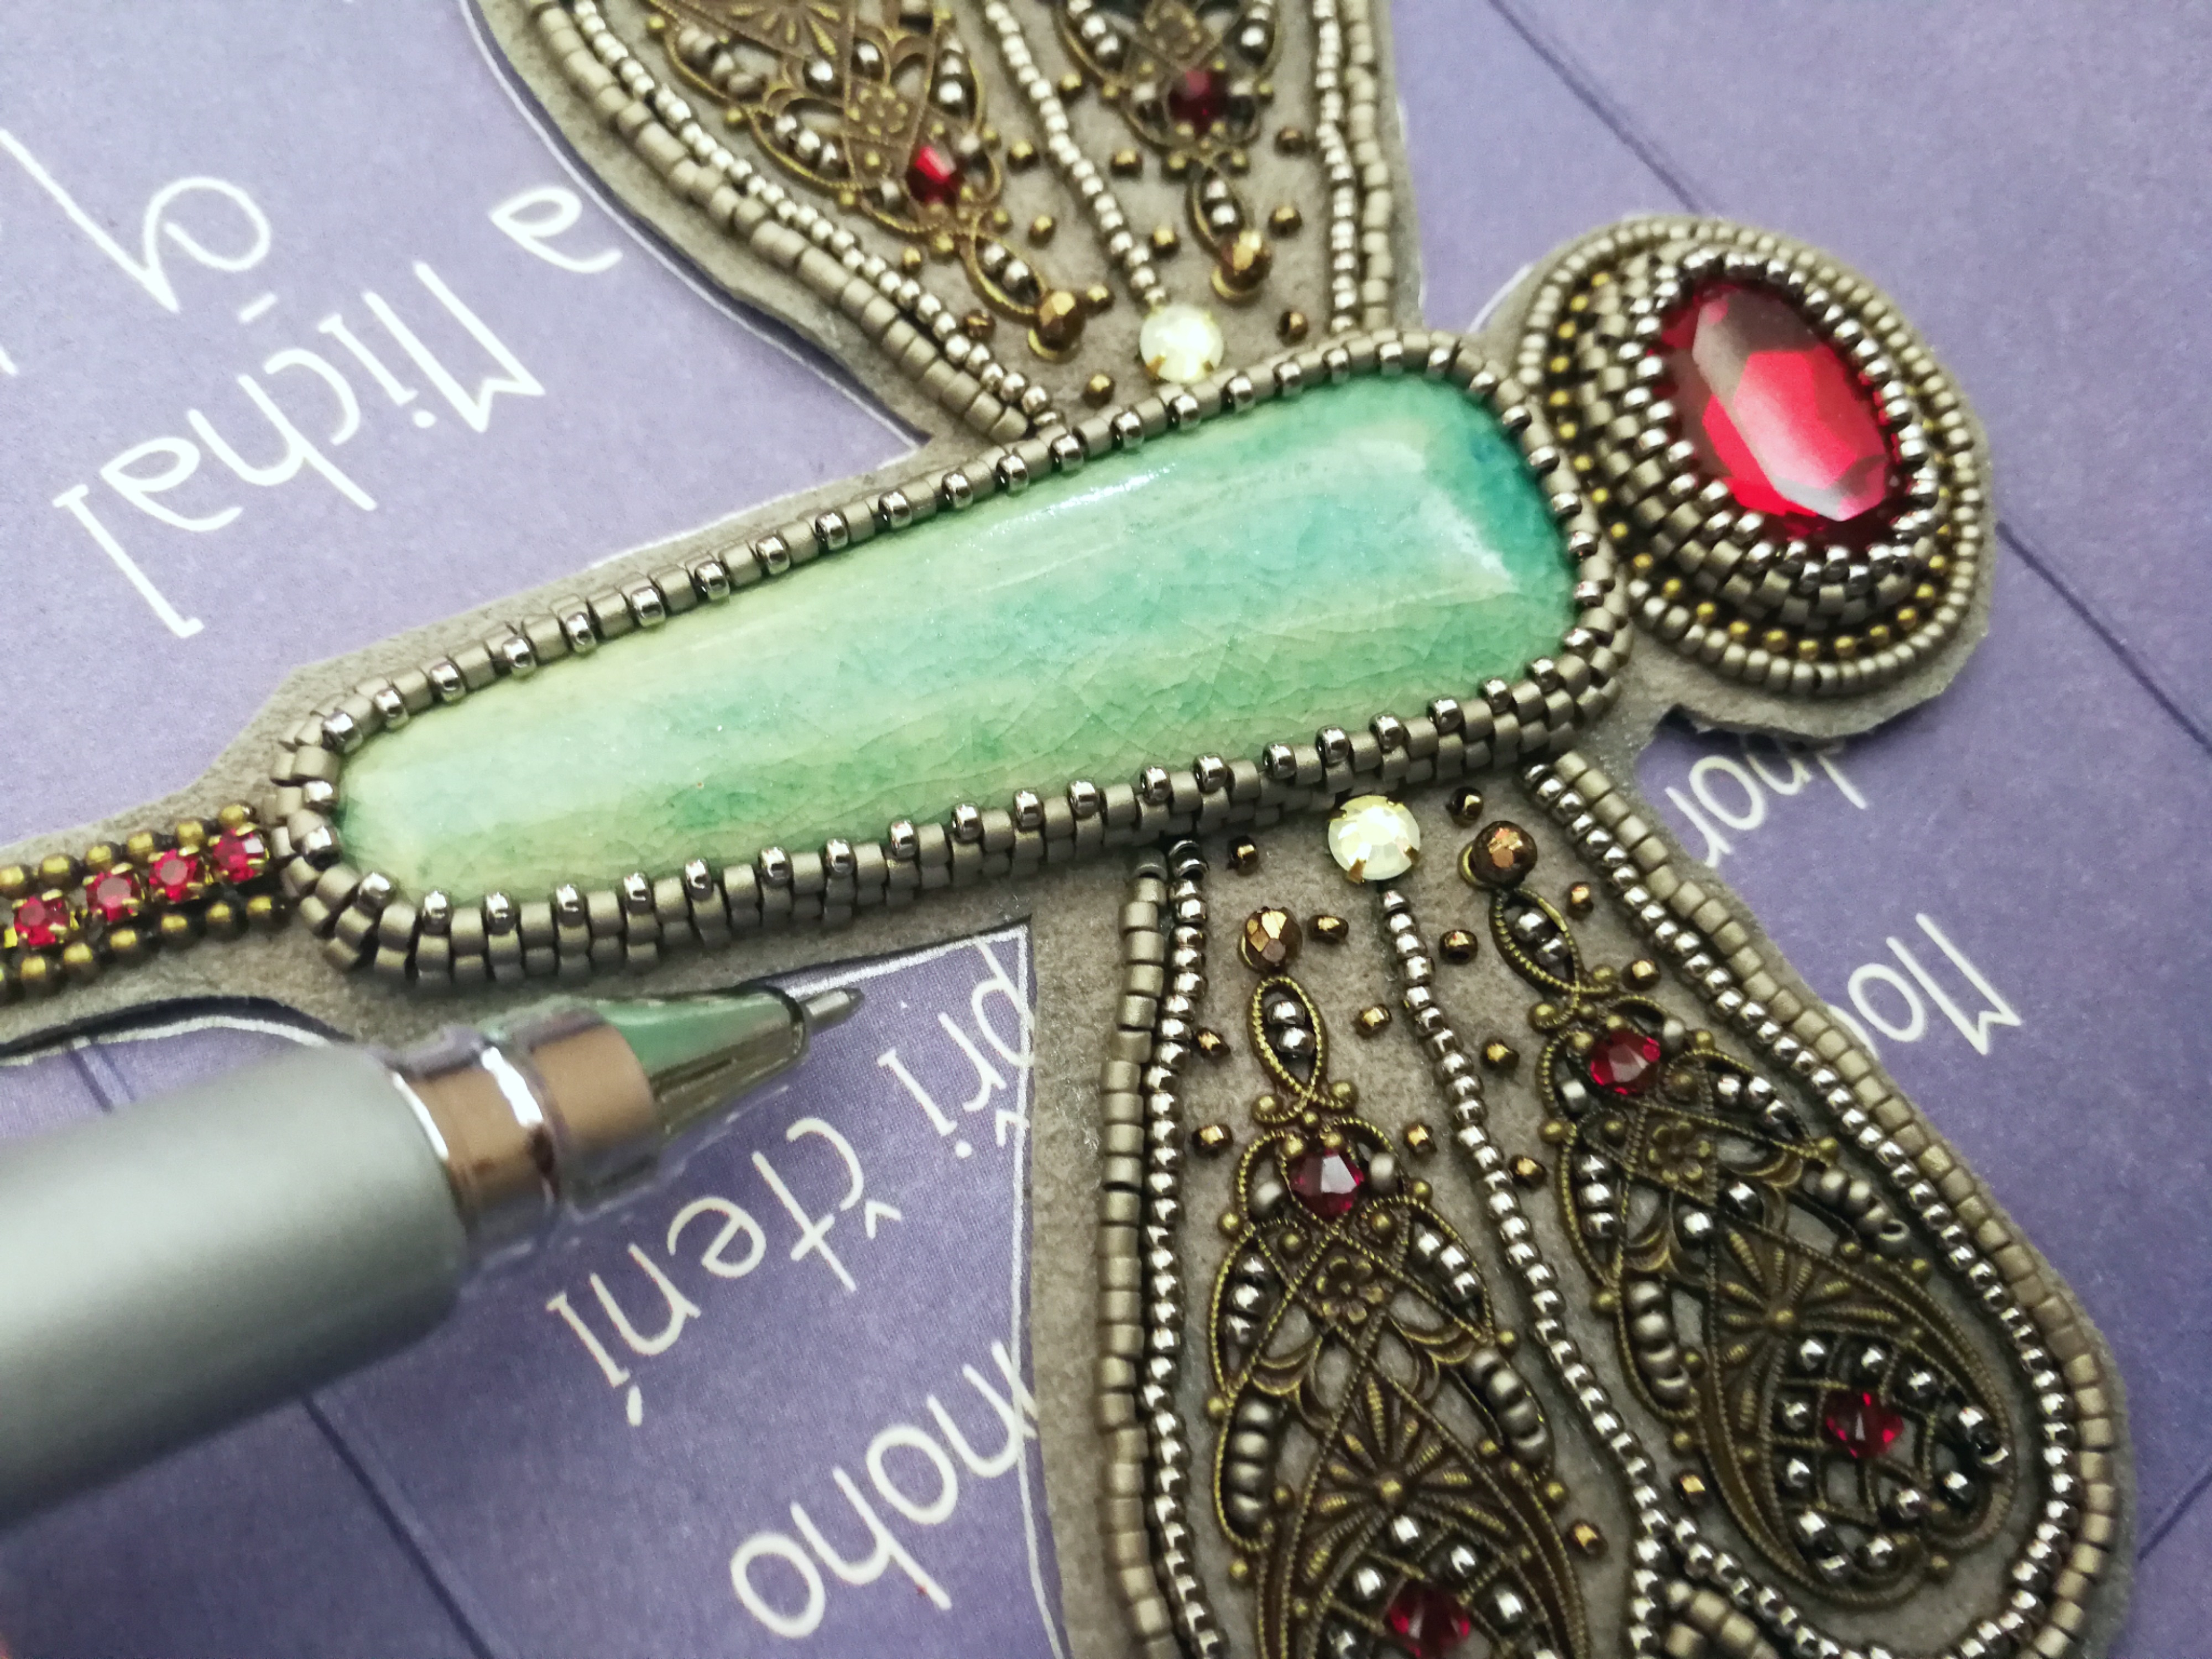
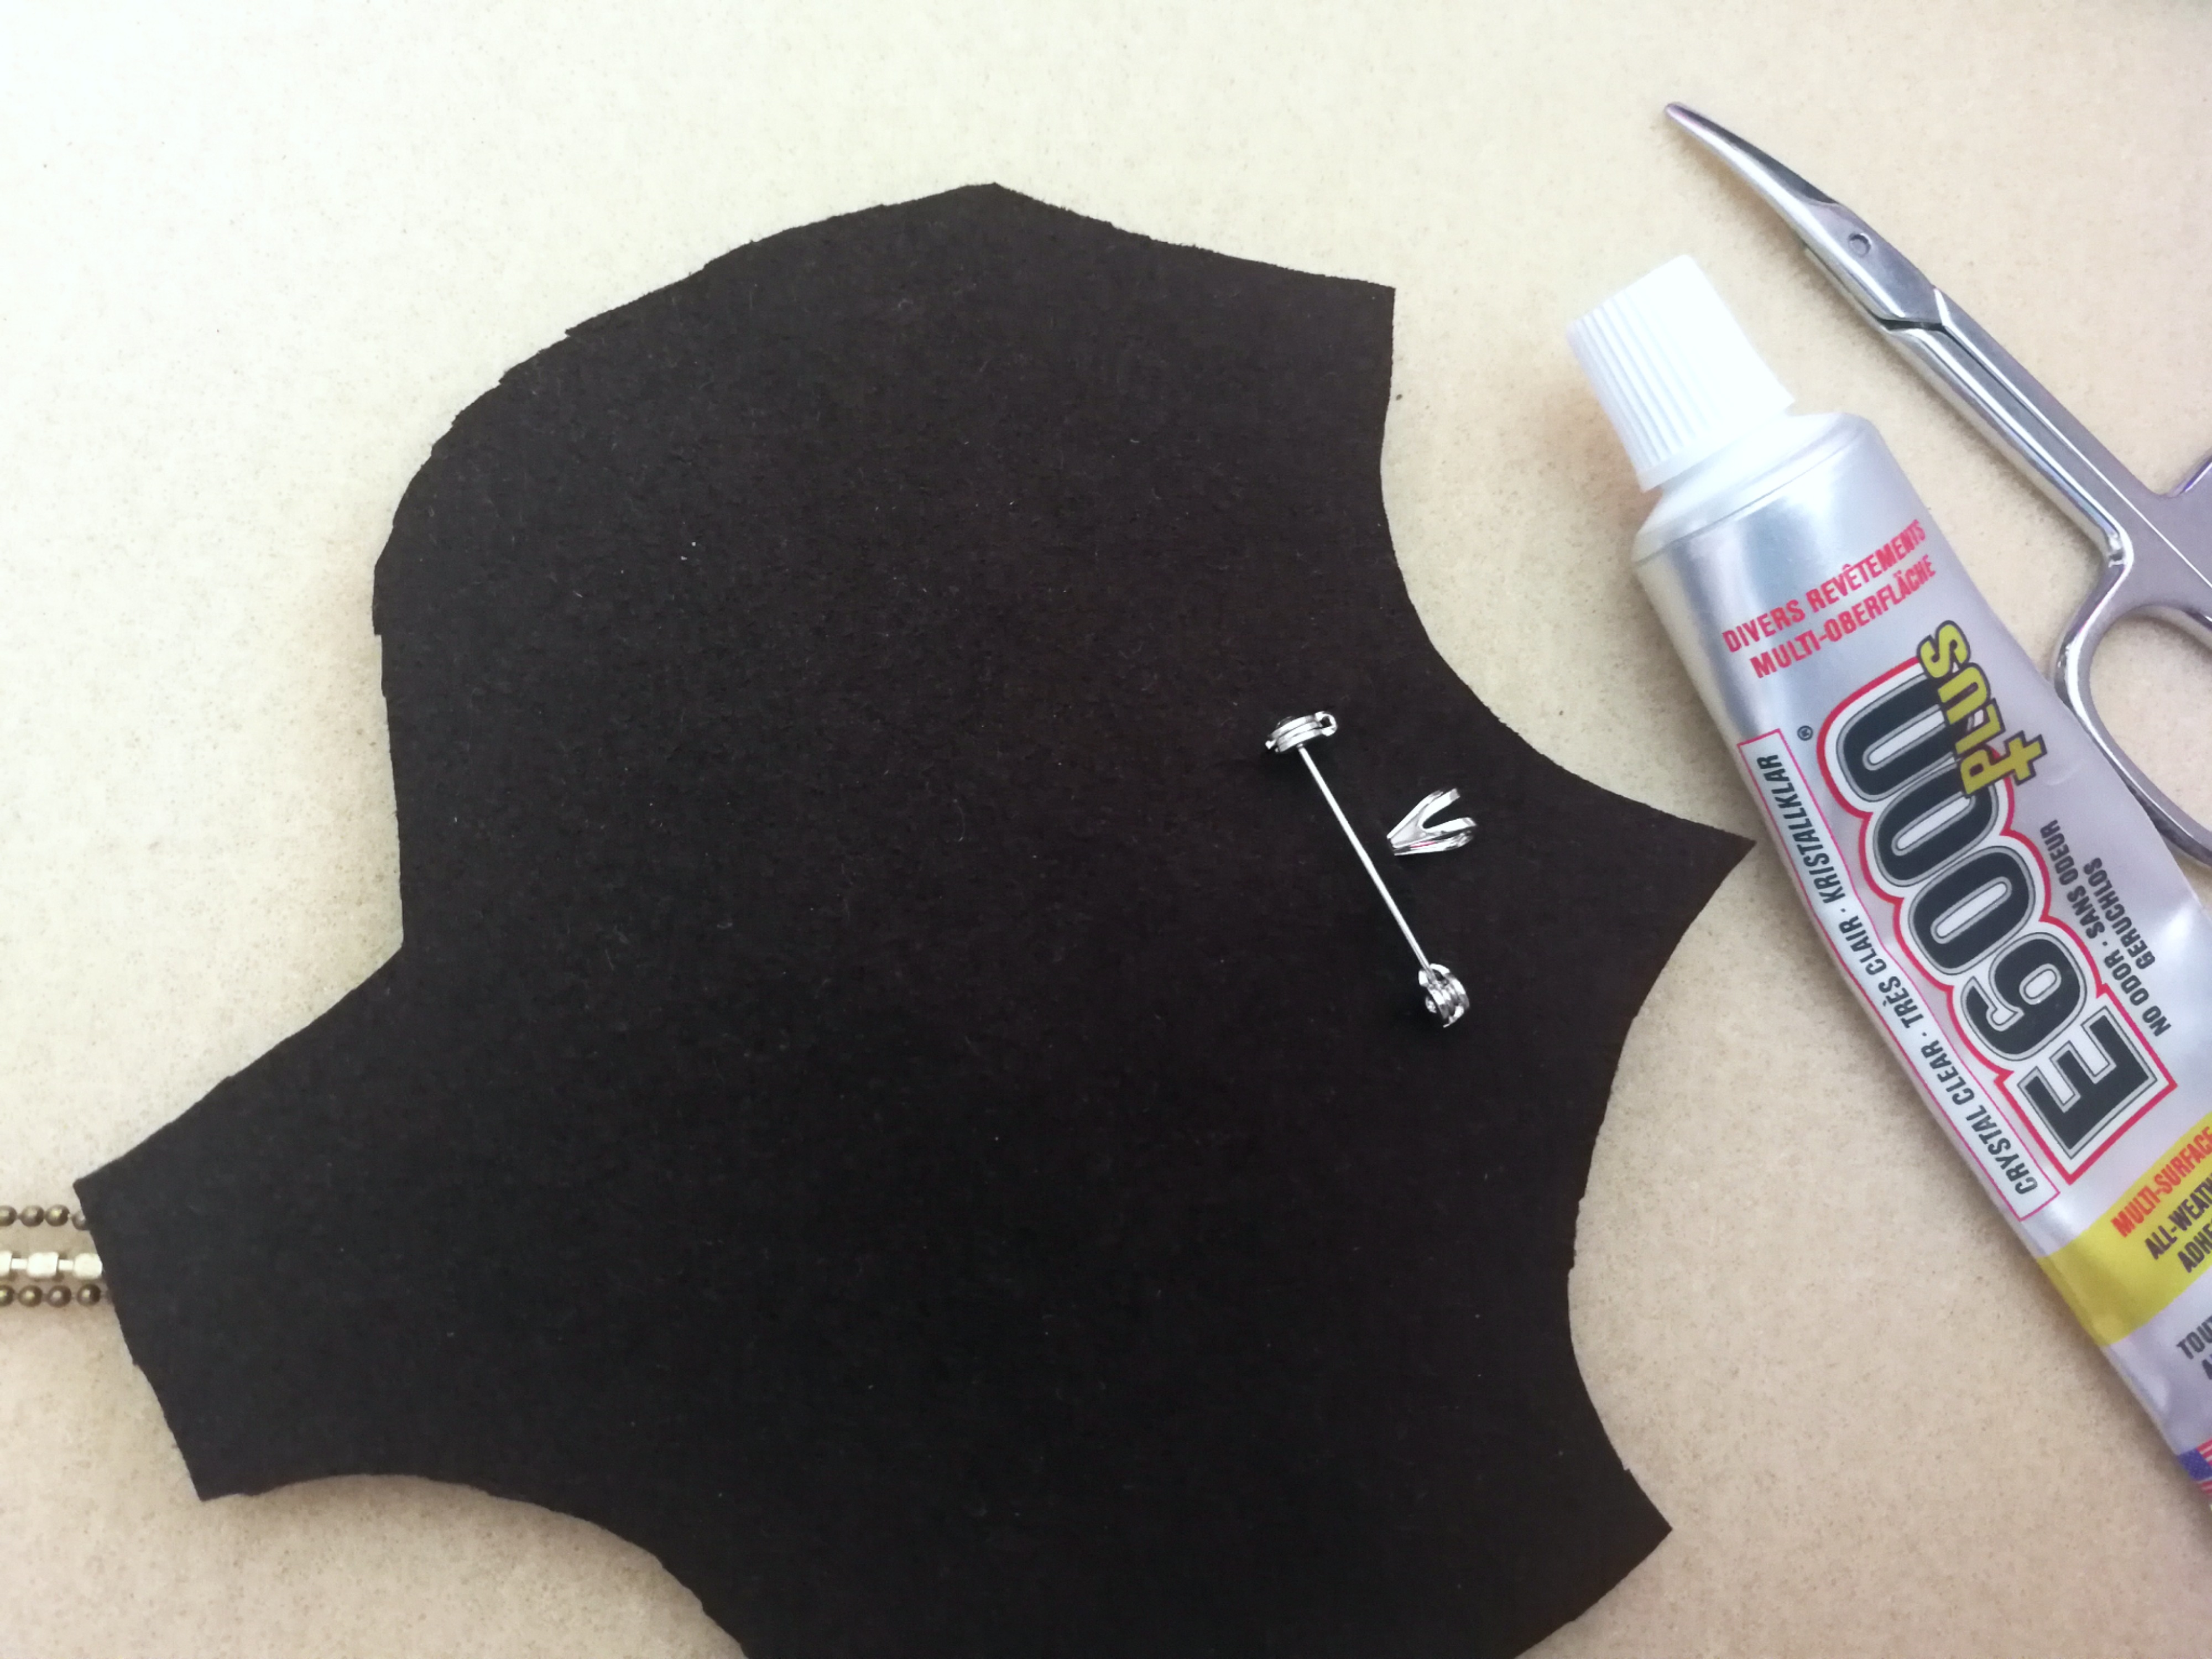
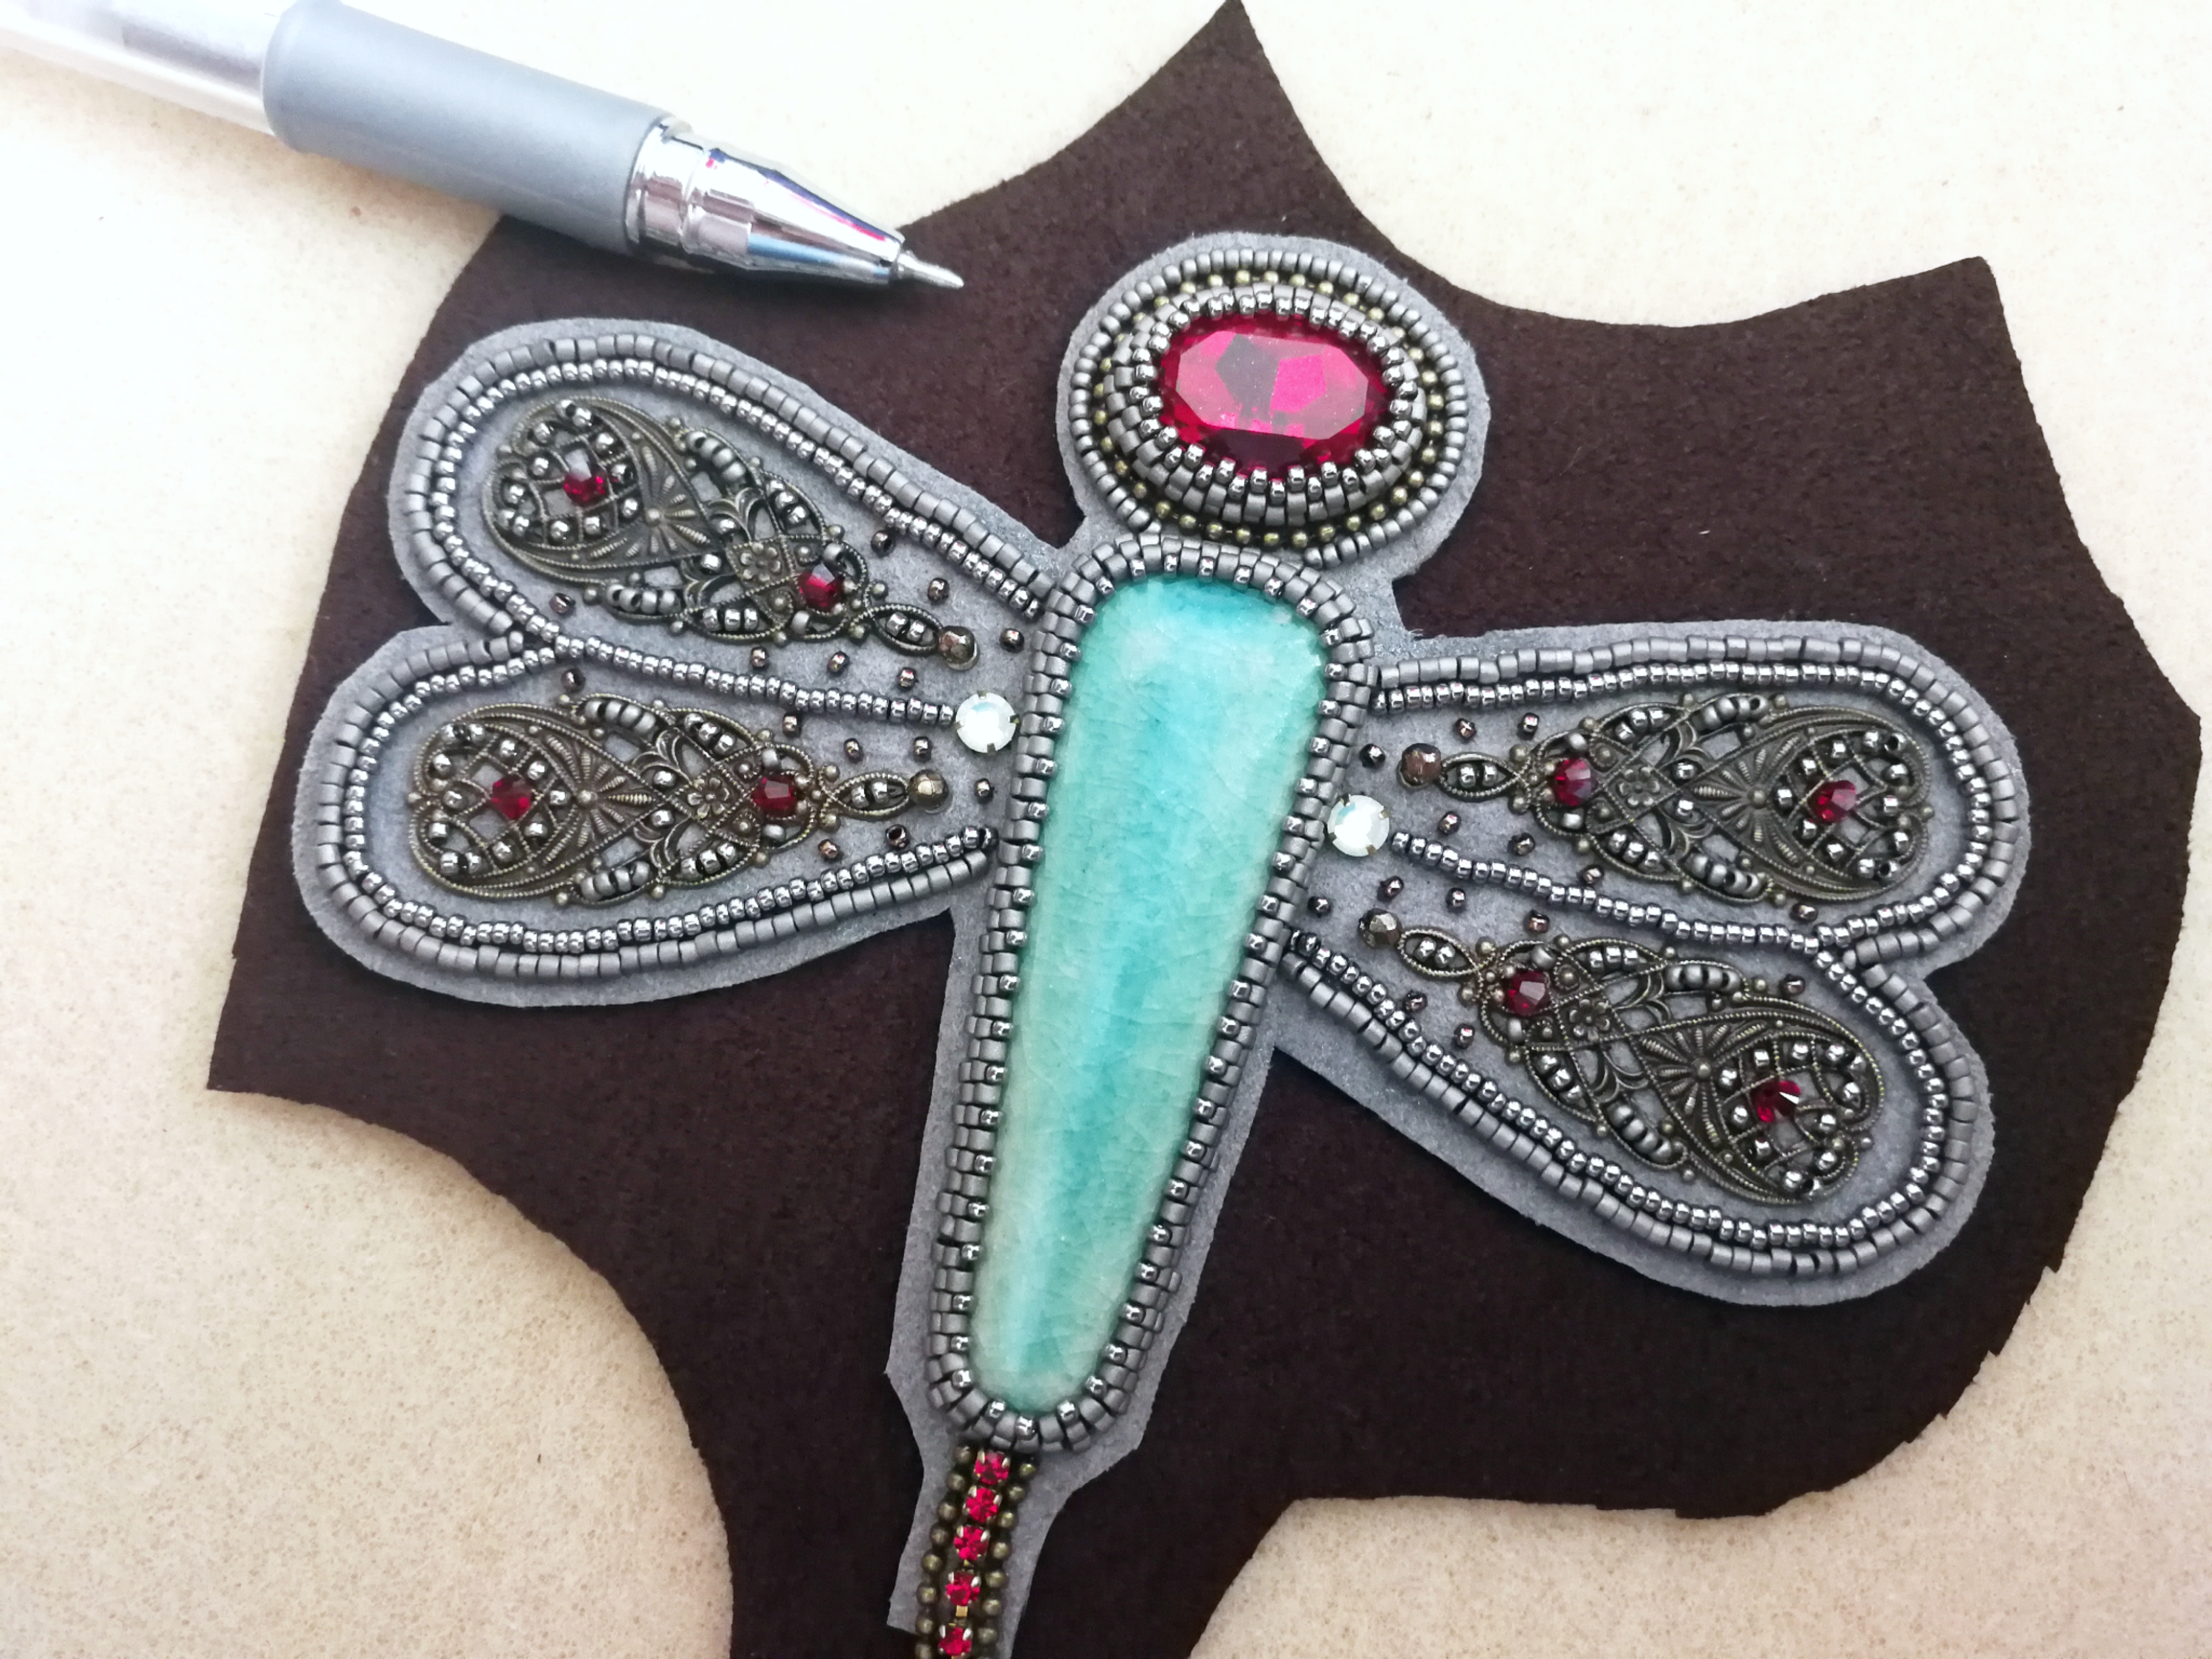
13. Adding brooch/pendant component, cutting and gluing the backing – this is how I do it. Place the component on your beadwork and make marks with a pen to see where you want to attach it, this will help you to glue it correctly. Then, do the same on backing Ultra Suede or leather – make marks with pen followed with 3 cuts into the backing – holes for holder and pin. Add glue to your beadwork and metal component and connect these two. Leave it dry and cut the extra Ultra Suede on the edges.
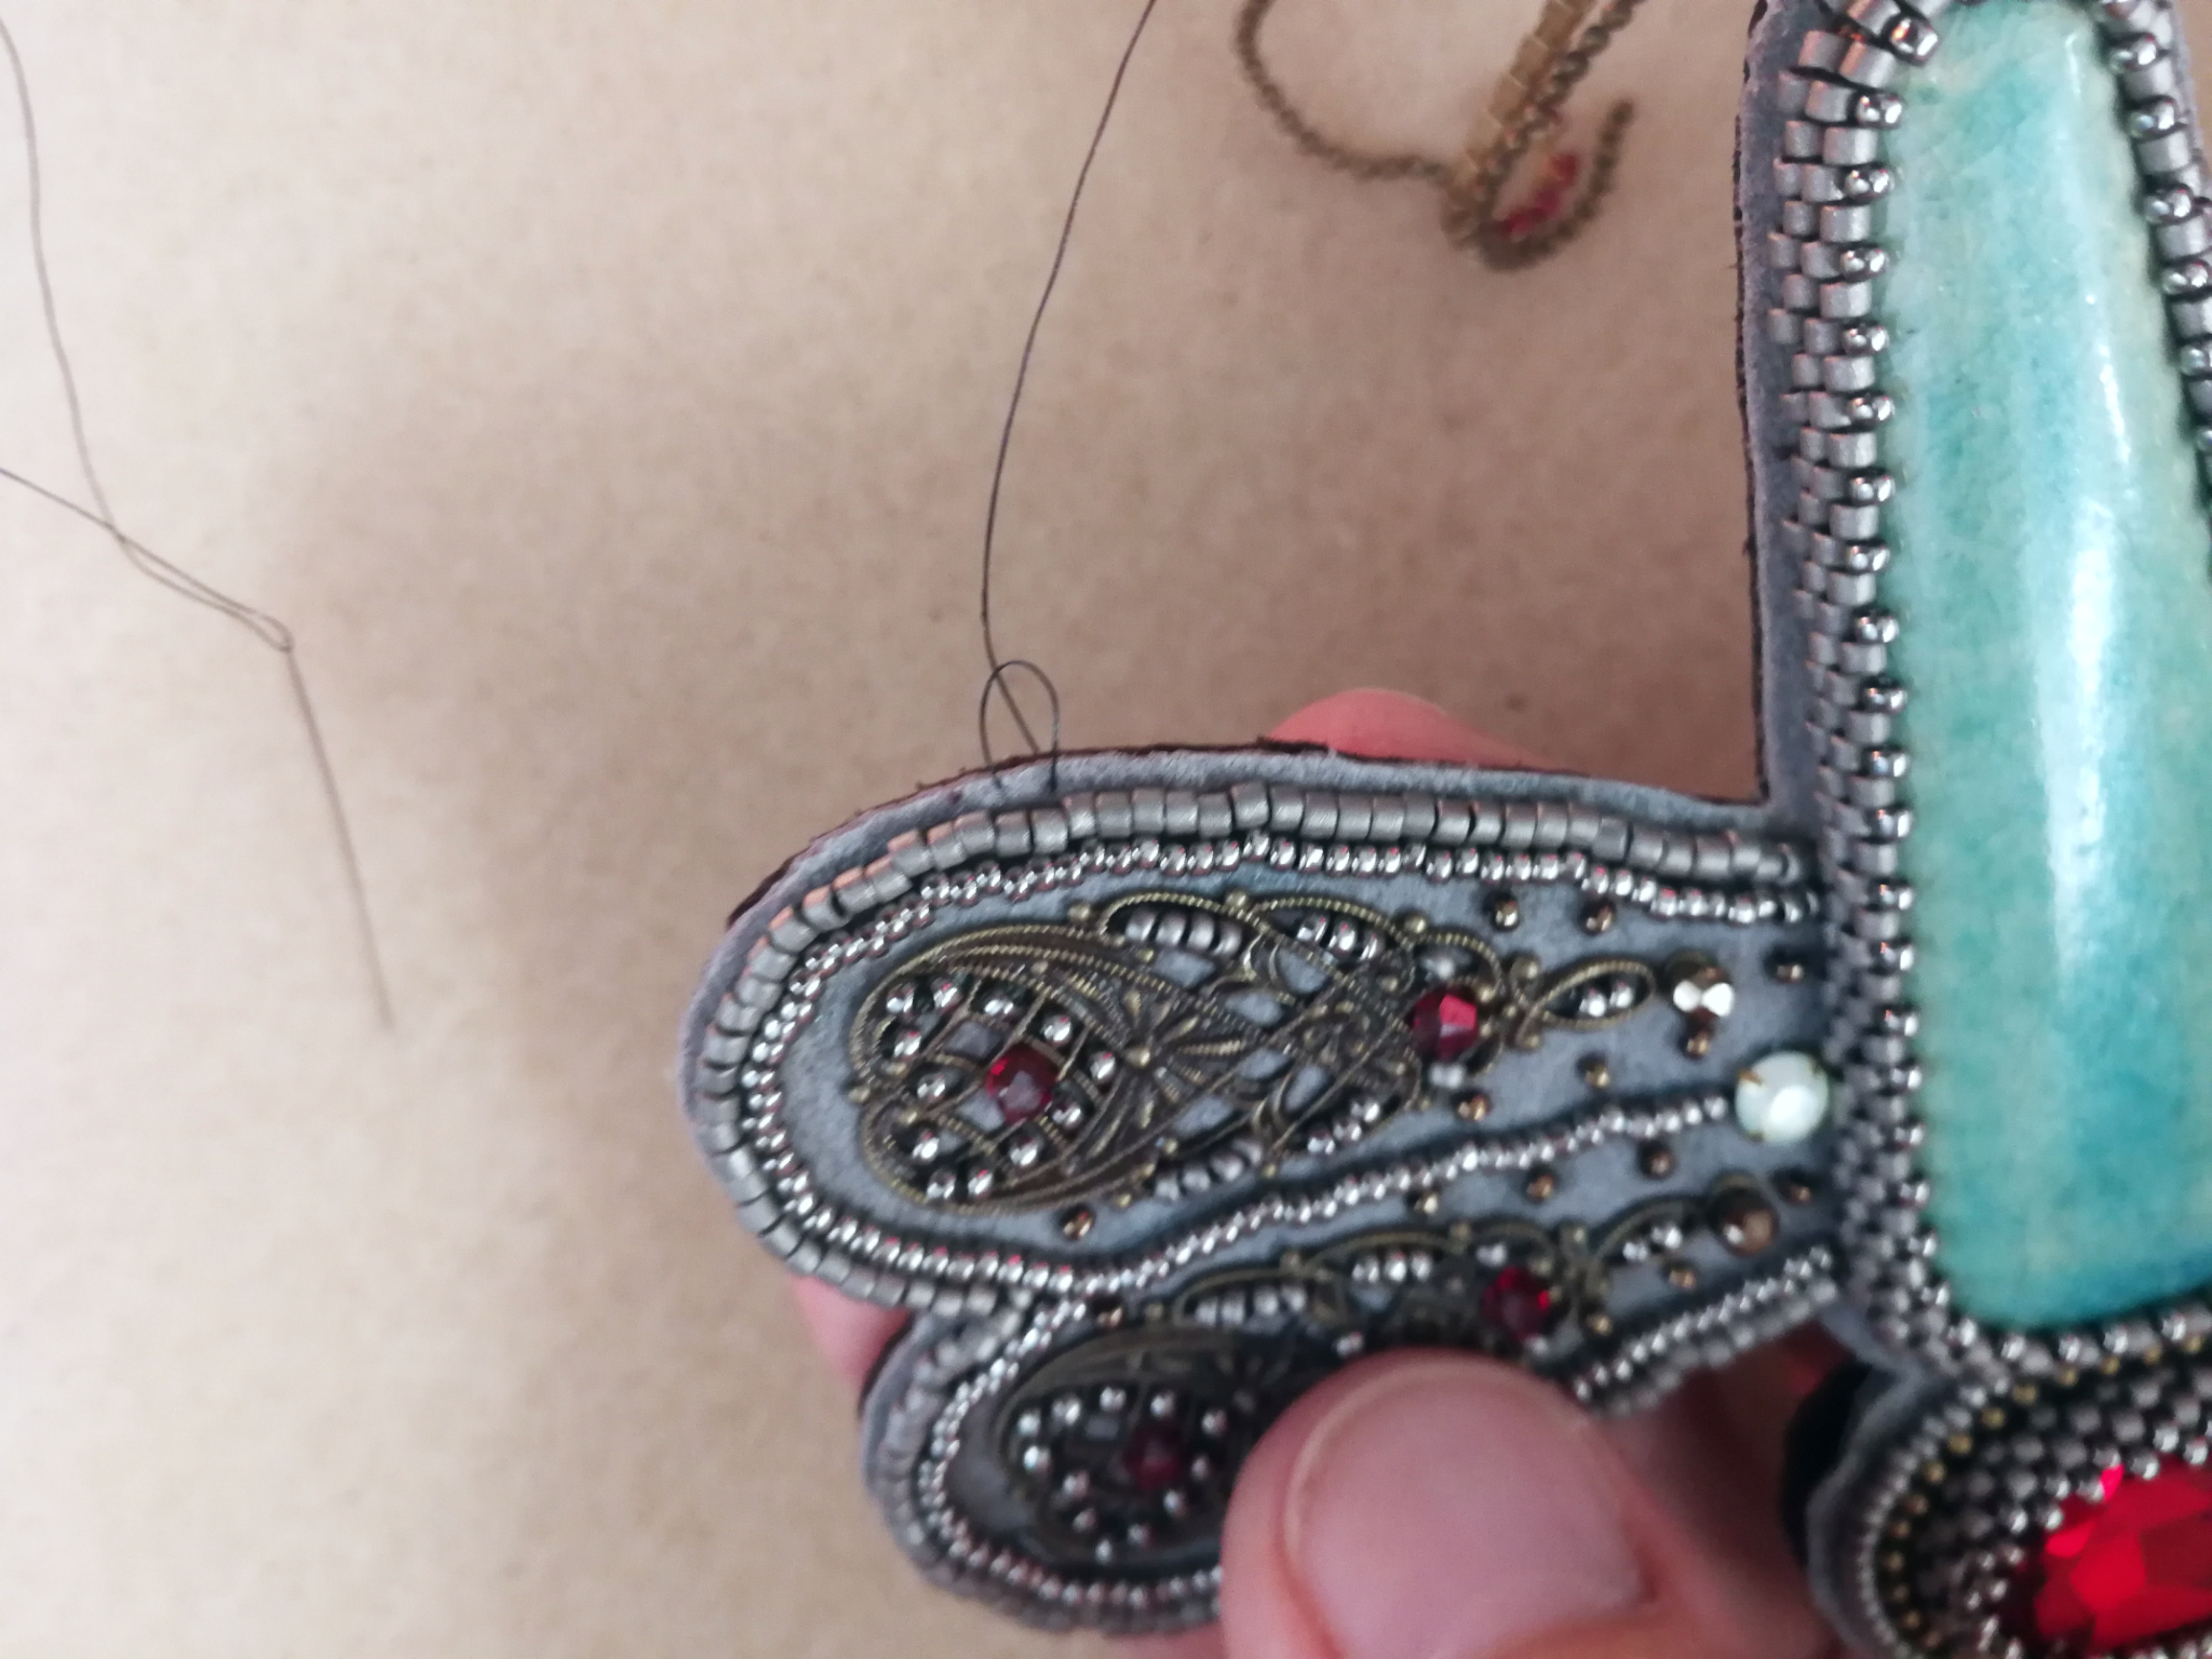
14. Connect all 3 layers (foundation, cardboard paper, backing) with a simple blanket stitch. You can also create the edge with a Delica row. (See Traveller series for more details about edges.) Finish your beadwork by hiding your knot and trim the thread.
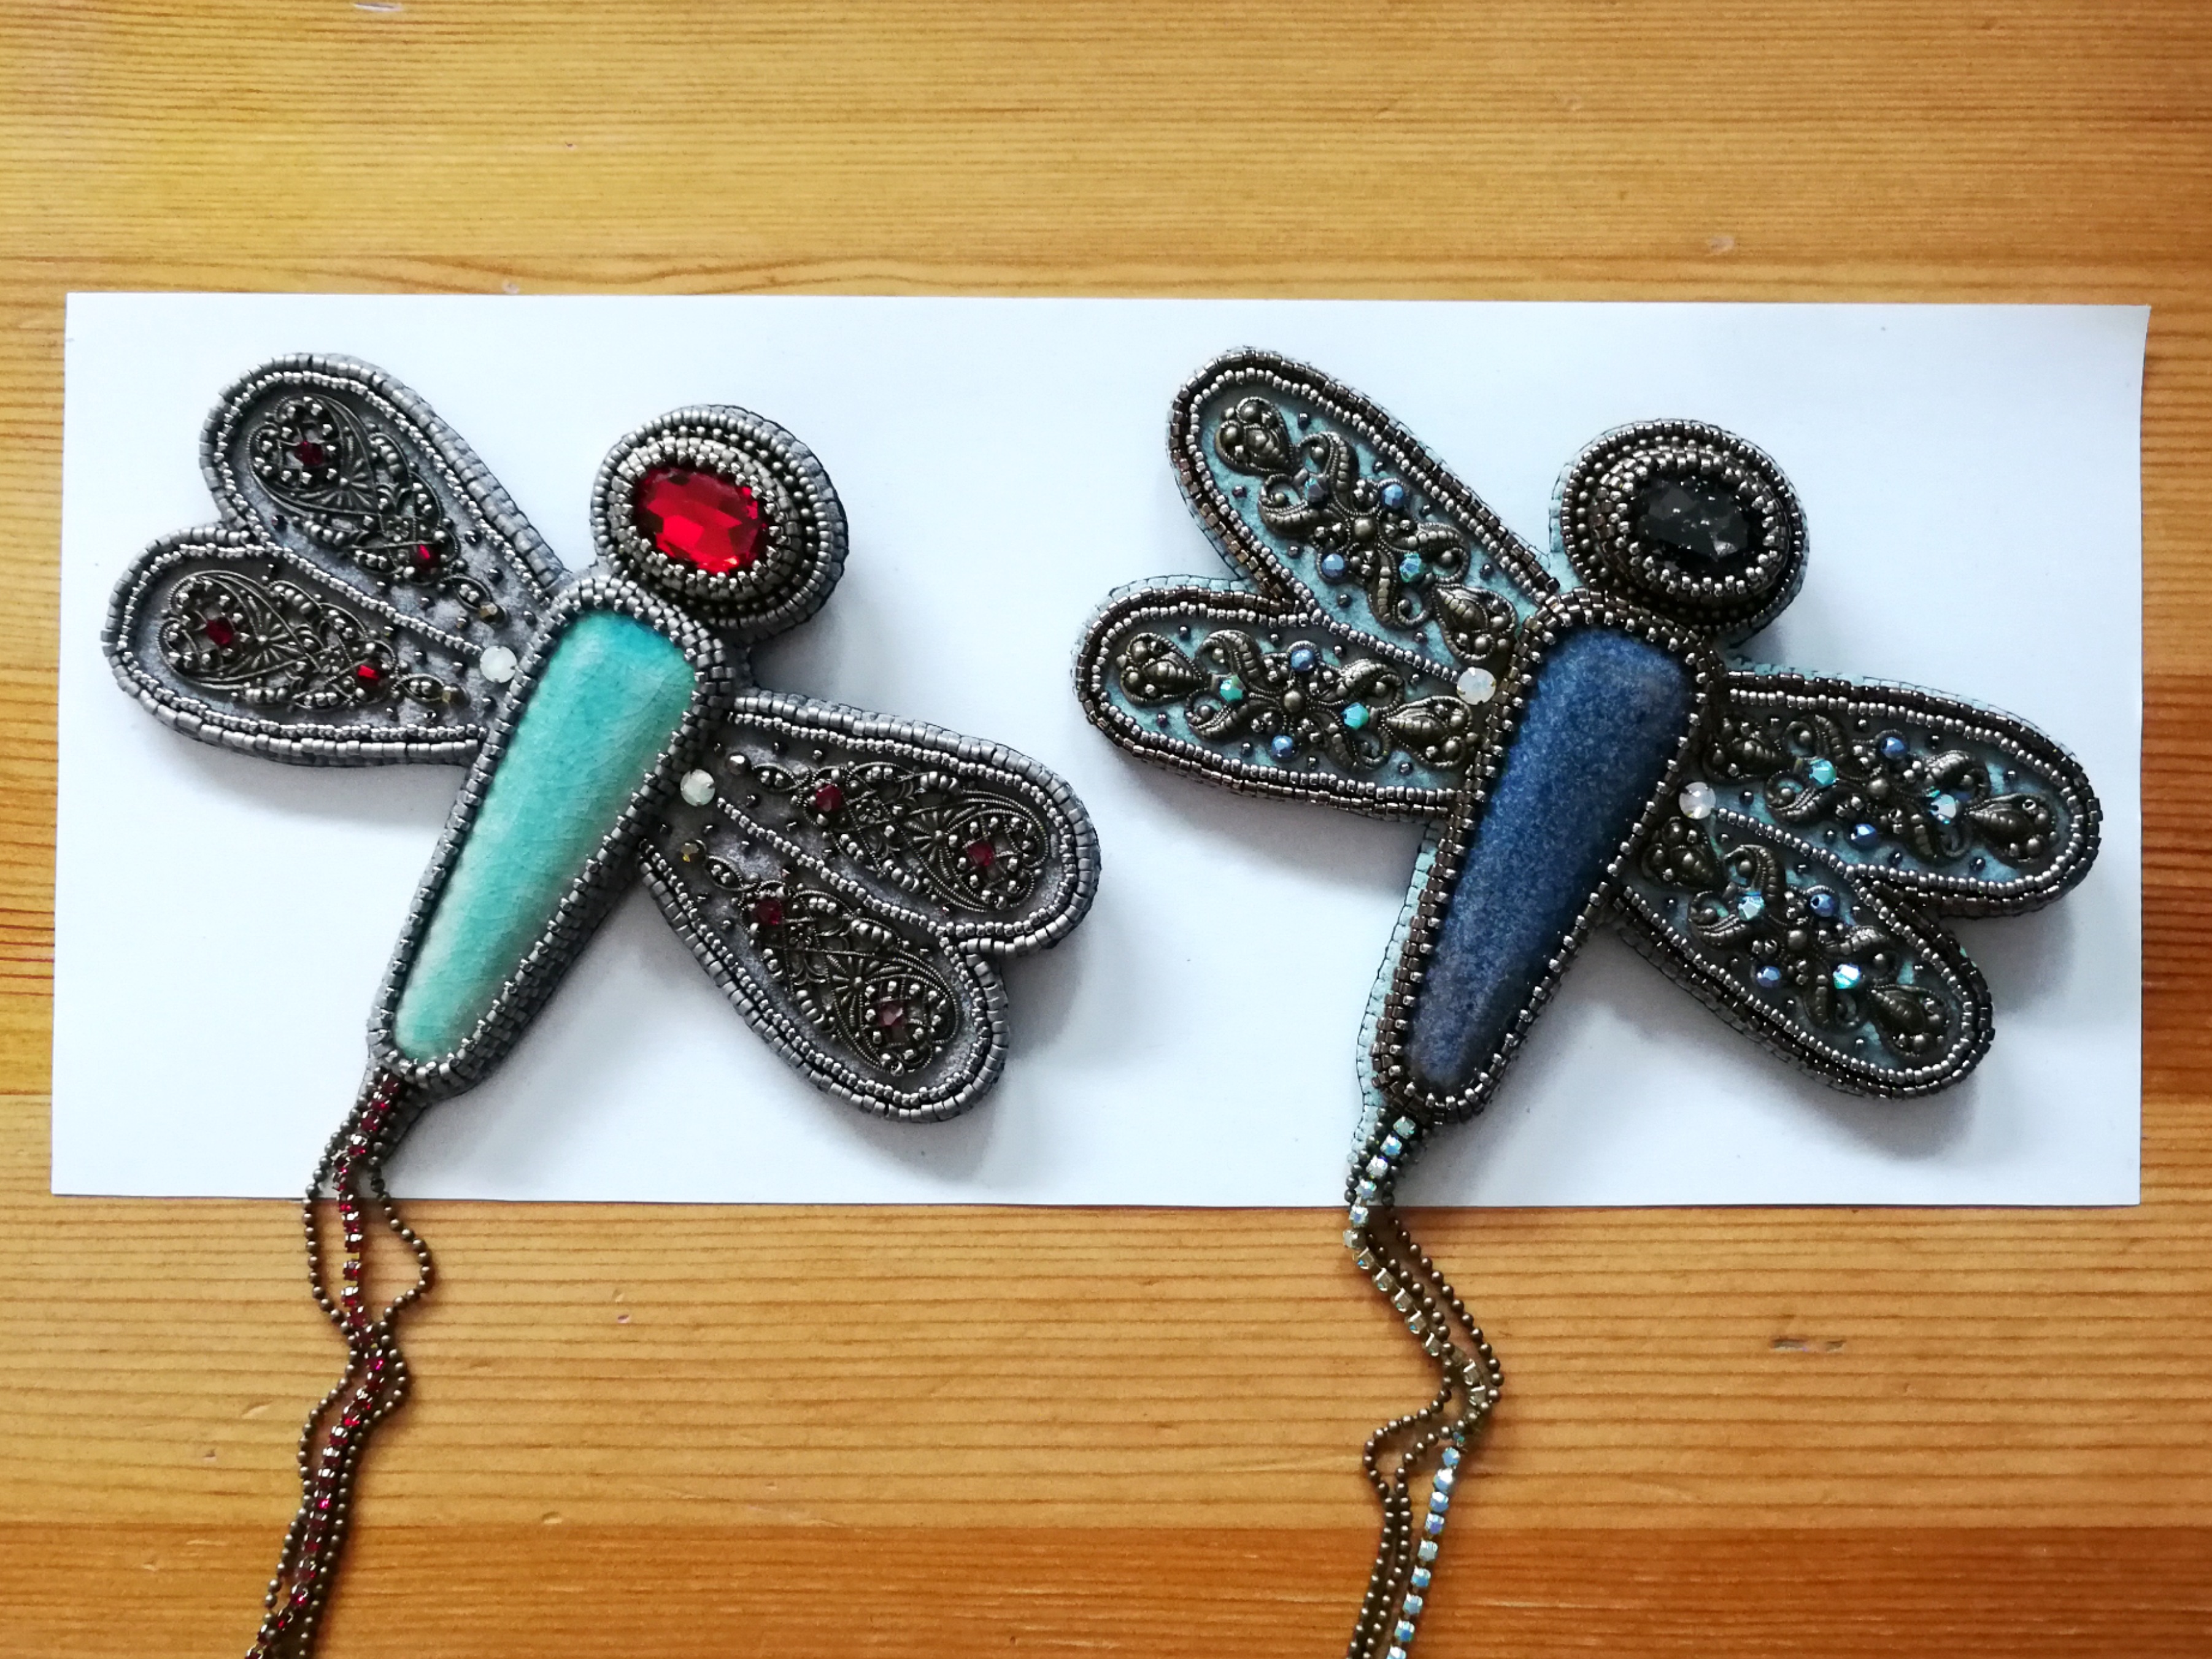
Enjoy your Dragonfly!
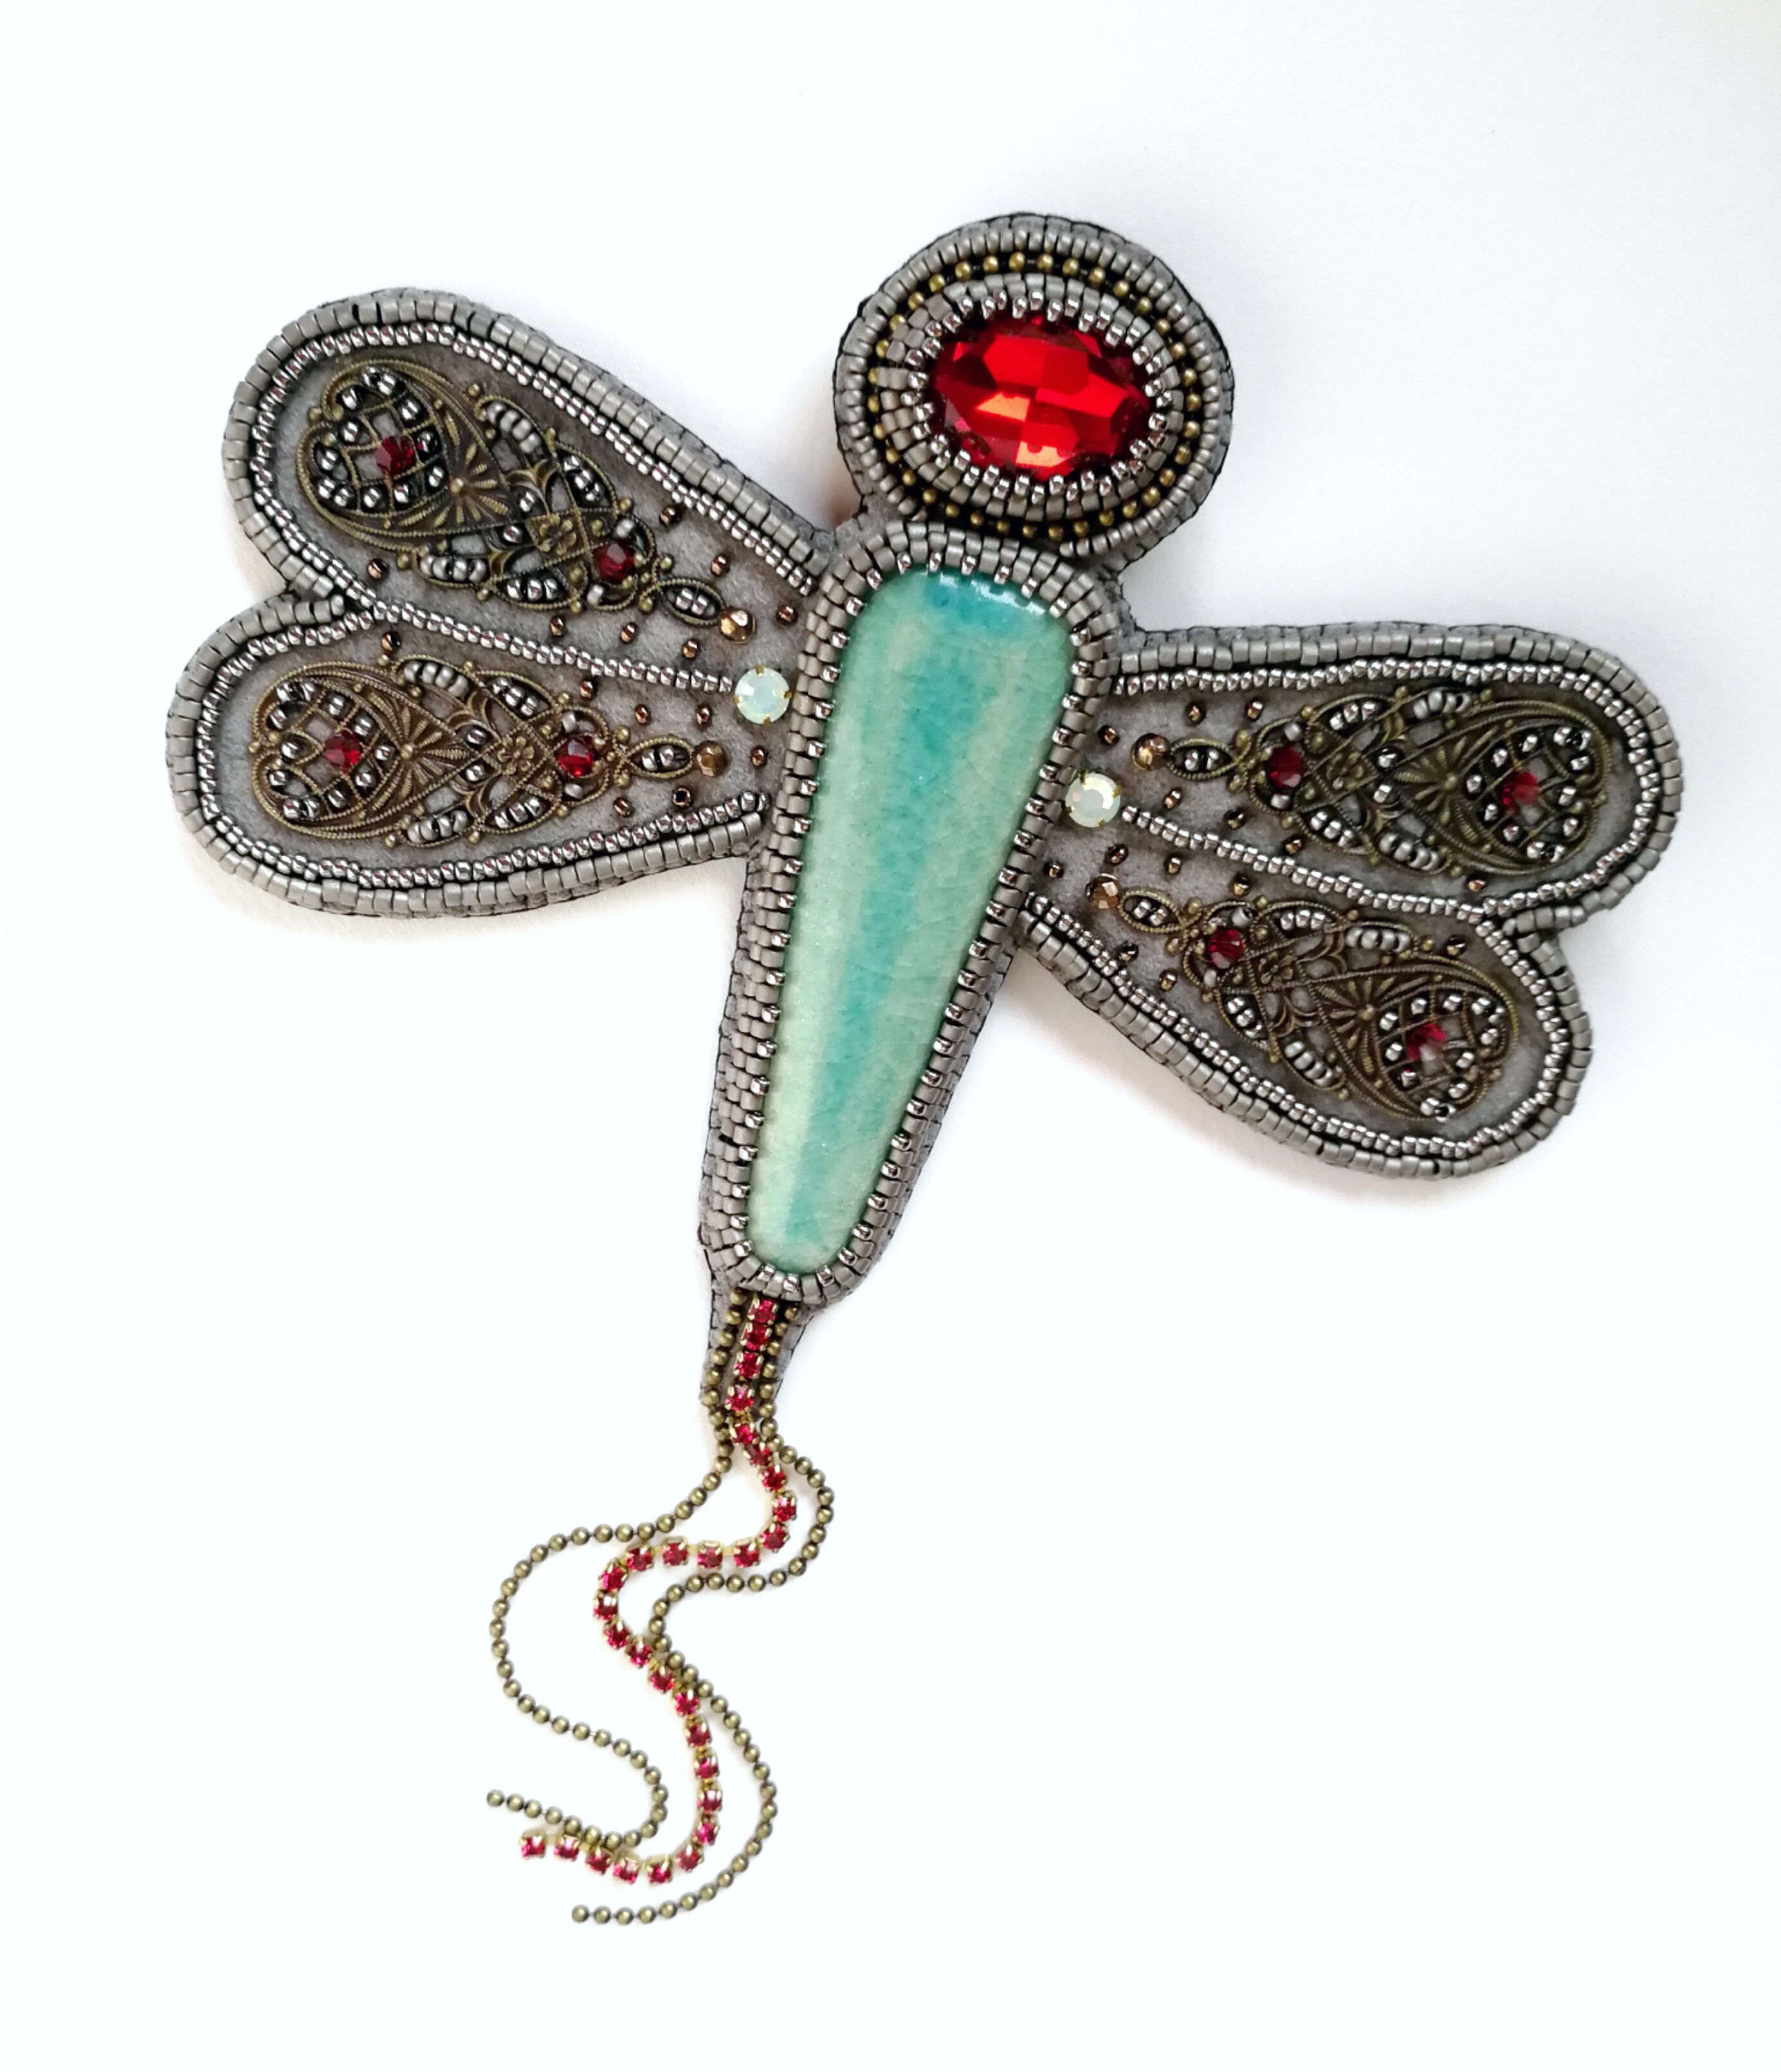
Enjoy your new pendant and brooch, and share it with us in Beadingschool Club!
Follow Beadingschool by Erika Sándor for more beading inspiration!




Wow that was so great I want to make just not sure it to big for me but I did order the body for the dragon fly .
Thank you Annie, well, this can be anything. If it’s too large to wear, you can always turn it into a decoration/charm pendant. Enjoy beading your dragonfly!
Zuzi this is a beautiful creation! The instructions are very easy to follow. I am able to put to use stitches I learned from Erika and the Traveller tutorial. Thank you for sharing this wonderful dragonfly with us!!
Thank you dear Johanna and please, show us your dragonfly, or any other jewel you make based on this tutorial! 🙂
Zuzi to je nádherná vážka 💖 srdečná vďaka za tvoje inšpirácie 😘 je to radosť a veľké povzbudenie pre mňa ❤️🌹
Ďakujem Ludka! Teším sa, keď si ušiješ podobnú 🙂