Beaders sometimes ask me, what’s the best way to prevent beading-fatigue and recharge creative ideas. Here’s my list of top tips:
- Focus on the fun instead of “achieving.” Keep in mind, that beading is supposed to bring you pleasure – and let’s keep it that way!
- Sure, it’s nice to step out of your beady comfort zone. I can only encourage you to do it, as it will make you grow – in your beading and personally, too. However, don’t let yourself feel pressured by something someone else did or showed on social media.
- Learn to enjoy art. Go to a museum, listen to concerts, spend time with books on art history. They’ll give you lots of ideas and will help you to find your own voice.
- If a piece is giving you more headache than what still feels ok, put it aside. Beads are patient and they don’t have a ‘best before’ date. (It’s nice to set aside a box for these work-in-progress jewels.)

This was my coffee break this week when I felt overwhelmed and needed to clear my mind. - Go out for a coffee. (Best advice from a coffee-addict :D) Seriously. Dress up, walk to your favorite coffee shop, drink a cappuccino and walk back home to finish what you’ve started. Avoid using your phone, focus on your coffee (Ok, you can have decaf if you want to, or even tea, if that’s what you prefer.), your surroundings, talk to the barista a bit and enjoy the view while you sip your drink. Even a couple of minutes of rest and taking your mind off of the task makes a huge difference.
- Bead together with friends. It’s a cliche, but laughter really is infectious. You’ll feel better from spending time in the company of bead-friends, and they might be able to answer your questions if you have.
- Try a different craft then beading. A fun, short adventure will bring back your mood to create and might even inspire some new ideas. And unless it’s a private workshop, you’ll most definitely meet some like-minded people, and may even make some new friends 🙂

Following my own advice 😀 I was participating in a metalsmithing workshop this past Saturday. The teacher was a fellow Hungarian living in Amsterdam, Dora. She creates under the brand ‘Designed by Dori.’
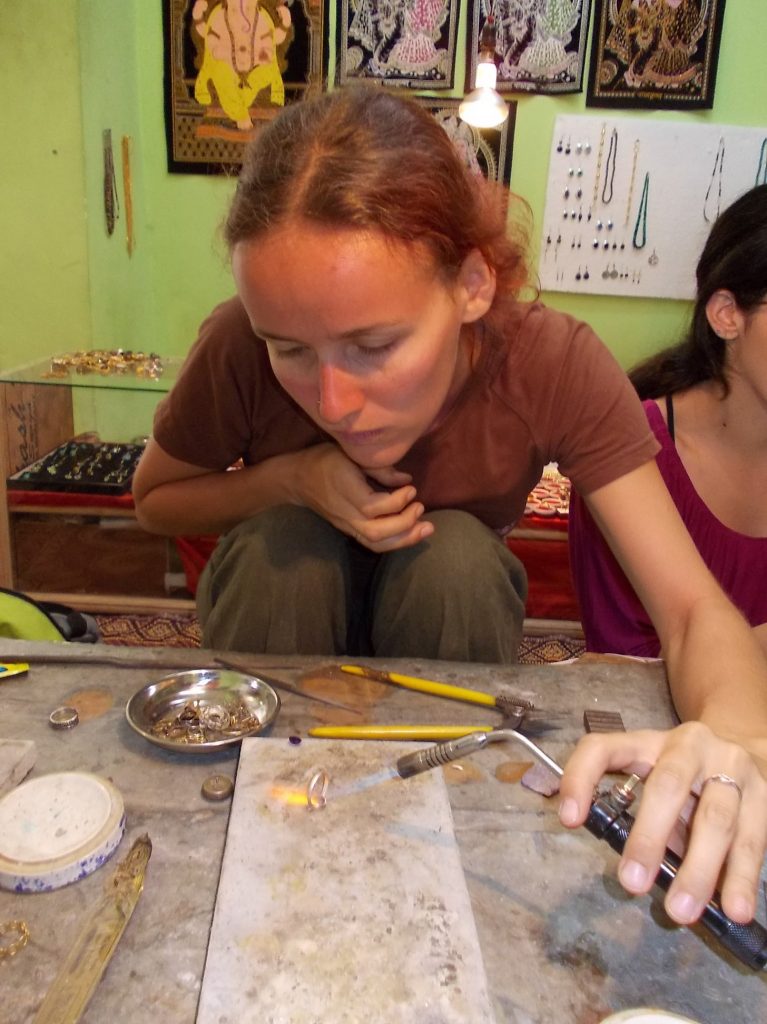
A couple of years ago I tried this technique once while visiting a village in the Indian Himalaya mountains. McCleod Ganj is where the Dalai Lama lives in exile. He was followed there by many other Tibetans. Jewelry making is a traditional artform in Tibet, and luckily, the refugees brought the tradition with them to India. On the picture below you can see me working on my first silversmith ring ever. I made a simple design and decorated it with a faceted Amethyst cabochon. My horribly burnt face is the result of a hike up the mountains the day before…
But now back to Dora and the metalsmith class in Amsterdam!
After a hearty breakfast (and coffee, of course) I headed out to the beginner’s metalsmith workshop on my bike. I live in ‘Old West’ in Amsterdam, while Dora was teaching all the way across the Amstel river. Thanks to the Dutch capital being a cosmopolitan metropolis in miniature size (with less than 850.000 people living here) I could be there in mere 15 minutes.
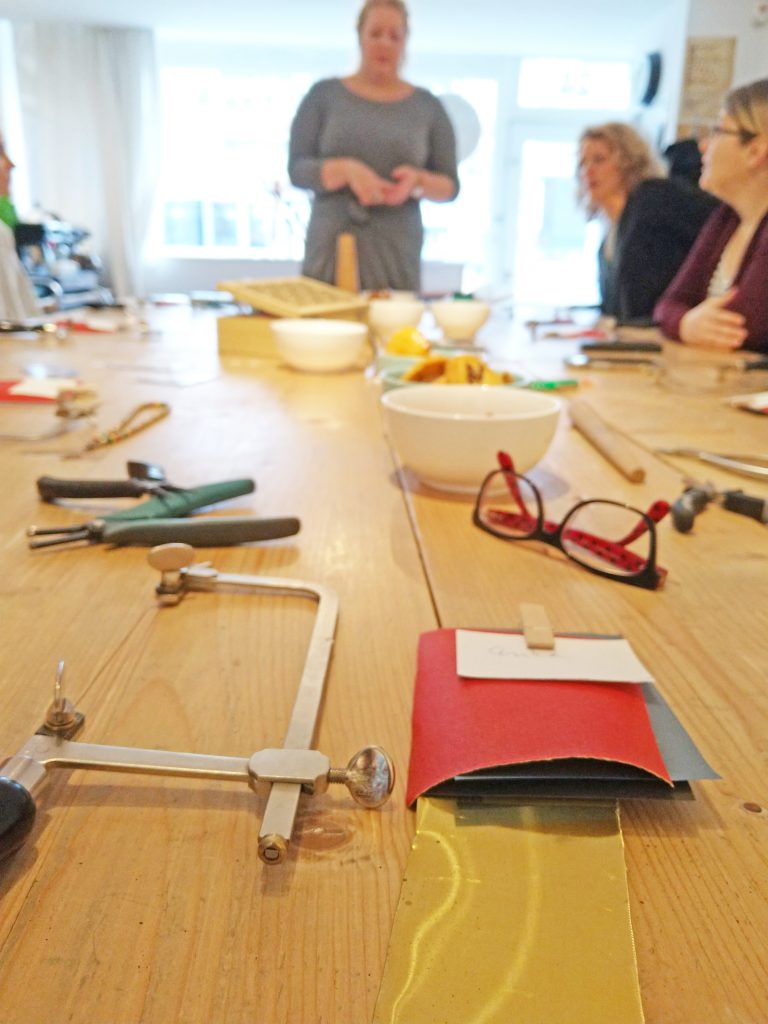
This is how Dora was waiting for us, with everyone’s names on the prepared material:
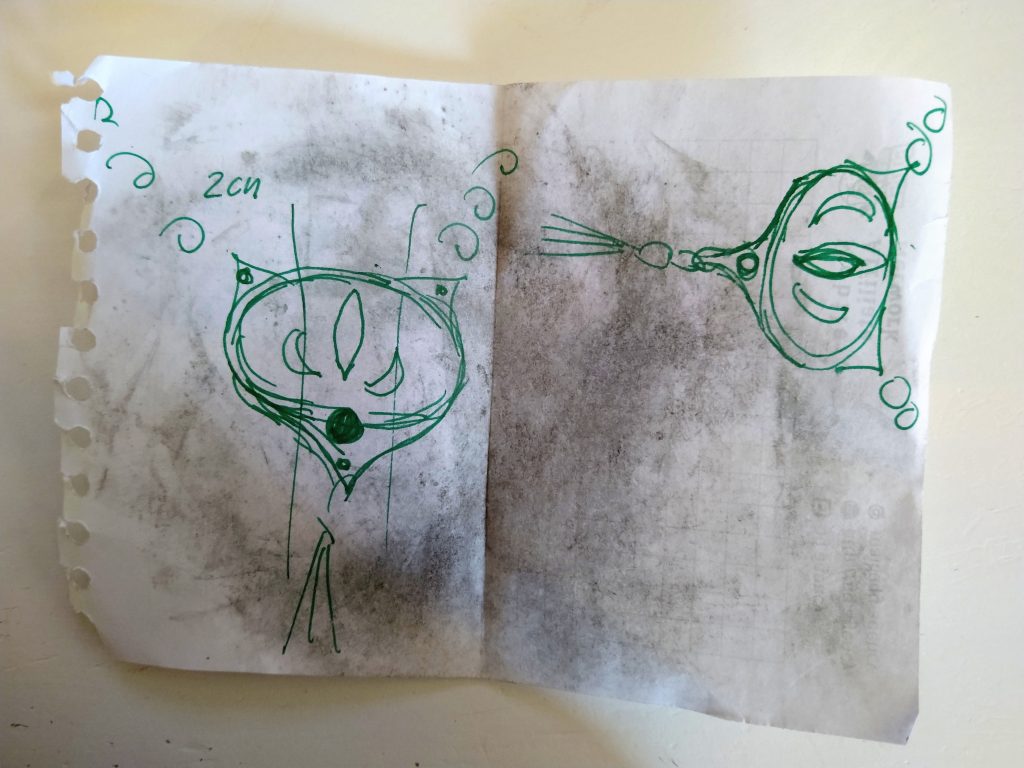
The first task was to drink our coffee draw our design on a piece of paper. Originally, I planned to make something completely different, as I was intrigued by the sample earrings Dora showed us in advance. It was a long pair of earrings, with the bottom dipped into turquoise blue paint! However, as soon as I sat down with my pencil (and as soon as I realized that making earrings would mean making the same piece twice) I changed my mind.
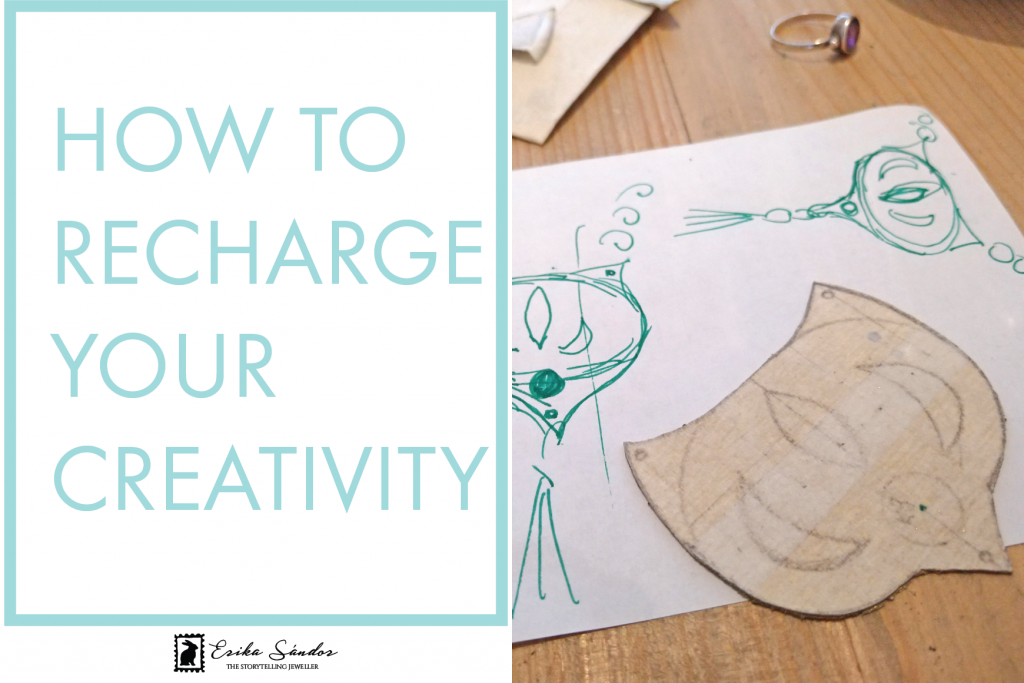
This was my masterplan. It got dirty from my fingers during the class.
After drawing the plans on paper we taped the piece of metal we got from Dora – in my case a piece of bronze. This way we could copy the outlines of the design on paper and correct it if necessary, instead of etching it into the metal with a sharp tool.
On the photo below in the background you can see the ring I made in India 10 years ago!
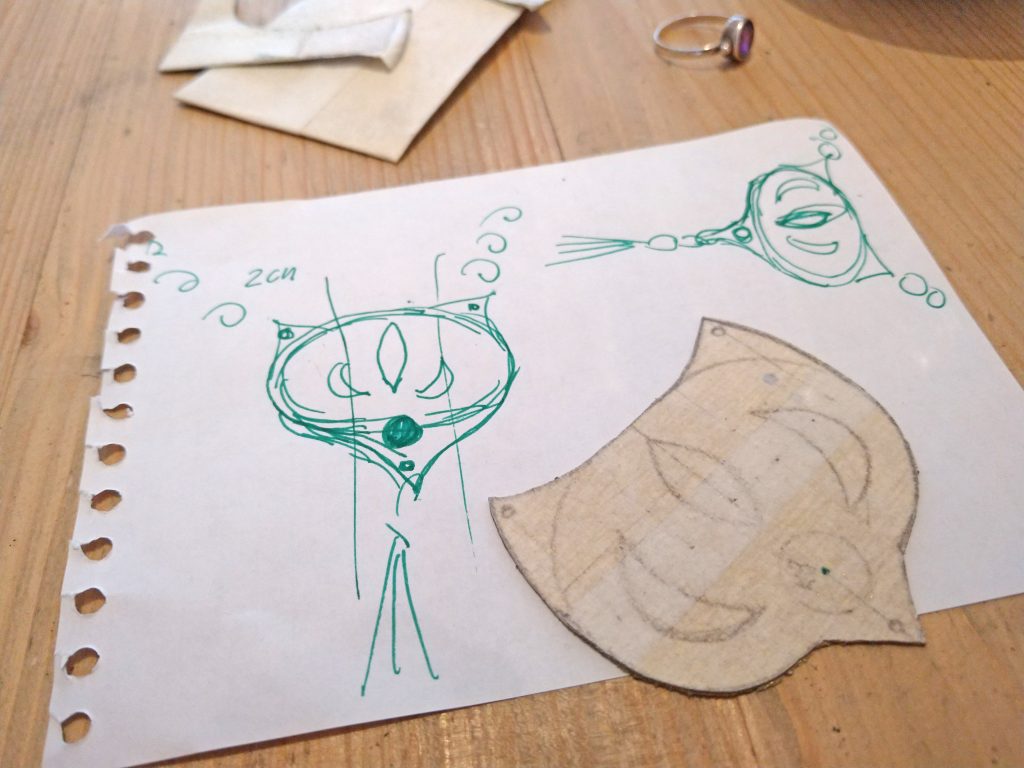
Dora told us to draw straight lines or perfect circles, as those are the easiest for beginners. You see how I listened – I’m a horrible student it seems 😀 We cut out the shape with a metal saw. The string of the saw is detachable. If you want to cut out a shape inside a shape, you need to make a hole in it with a punching instrument, detach the string of the saw, get it through the hole and put it back in its place. You’ll saw out these shapes from the inside out. In my case, three of them: the navette and the two crescent moons.
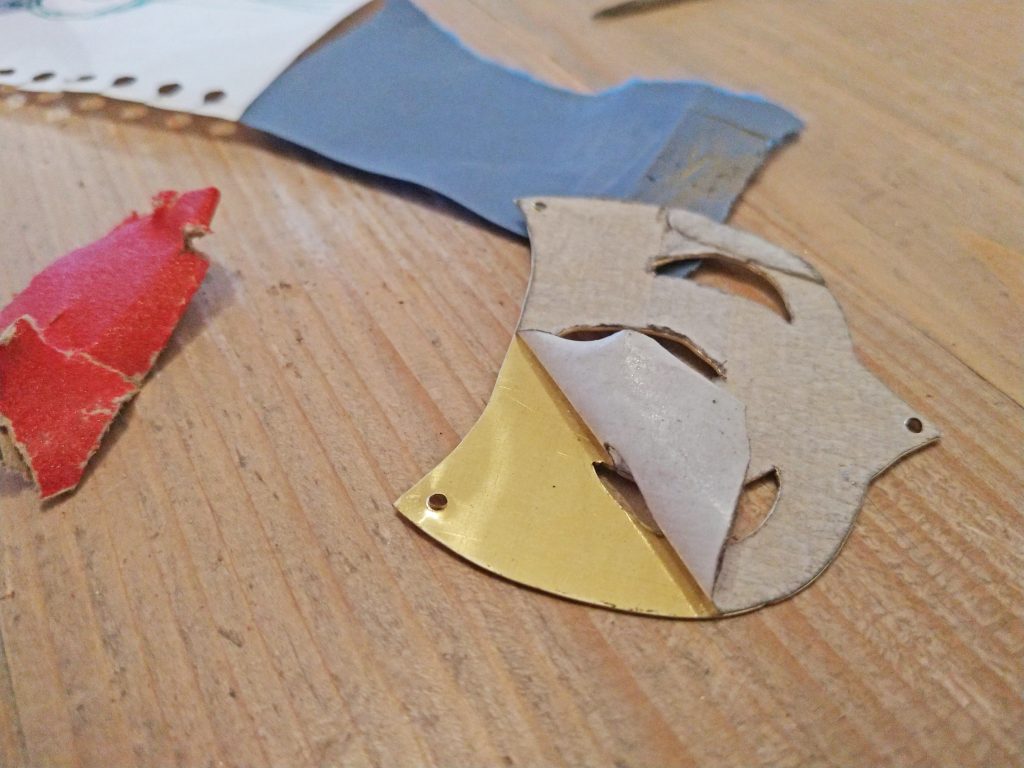
About two hours later: I finished the shape, cut out the decorating elements and punched holes where I planned to attach some beads. (Everything is better with beads, right? :D) I needed to file down the sharp sides and even used three different kinds of sandpaper to finish it off completely. This was a very exciting part, as I could finally peel off the tape and see the motif itself.
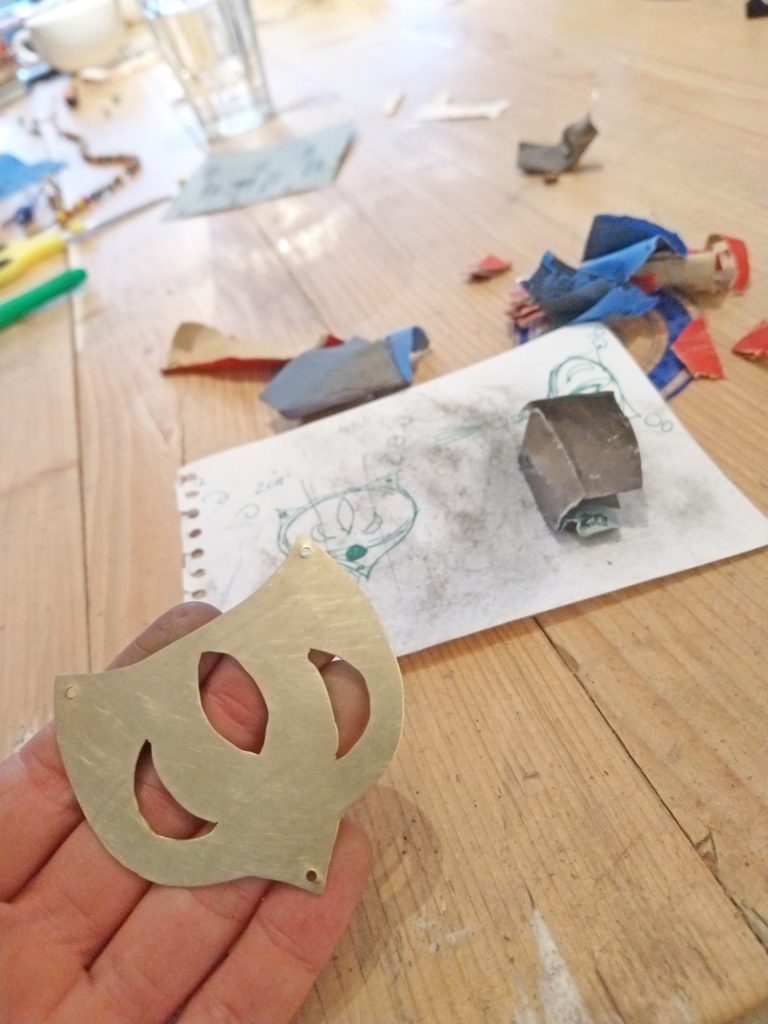
The final touch: sanding down the motif to achieve a matte look. And this is how I finished the design, complete with a beaded tassel. I wasn’t entirely happy with how I managed to cut out the shapes, so I decided to cover the middle one with a filigree. The hole behind it gives it a mysterious look, and the whole design got an oriental touch.
You can find the tutorial for the tassel here, and can stock up on beautiful imitation glass pearls here.
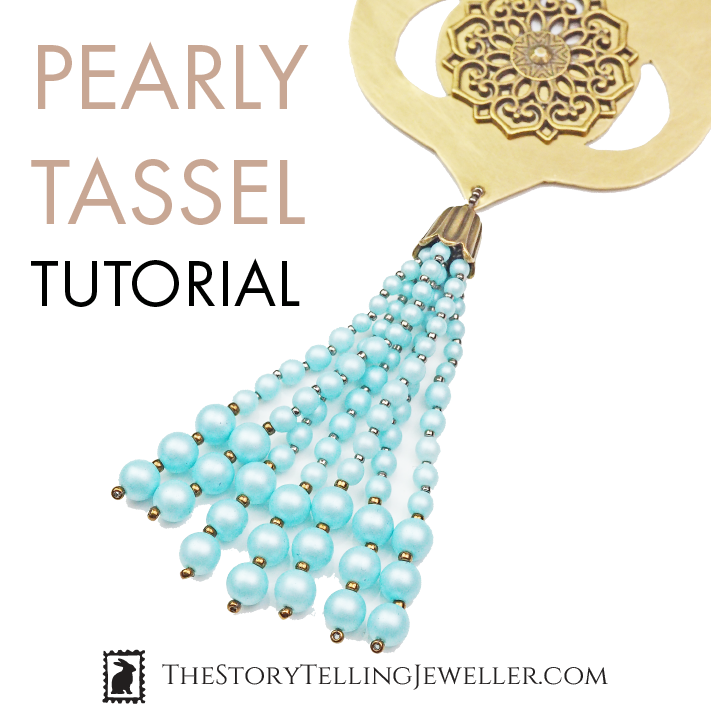
Hanging it at the bottom of a pendant is not the only way to use this tassel. You can make a pair of earrings if you bead two of them. It’s perfect when you have limited time for a new accessory. You can make it elegant by adding Swarovski crystals (for example in every strand of beads between the biggest and the middle-sized pearls) or hip by using a different color for every strand. And what about an ombre effect by shifting from a lighter shade towards a darker one from top to bottom?
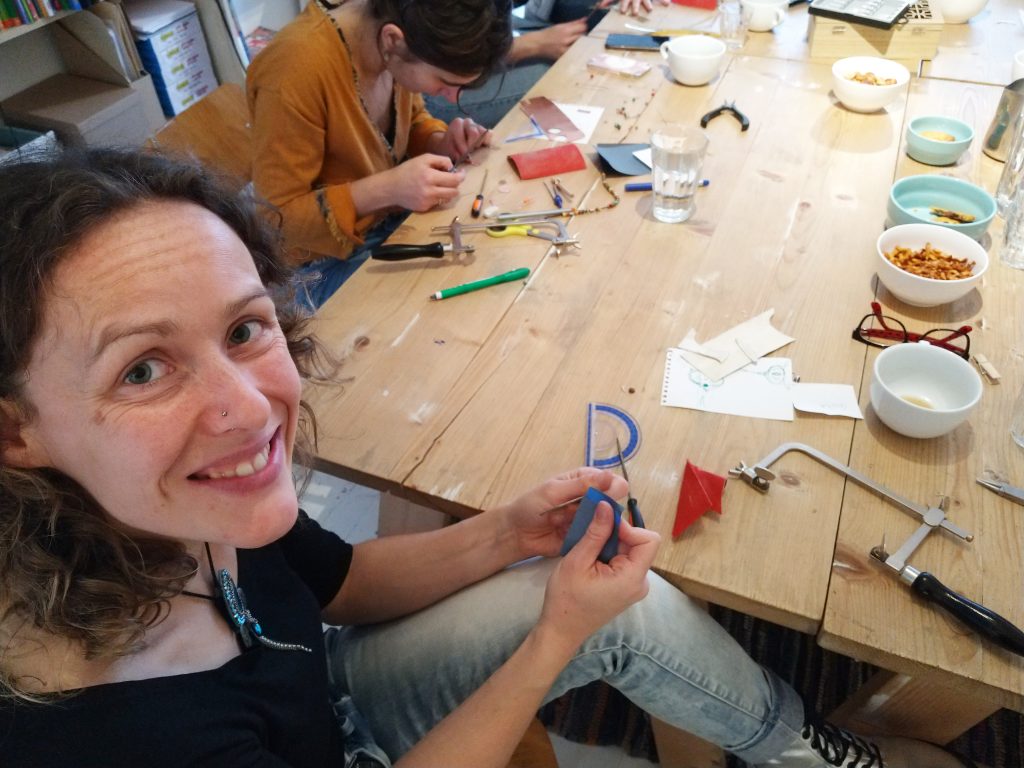
I was talking about the tassel (and showed step-by-step work-in-progress photos of it) in my weekly live broadcast on Facebook: #CoffeeTimeWithErika. Moreover, newsletter-subscribers received a gift code yesterday to download the detailed pdf instructions for free!
Sign up to my newsletter if you don’t want to miss deals like this in the future:
#mc_embed_signup{background:#fff; clear:left; font:14px Helvetica,Arial,sans-serif; width:100%;}
/* Add your own Mailchimp form style overrides in your site stylesheet or in this style block.
We recommend moving this block and the preceding CSS link to the HEAD of your HTML file. */
#mc-embedded-subscribe-form input[type=checkbox]{display: inline; width: auto;margin-right: 10px;}
#mergeRow-gdpr {margin-top: 20px;}
#mergeRow-gdpr fieldset label {font-weight: normal;}
#mc-embedded-subscribe-form .mc_fieldset{border:none;min-height: 0px;padding-bottom:0px;}

And if you need pearls, below are some from our selection.
Click here for the whole assortment.












Leave a Reply