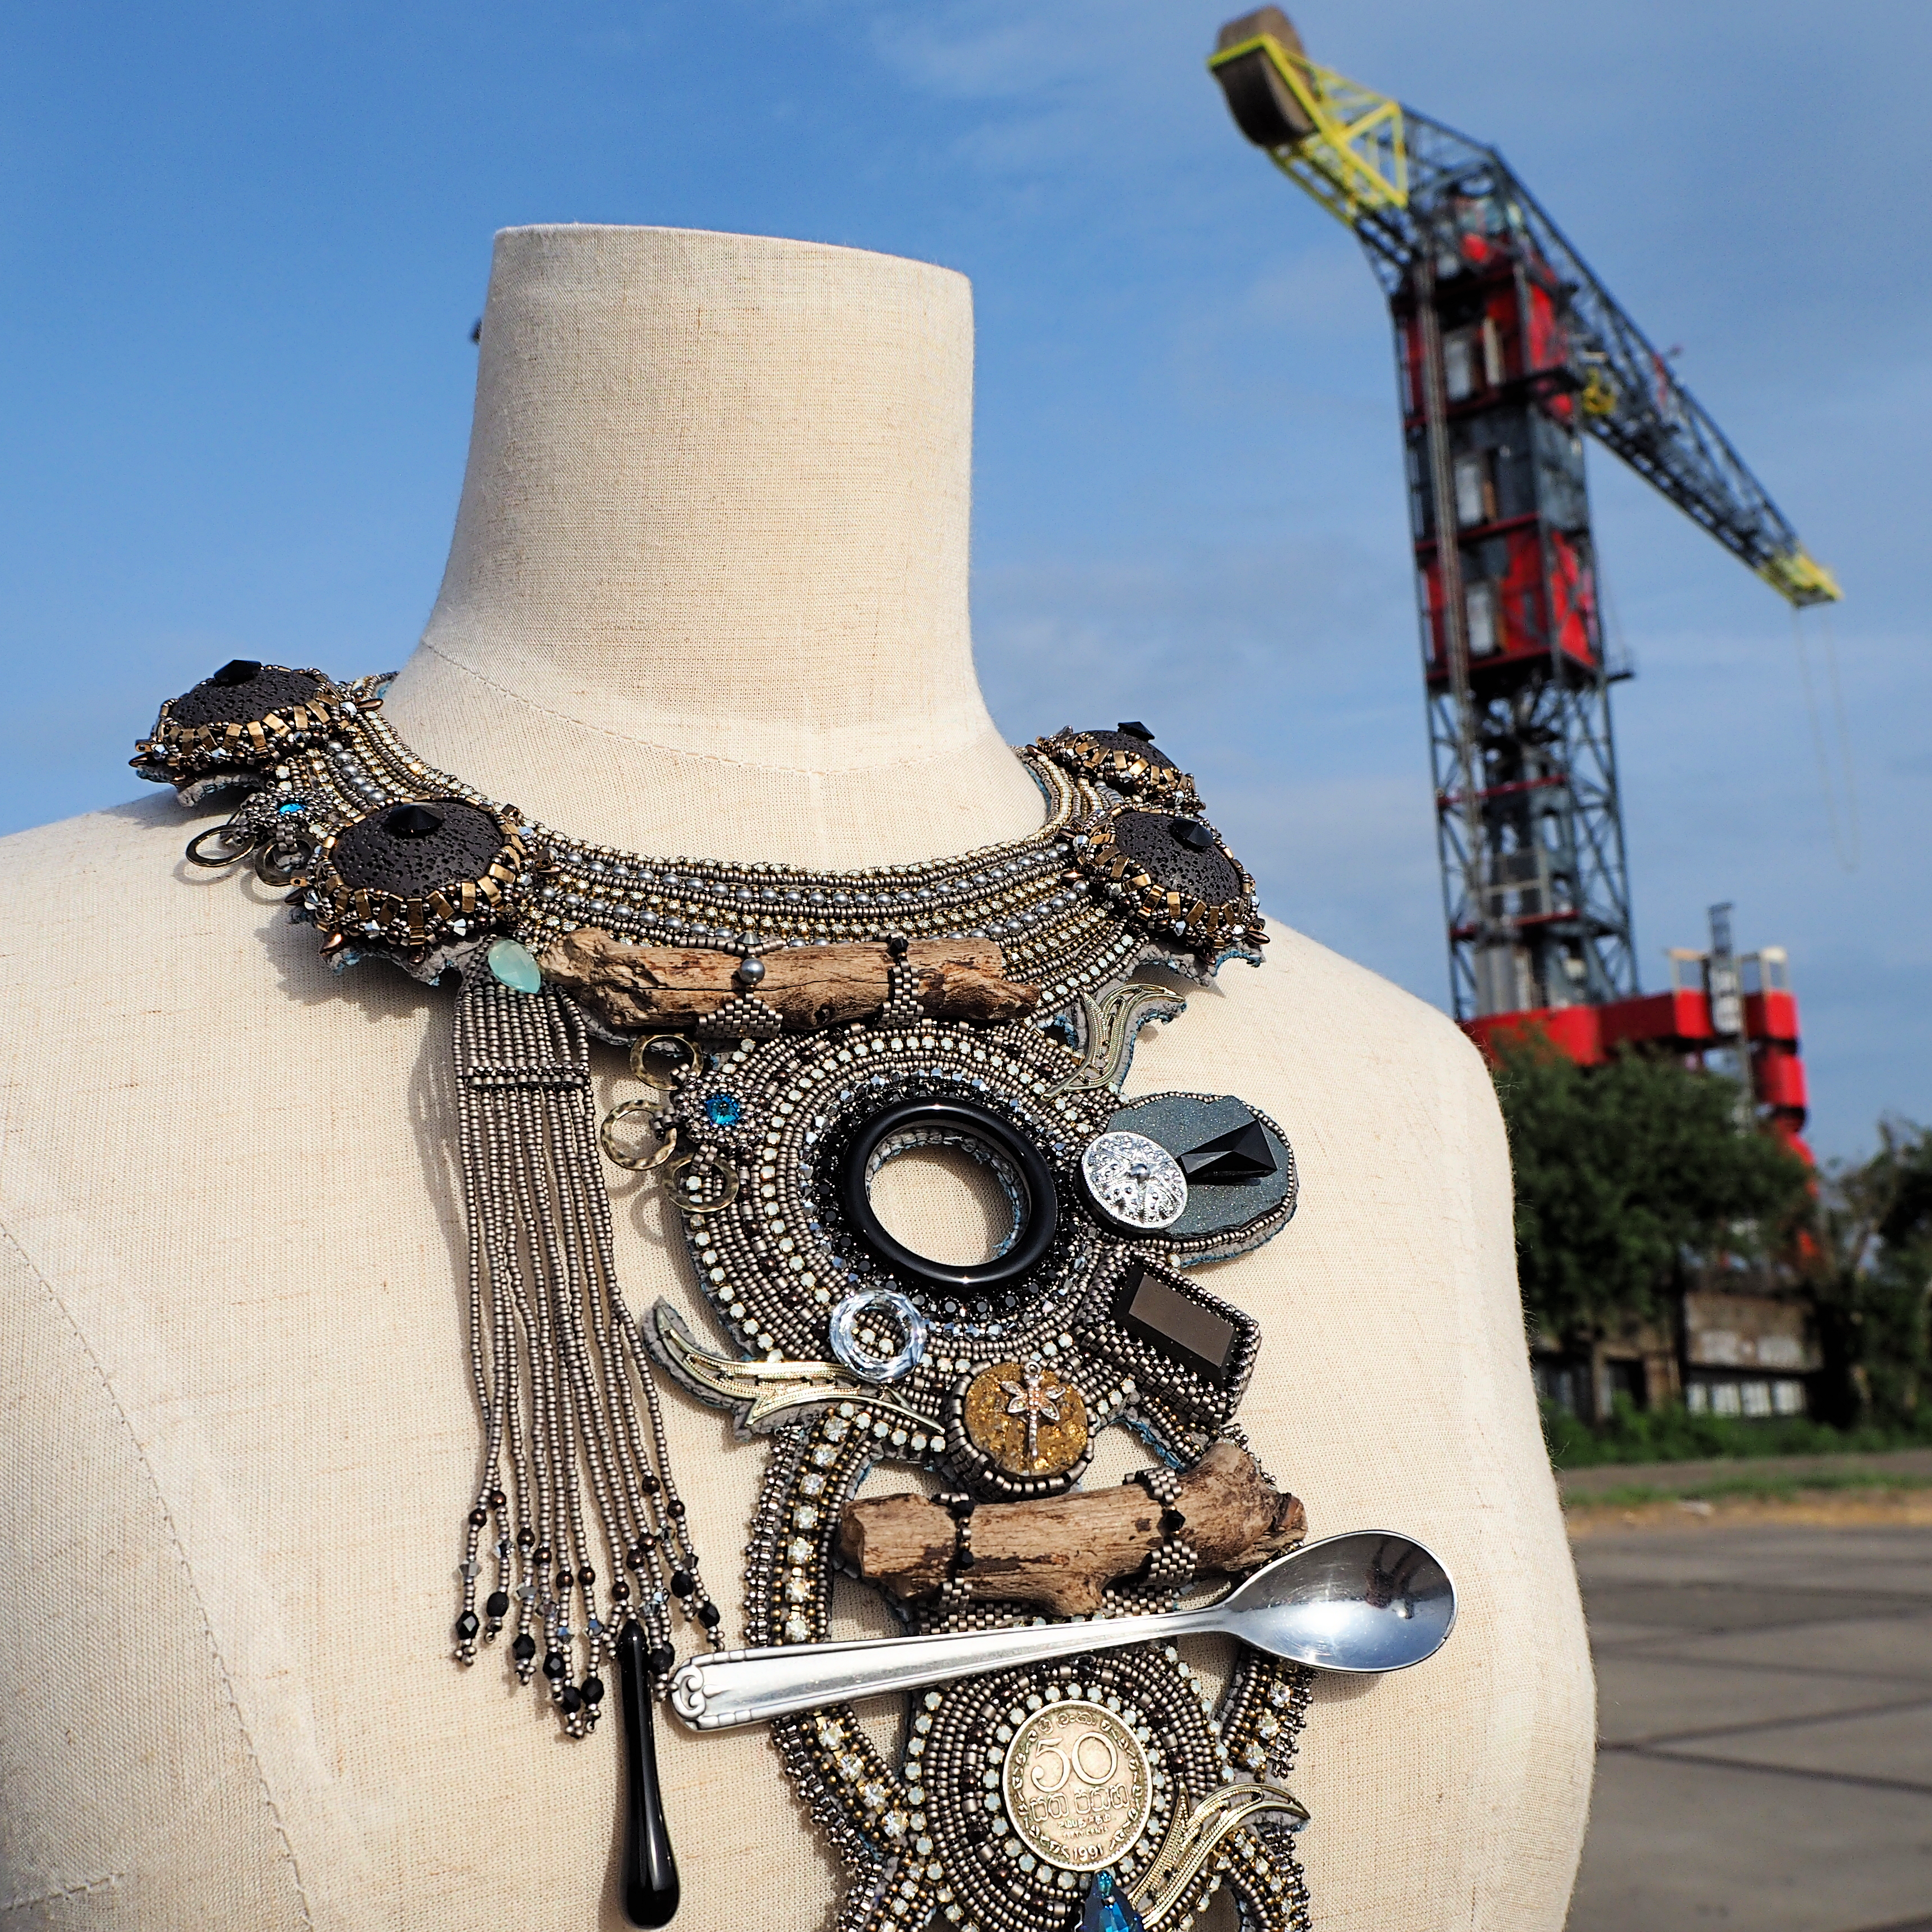
Bead embroidery is a wonderful technique. The reason why I love bead embroidery so much (and I know that many beaders share this feeling with me) is that it gives me freedom. Instead of having to execute perfect engineering work to give my jewels the necessary shape, structure, and stability only with the help of thread and needle, in bead embroidery the use of backing material makes the task a lot easier. I can easily incorporate odd objects into my jewel, even a stone found on the street or a piece of driftwood can be attached to it. Throughout May I have the honor to be the guest teacher in one of the biggest beading groups on Facebook: Seed beads and more, administered by lovely Anita M. Adamson.
Creative bead embroidery is a month-long series of classes designed specifically for this special group. The first series of bead embroidery lessons that I was teaching – The Traveller in 2020 May – aimed at absolute beginners and had the goal of introducing basic stitches and techniques. We were creating together ‘beaded memories’ – pendants and brooches featuring coins from our journeys around the world, bringing back memories of special places and loved ones. ‘Creative bead embroidery’ takes you further on that road. After some warming-up exercises, I will show you new ways of creating bead embroidered jewels. I will walk you through the creation of three specific jewels, but besides giving you exact step-by-step guides I will give you knowledge that can be applied to your very own taste, skill set, and material that you have on hand. And while last year we were focusing on beading pendants, this time I’ll show you how to make a brooch, ring, earring, and bracelets, too.
You can watch the Traveller videos here, and you can download the pdf files from here.
Today, I’d like to tell you about all the basic tools that you need for embroidery to help you start creating.
Have you ever tried bead embroidery? Tell me in a comment! And don’t hesitate to ask any questions – I’m happy to help you start creating 🙂
Thread.
For the ‘body’ of your embroidery, you can use pretty much any kind of thread.
I use 0.12 mm Fireline for 99% of my beading, including bead embroidery. It is strong yet thin. Moreover, it doesn’t happen often that I’d accidentally bead through the thread itself, creating a nasty knot. Sometimes I work with double thread, especially when I’m making simple circles around a circular focal component. The thread fills up the holes and makes the lines smoother, more straight.
I like the Black Satin Fireline. It blends in great, and it doesn’t leave marks on my beading foundation. I had some leftover Smoke color, and I could use it for embroidery when I was covering the foundation completely with beads, and the foundation is a darker color. However, when I switch to lighter colors or when I leave parts of the Ultra Suede visible, like in my Janis J. pendant, then I make sure to use the Smoke Grey variation.
Of course, if you work with lighter colors it’s nice to switch to the crystal color, especially on the edges of the motif, when you are joining the foundation to the backing.
The only occasion when I’m using a different type of thread is when I’m making a fringe. I have to say that it doesn’t happen very often, as I prefer to hang glass drops, tassels, cup chains at the bottom, even if I like the effect. When you’re doing a fringe, you need to use a ‘soft’ thread, so it can’t be Fireline or Wildfire. The fringe would not hang nicely if I used a nylon thread like these. Fringe can be long or short, can be done from seed beads or from the combination of seed beads and some bigger beads.
Needle.
Usually, I have two beading needles stuck into the edge of my bead mat, and I alternate between them if necessary. While for bead weaving I usually have a size #11 beading needle and an even thinner one (I use the thin one when I need to cross a tiny hole more times than I expected, so I reduce the risk of breaking the bead), for bead embroidery I have a #11 needle and bit thicker one on hand. For the finishing touches of a bead-embroidered jewel, I need to join at least two layers: the backing and the foundation. Sometimes there is even a third layer in between for making the motif sturdy. If both the backing and the foundation are soft and thin (Ultrasuede), then it’s not a problem to bead through them, but leather can be tricky. That’s when I like to switch to a thicker needle.
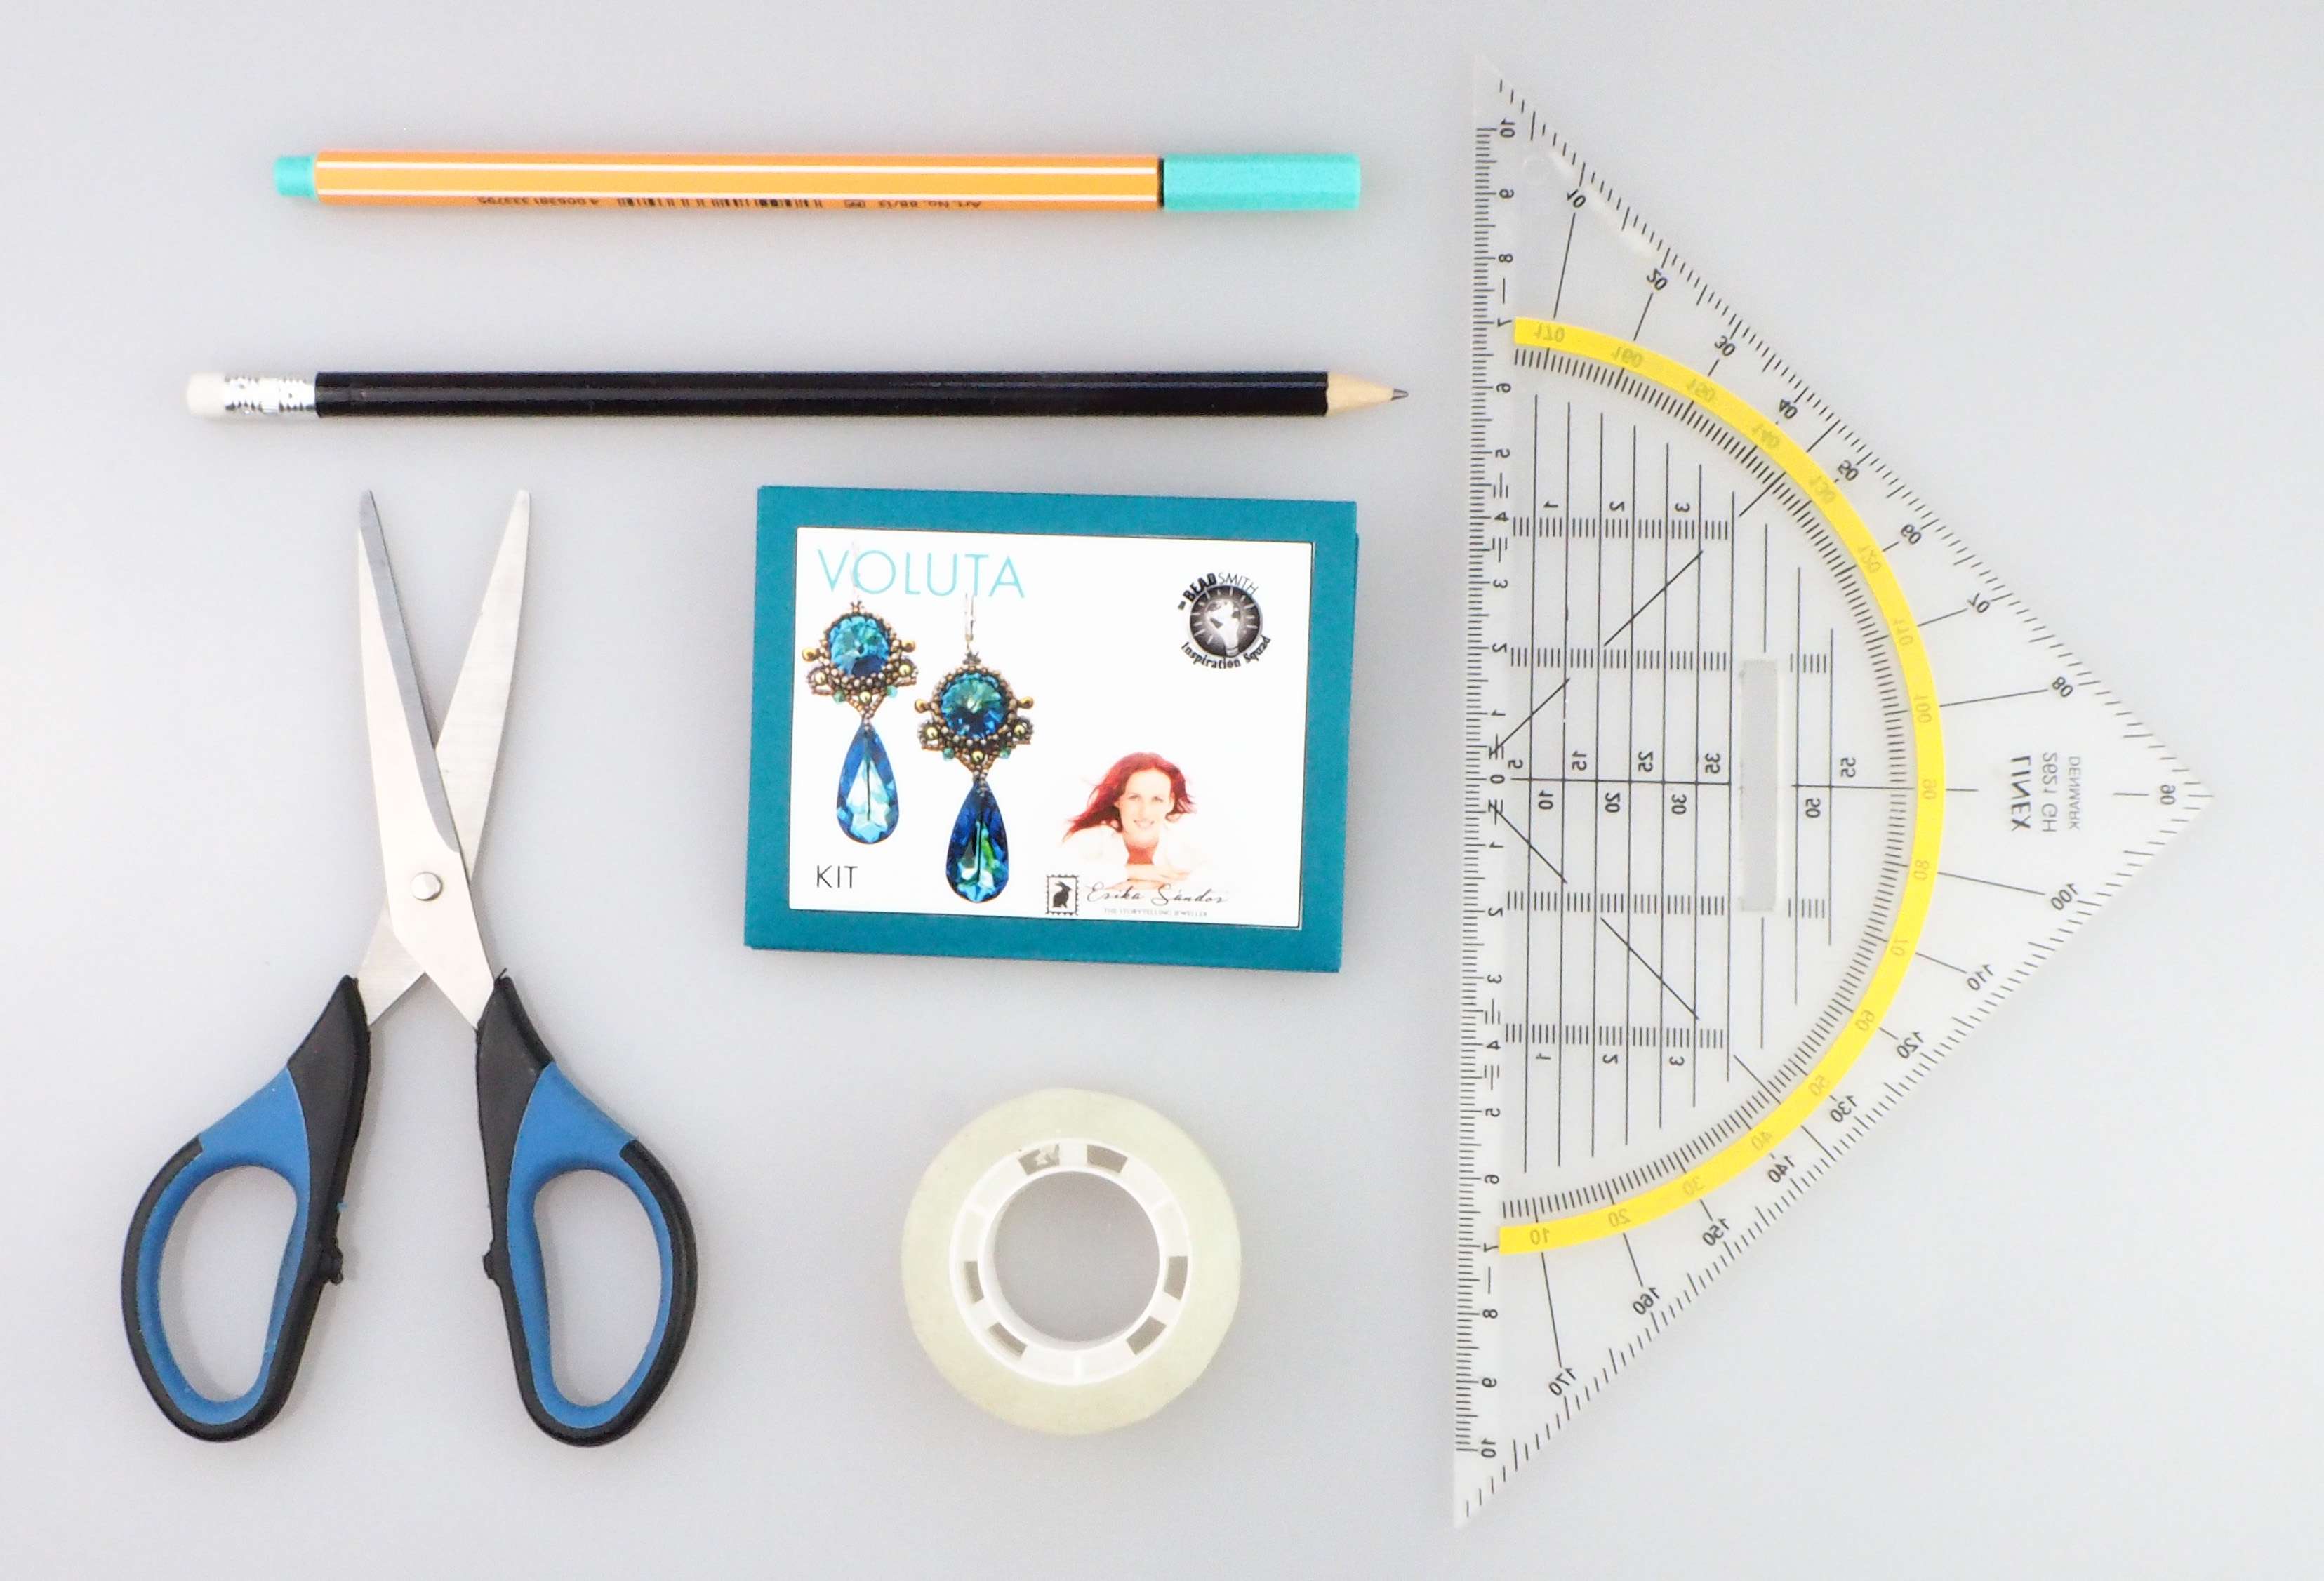
Rulers.
It comes very handy to mark some guidelines on your beading foundation, even if you’re working on a freeform piece. I used to rely simply on ‘feeling’ when arranging my components, but sometimes even one mm difference can be disturbing. Even if I don’t know in advance what I would like to bead, I like to mark the middle, half, maybe the 1/3 or 1/4 of the area that I would like to embroider. It helps me with proportions, and it can be helpful with beading straight lines, too. Special rulers designed for seamstresses are very handy. You can draw lines exactly 1 cm from each other with only sliding your ruler on the foundation, you can measure angles, etc.
Drawing compass.
A drawing compass is helpful when you’re working on a circular shape, but you can, of course, use it for measuring distance, too. There are drawing compasses available where you can insert your own pen instead of using a simple graphite pencil, so you can use a pen that can draw on your foundation.
Pen for drawing on the beading foundation.
I like to use gel pens in colors that blend in with the color of the foundation. Of course, I can do that only if I intend to cover the area later with beads. An alternate possibility is to get a pen, again, used by seamstresses, where the markings disappear after a while.
Glue.
Don’t be afraid of gluing, just make sure to select the right type of glue! Again, I have two types, just like in the case of needles: E-6000 and a simpler one. I use E-6000 when glue will be the only medium holding something in place, like in the case of the Jaipur earrings, Mirror of the Maharaja bracelet (in the case of the filigree and the cabochon, too), the coins in my Borneo necklace, etc.
Foundation
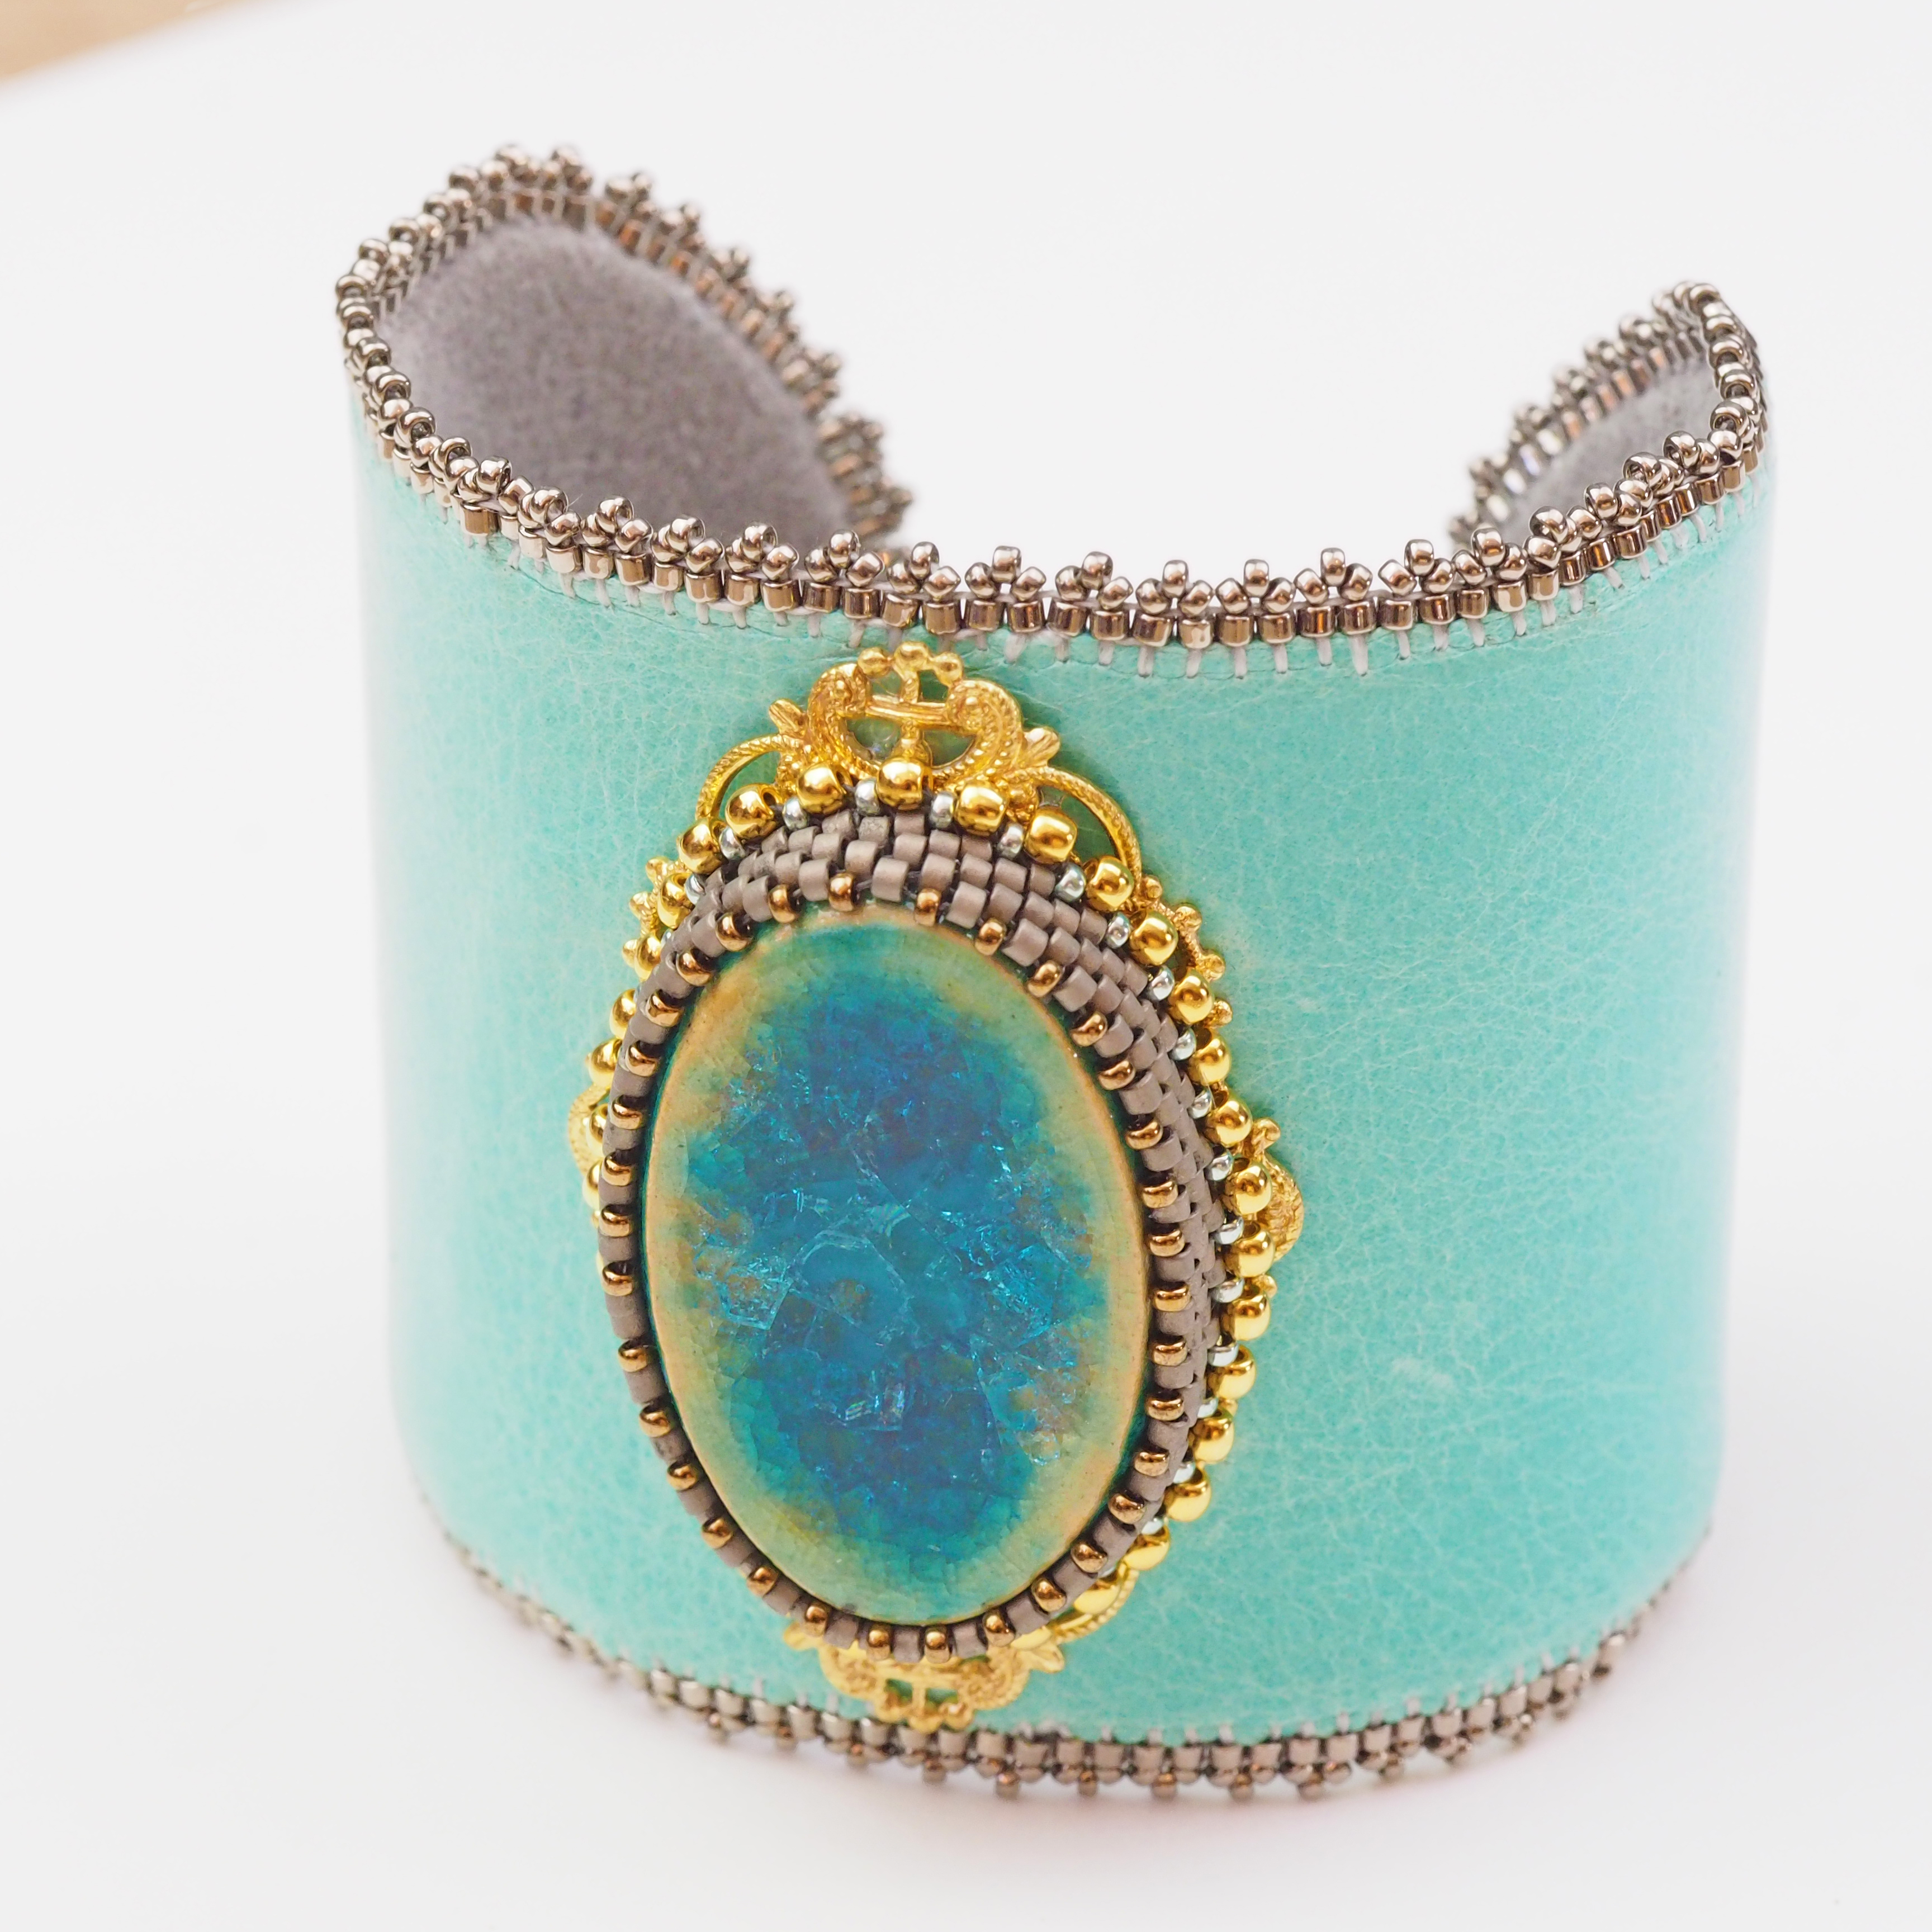
Primarily, I use Ultra Suede soft as my bead embroidery foundation. It means that I embroider directly onto this, or that I attach components, pre-bezeled cabochons to this. Ultra Suede is great for this purpose as it stretches both ways, however, it doesn’t fray or tear. You can cut out shapes, but there won’t be any threads hanging on the sides, as it’s a special, non-woven fabric. Ultra Suede is easy to clean, and most importantly, in case that you need to frog (rip-it, rip-it), the holes punctured by your needle don’t stay visible. It comes in different thicknesses and colors. 0.7-0.9 mm is an ideal thickness.
In a classic case where the main role is plaid by beads, my favorite color is grey, and I like to make sure that I always have it in my basic stash. It blends in with my beading perfectly, as I often use matte silver or shiny steel tones in my beadwork. If you prefer warm tones, I’d recommend using brown or bone, depending on the darkness of your jewel.
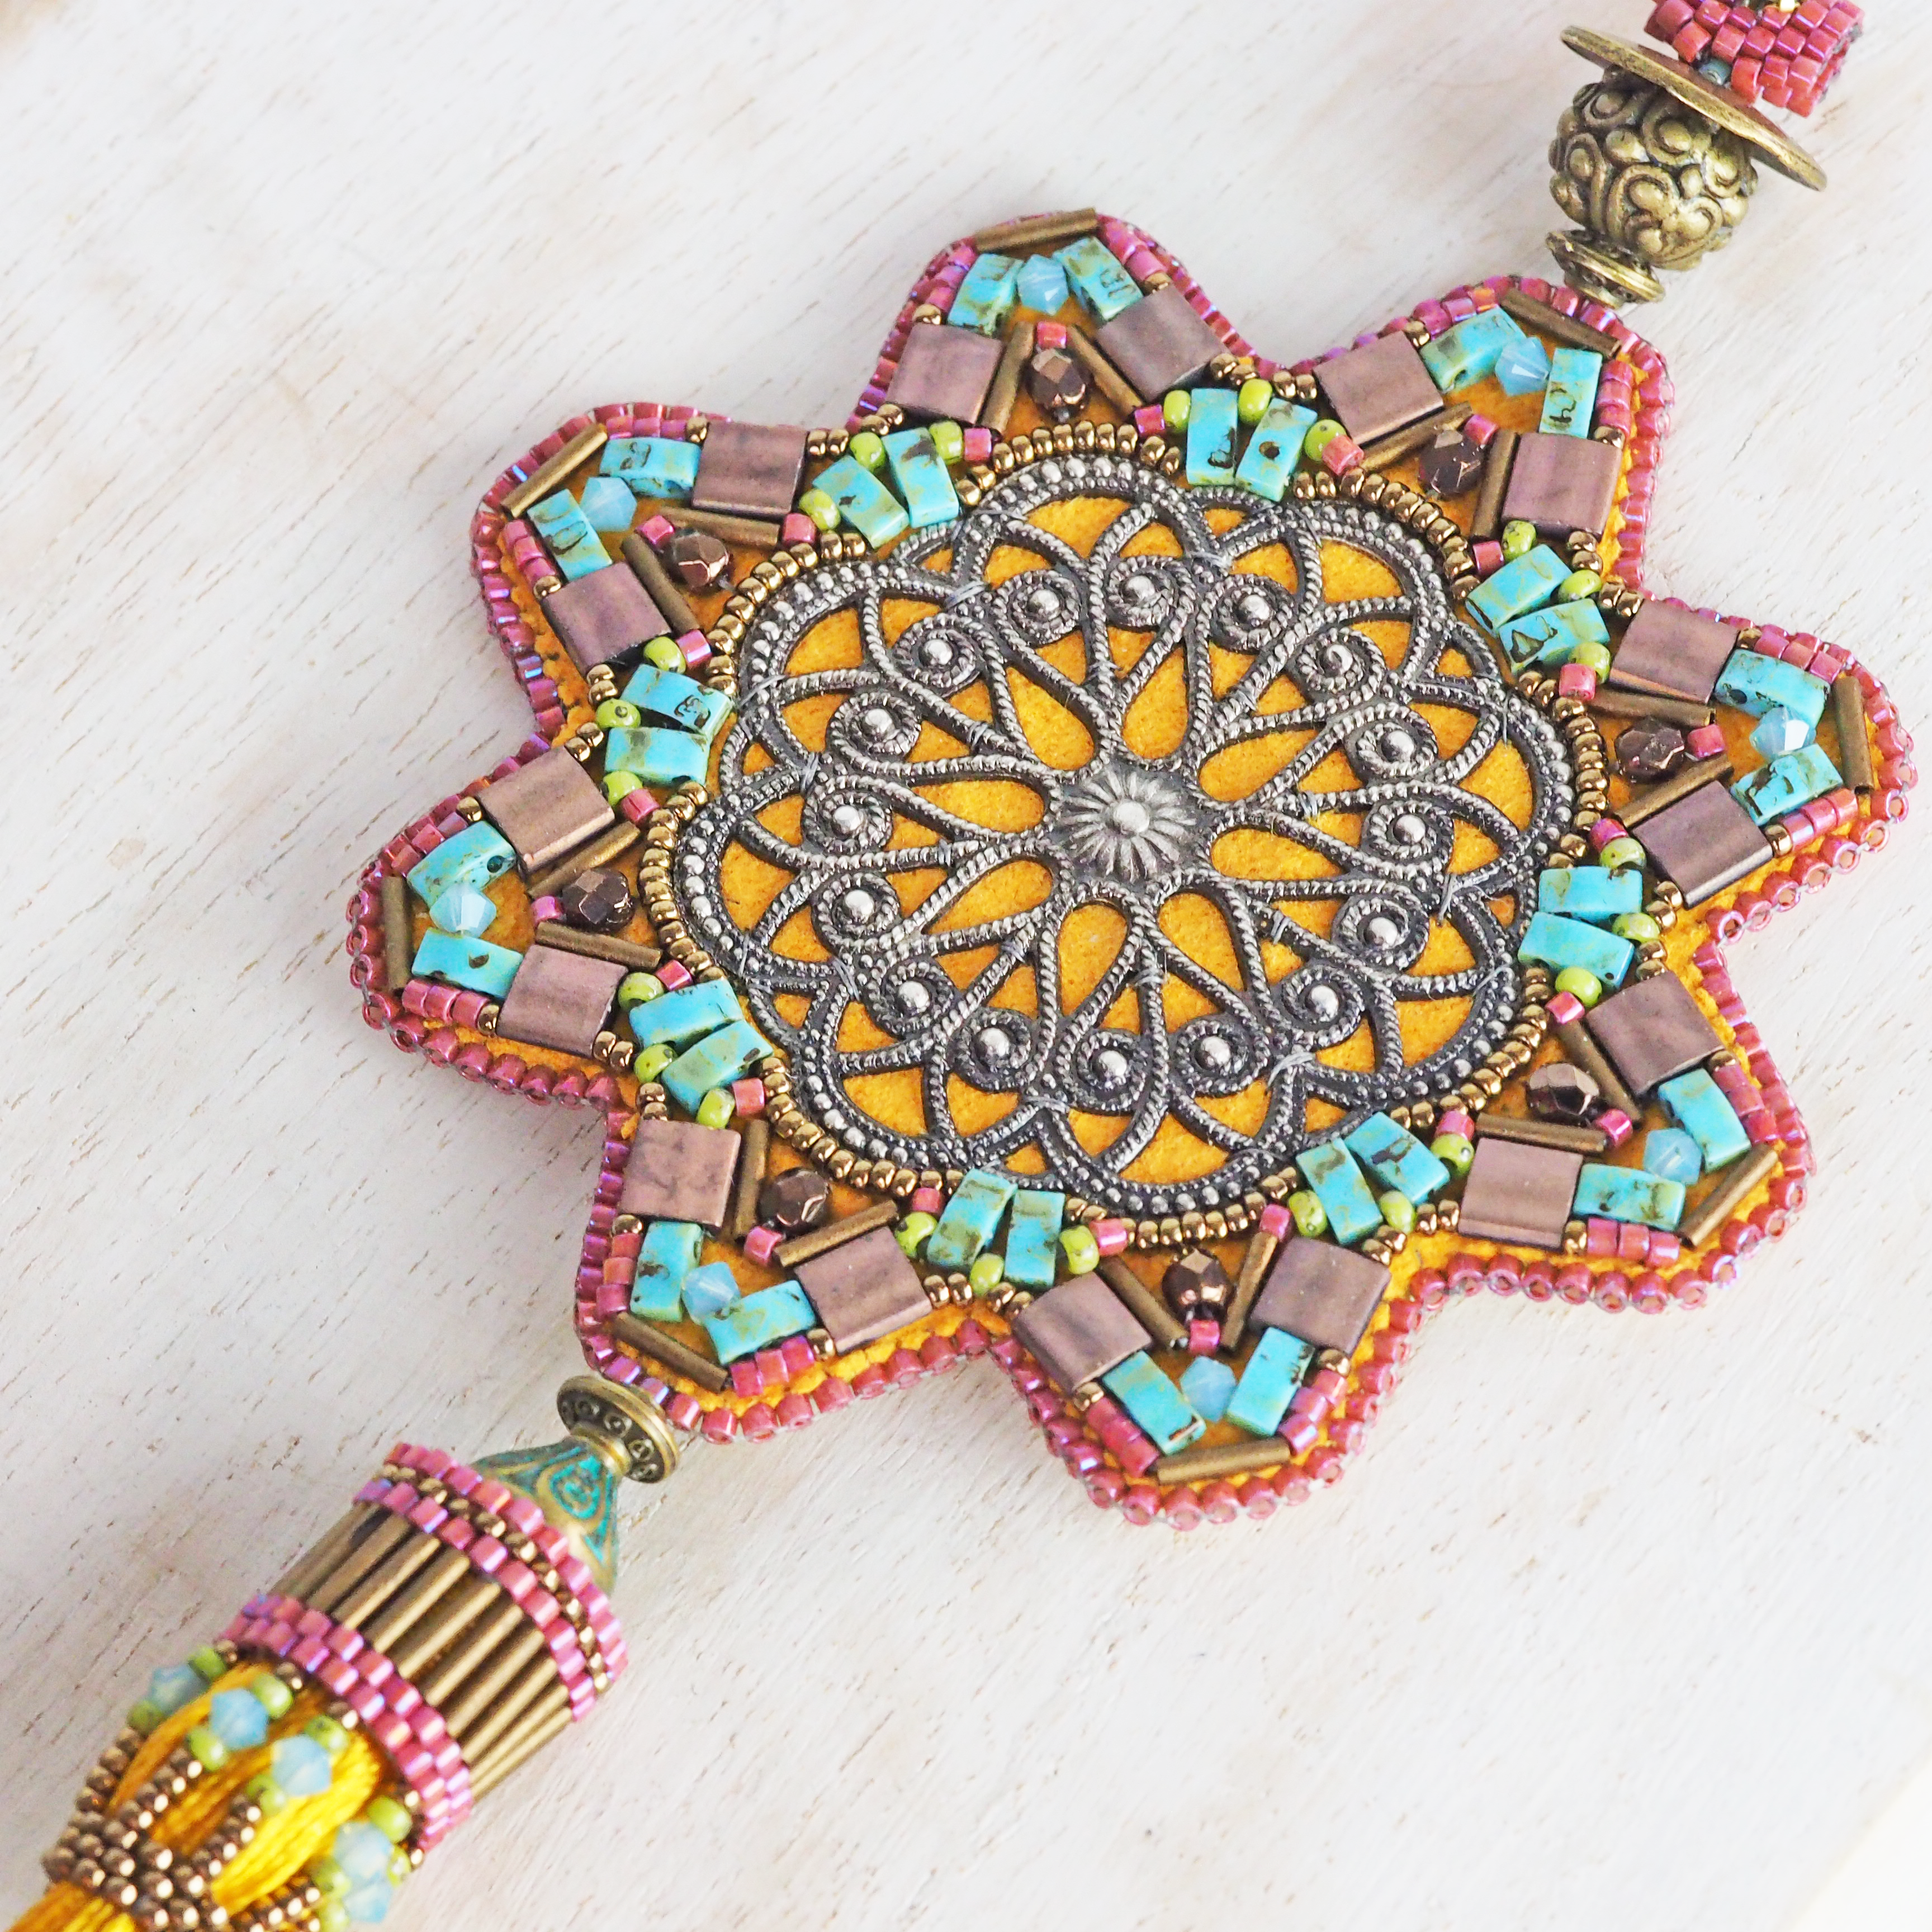
Besides “just” being the foundation, Ultra Suede can also be used as a decorative element. You can leave smaller or bigger parts of it visible around the beaded motif. It comes in many different colors, not only grey. You can use one single color or you can even layer several colors on top of each other. You can use different shades of the same color (like Rose and Fuchsia) or you can go completely bold and use accenting colors.
This effect can be used in pendants, bracelets, bangles, earrings – there really is no limit. It creates a beautiful look when a strong color is visible through a filigree, like in the jewel below.
Instead of Ultra Suede, you can use different types of fabric as the foundation, too. However, it might be trickier to work with these, so I’d recommend starting with Ultra Suede and once you get comfortable with it, start playing with other possibilities.
I used fabric for these bracelets. The challenge was to solve fraying to make sure that the bracelets can be worn for a long time.
This motif on a handbag was a challenge as I had to be very conscious with every stitch. I was embroidering directly to the leather. Since it was a soft type, it wasn’t a problem to push my needle through it, however, when unpicking – the holes after the stitches stayed visible.
Some beaders like embroidering on Lacy’s stiff stuff. I think it’s best to try what works best for you. For some reason, I’m not fond of Lacy’s, among else due to the limited selection of colors. The most common color it comes in is white, which, in my experience, really “shouts” in the small gaps visible between the beads. If you don’t mind the extra work, you can hand-dye it or color it with permanent markers to blend in more.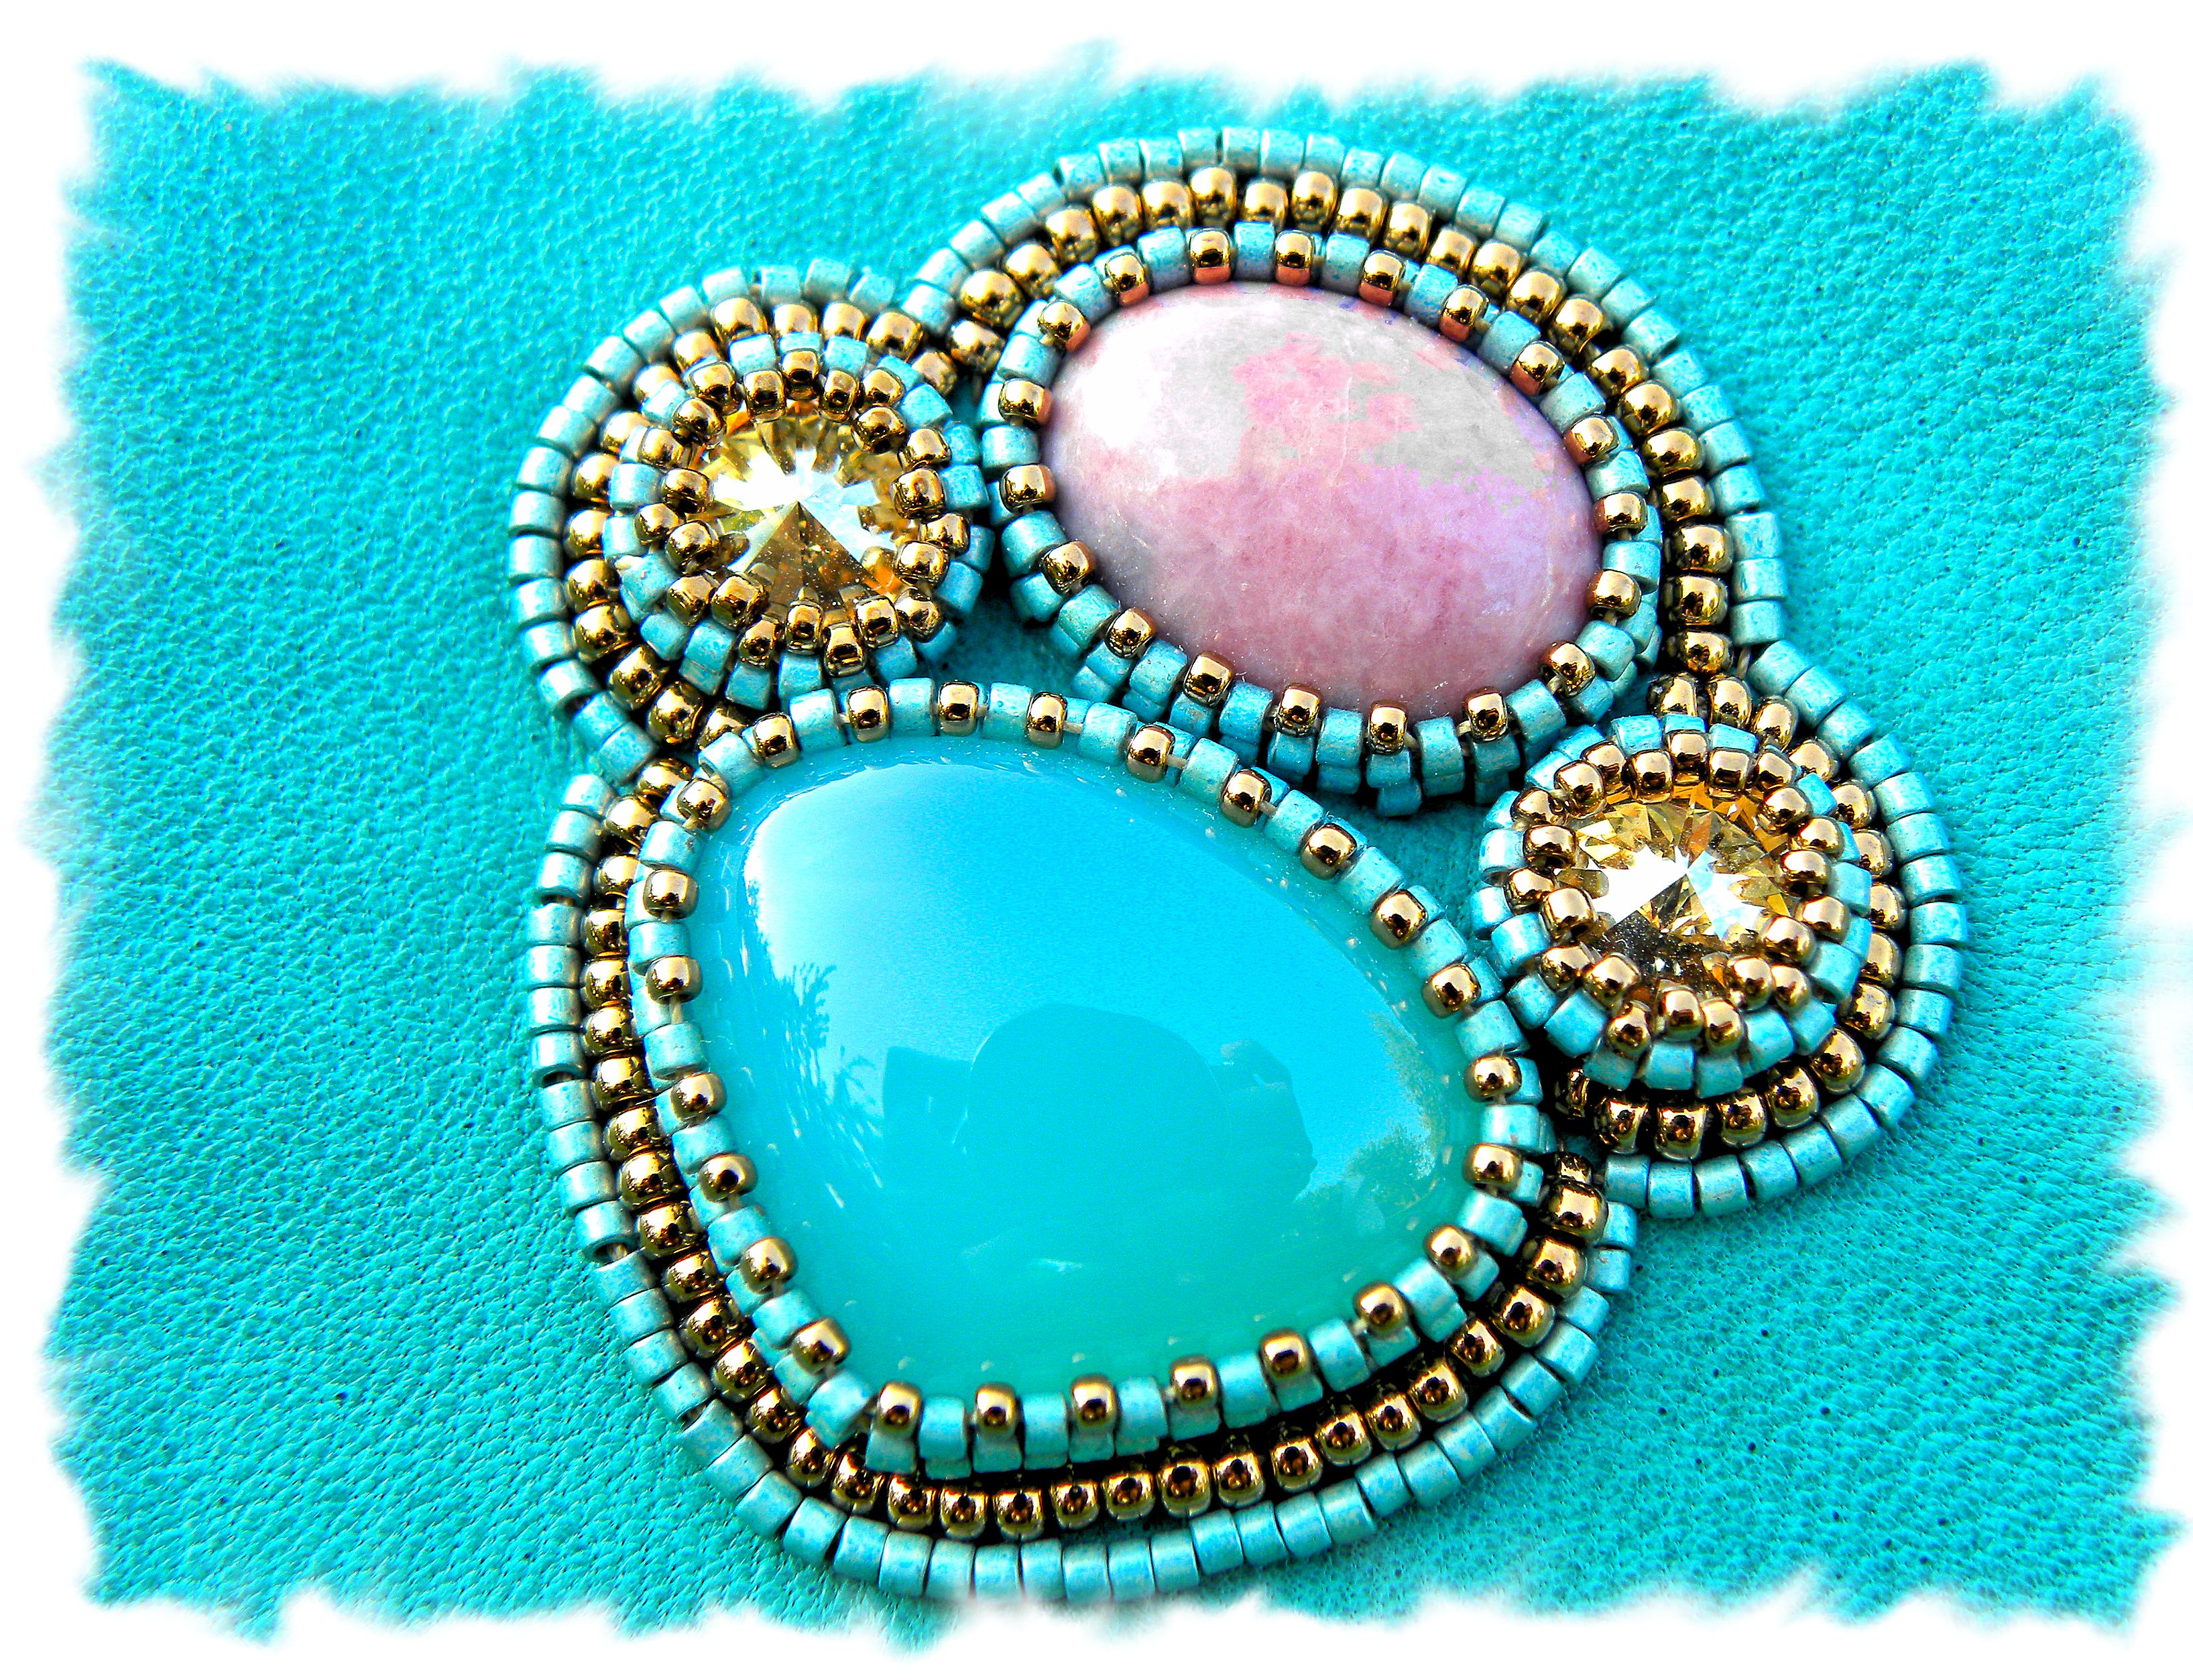
Backing
In bead embroidery, we need to use at least two layers. Besides the foundation that we embroider onto, it’s necessary to cover the backside of the jewel with another layer. This layer is used for aesthetic and functional reasons. We need to hide and also to protect the thread.
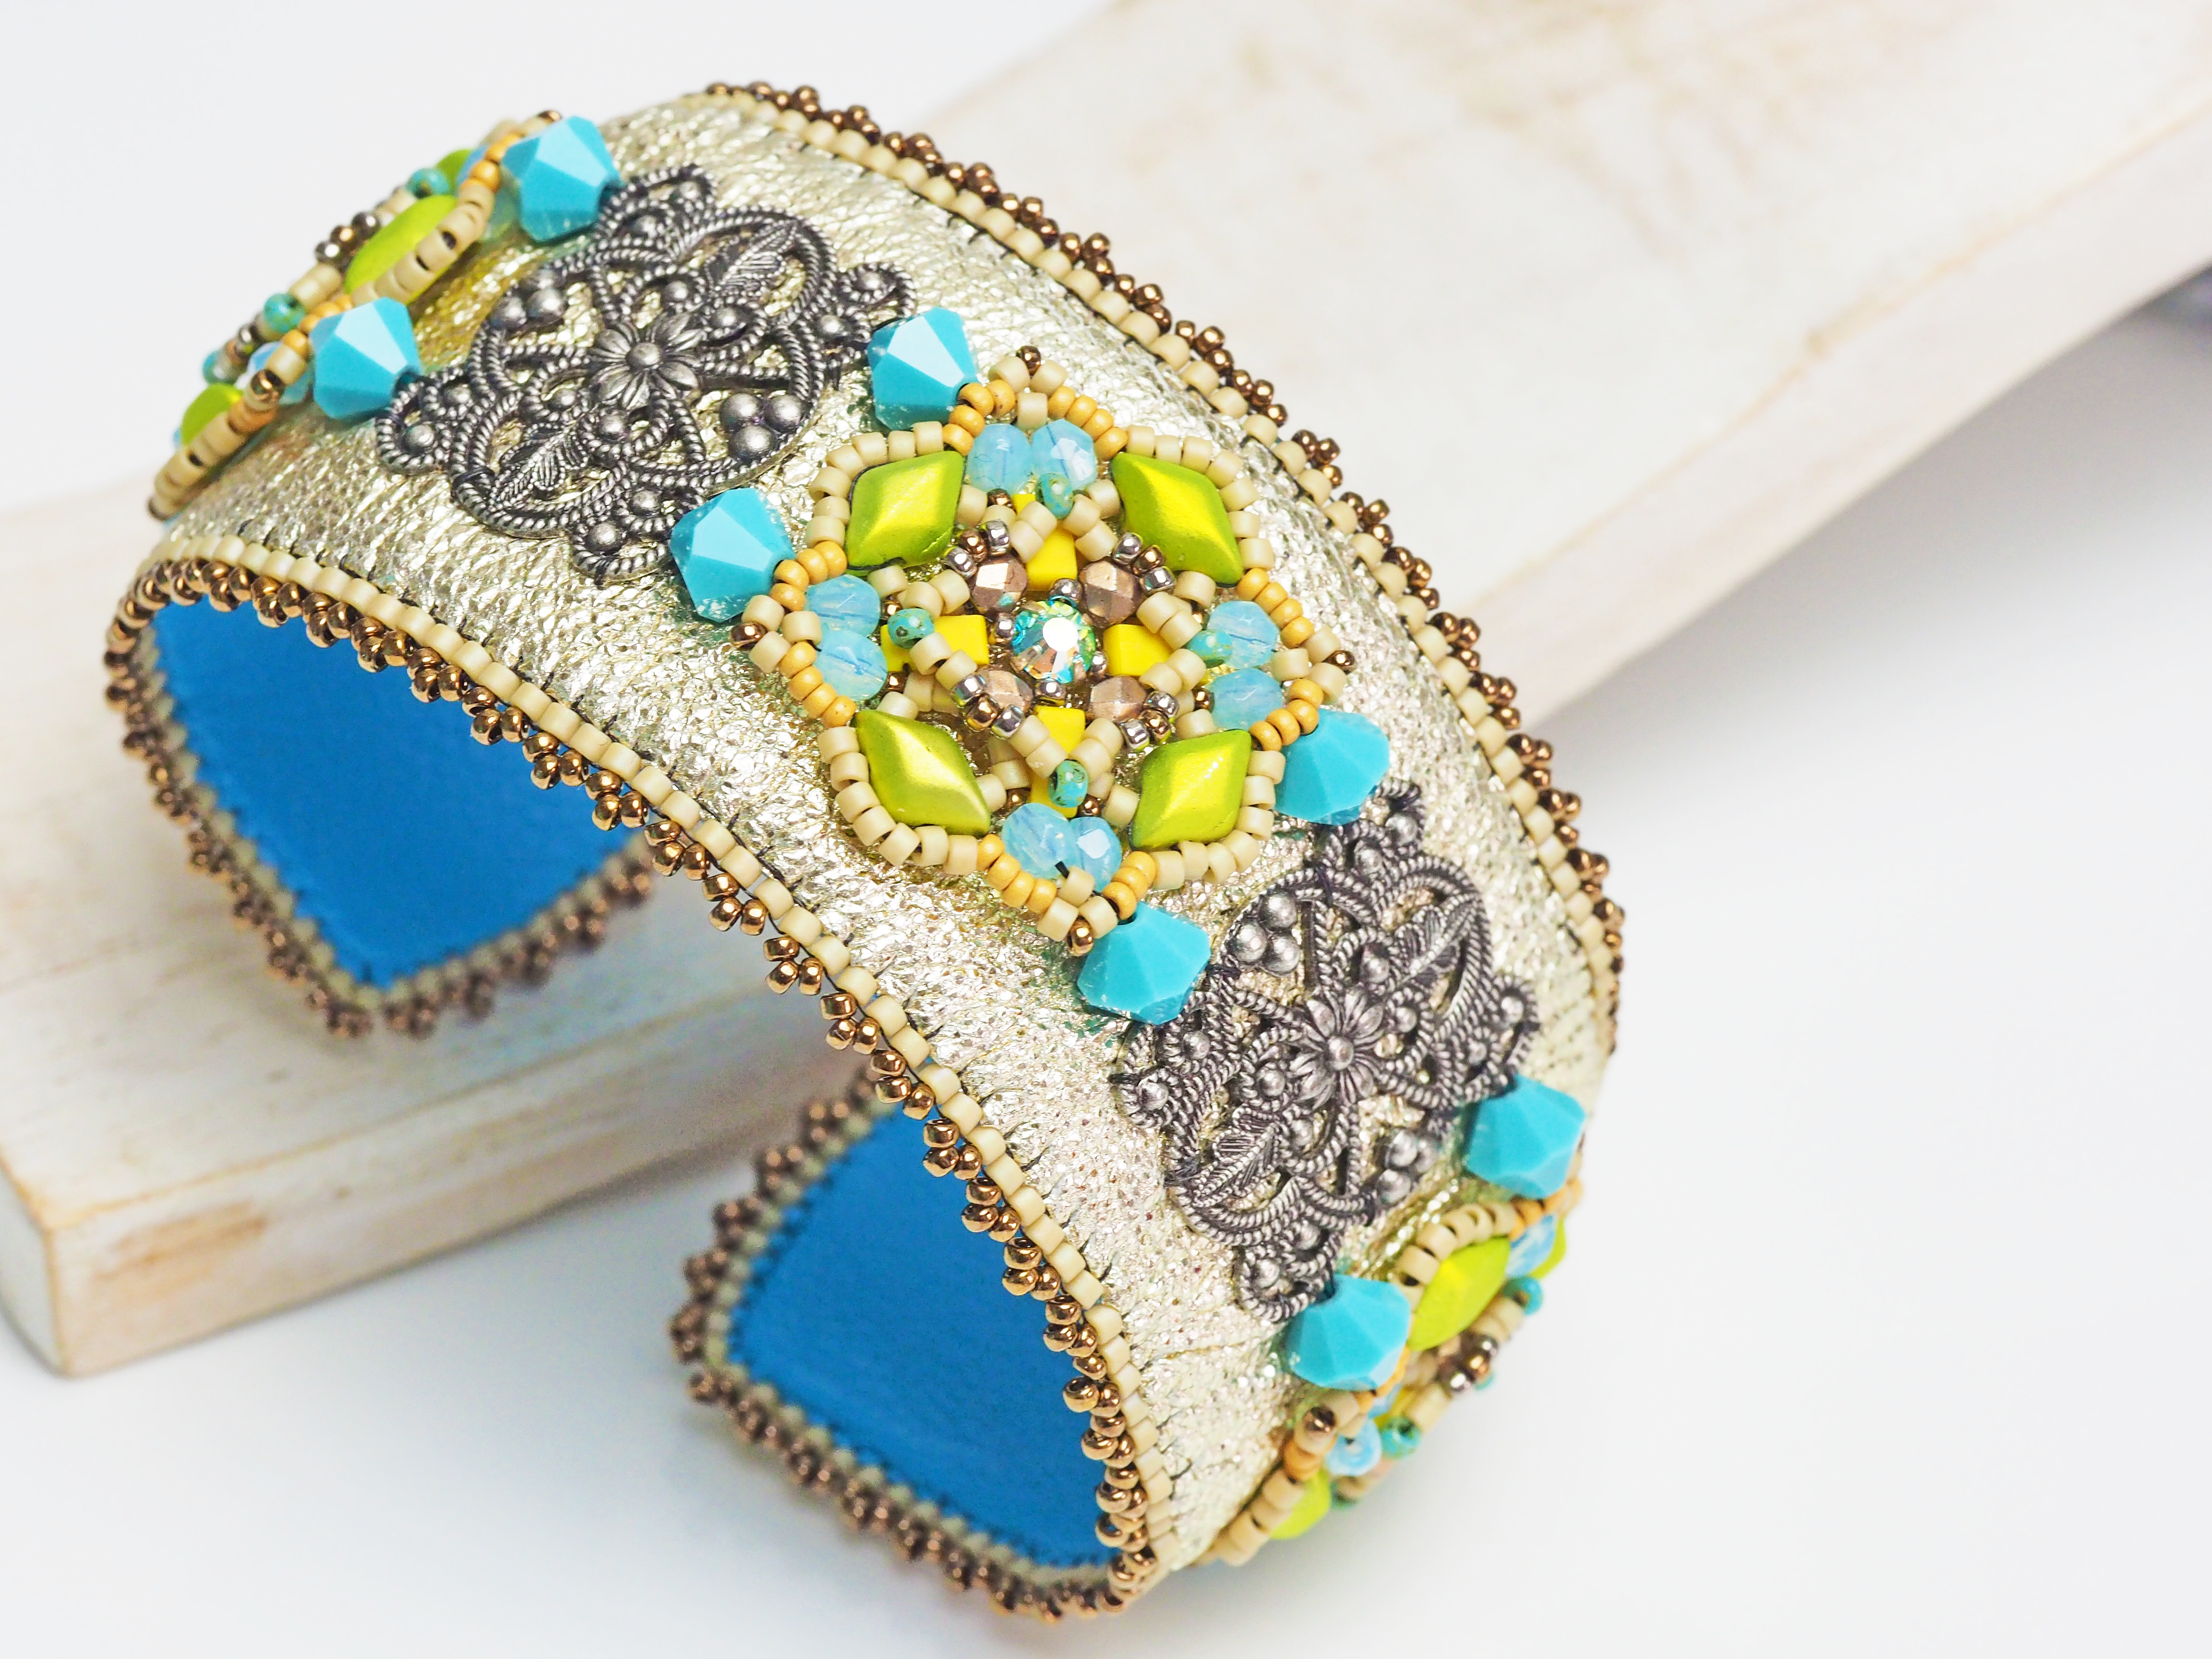
The backing can be made from different types of material, and it can blend in, or, on the contrary – it can stand out as a luxurious finishing touch (think about shoes with red soles). Again, the easiest material to use as your backing is Ultra Suede thanks to its special qualities. Leather (or good quality imitation leather) can withstand more, however, if it’s a thicker type, then you might need more strength to push and pull your needle through it. This is when it comes especially handy if you have a second, thicker needle on hand. It can happen, that the leather you just love is really hard to work with – remember to have a pair of flat-nose pliers on hand for the sake of these occasions. You can use them to pull your needle through the leather. Be careful though! In my experience, when I hold my needle with my fingers, most of the time I feel it if a hole is too tight and there is a risk of breaking the bead. (And sometimes I’m guilty of pushing my luck and I ignore this feeling. :D) However, when I use a plier, I use this special ‘feeling’ and can’t tell if the risk is too high.
In-between layer.
In case that you’d like to bead a bigger jewel or a tricky shape, you need to add an in-between layer between the backing and the foundation. It can be Lacy’s stiff-stuff, it can be a thin, waxed piece of cardboard from a bar of fancy chocolate or a box of lasagne, or ‘vlieseline’ – the ironing insert used by seamstresses to strengthening the fabric when making belts or adding buttonholes.
All of these have pros and cons, and I recommend trying all of them to find what works best for you. My favorite lately is vlieseline – I iron it on the back of my Ultra Suede before I start working. While with chocolate paper and with Lacy’s you can decide before or during embroidering if you need it (you can just glue it on when you have a feeling that you need more help to keep your beadwork from deforming), with vlieseline, it’s the first step to iron it on, as otherwise the heat could melt your Fireline or damage your beads.
Scissors
Normally I don’t need more for bead weaving than a pair of simple scissors or a thread burner to cut through my Fireline. With bead embroidery, I need some dedicated scissors for different tasks. I like to have a pair of my normal scissor for cutting the thread, a pair of extra sharp ones that are dedicated to cutting only fabric (it’s worth it to buy a better one in a special fabric store), and a smaller one with curved blades to make cutting small details easier.
If you want to extend your knowledge about bead embroidery significantly, I recommend these articles and tutorials:
- The Big Bead Embroidery Handbook
- The Traveller video tutorials and pdf files
- My Favorite Beads and Cabochons for Bead Embroidery
- All Bead Embroidery video tutorials
- Bead Embroidery tutorials (pdf files)
- All about embroidery hoops
Let me know if you have any questions about the basic tools!



This presentation is perfection. Hoping to watch your next embroidery class .
So well prepared and presented. Wonderful resource. Thank you.
Wow. I love it! Wish I could afford the video!