But besides being so rewarding, beading is also a time-consuming hobby. It can take several hours, sometimes days, to get a new trick and finish a jewel successfully. Moreover, you invest precious creative energy to create jewels that make you feel proud and shine. Let’s give our jewels justice after all that work: pay attention to the small details, the back sides, to the tiny, hidden parts, too – that extra 10% of attention can take us a lot further than it might first seem and will reward us with a professional look, and long-lasting, beautiful pieces, and possibly even compliments when wearing them.
That last 10%. How to make your jewels perfect?
Beading is a beautiful, rewarding hobby. We often say that allowing ourselves to play and get lost in the shapes and colors on our bead mat feels like therapy. Besides being proud of ourselves when we learn a new stitch, bead a new, intriguing motif, or put together an exciting combination of colors, the positive feelings don’t stop there.
The jewels we make can brighten our days when we wear them or spread happiness to our loved ones and customers if we decide to gift or sell them.
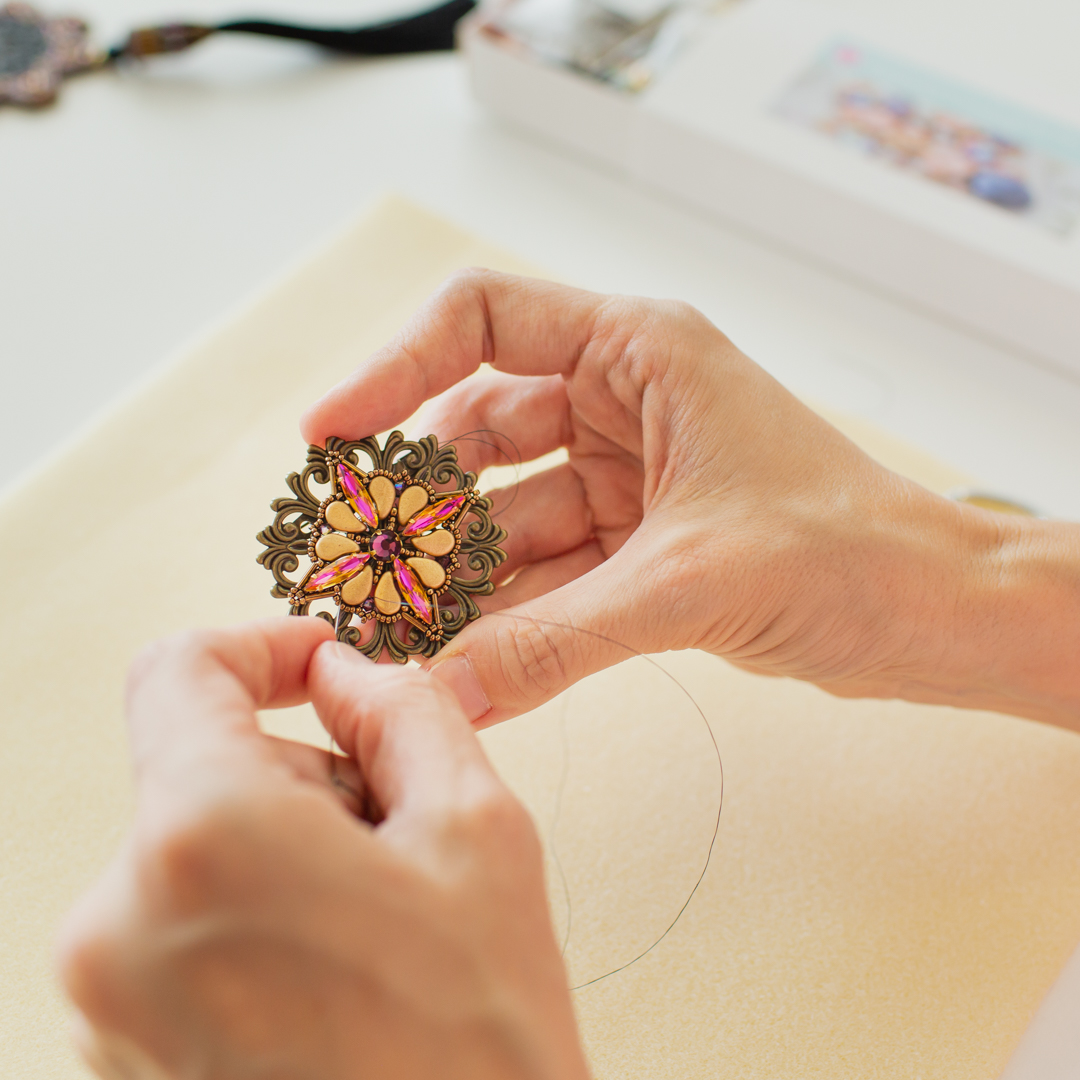
Today, I would like to share the favorite ‘tiny detail’ tricks of the Beadingschool Unicorn Team: Zuzi, Veronka, and me. And I will also be thrilled if you decide to share yours!
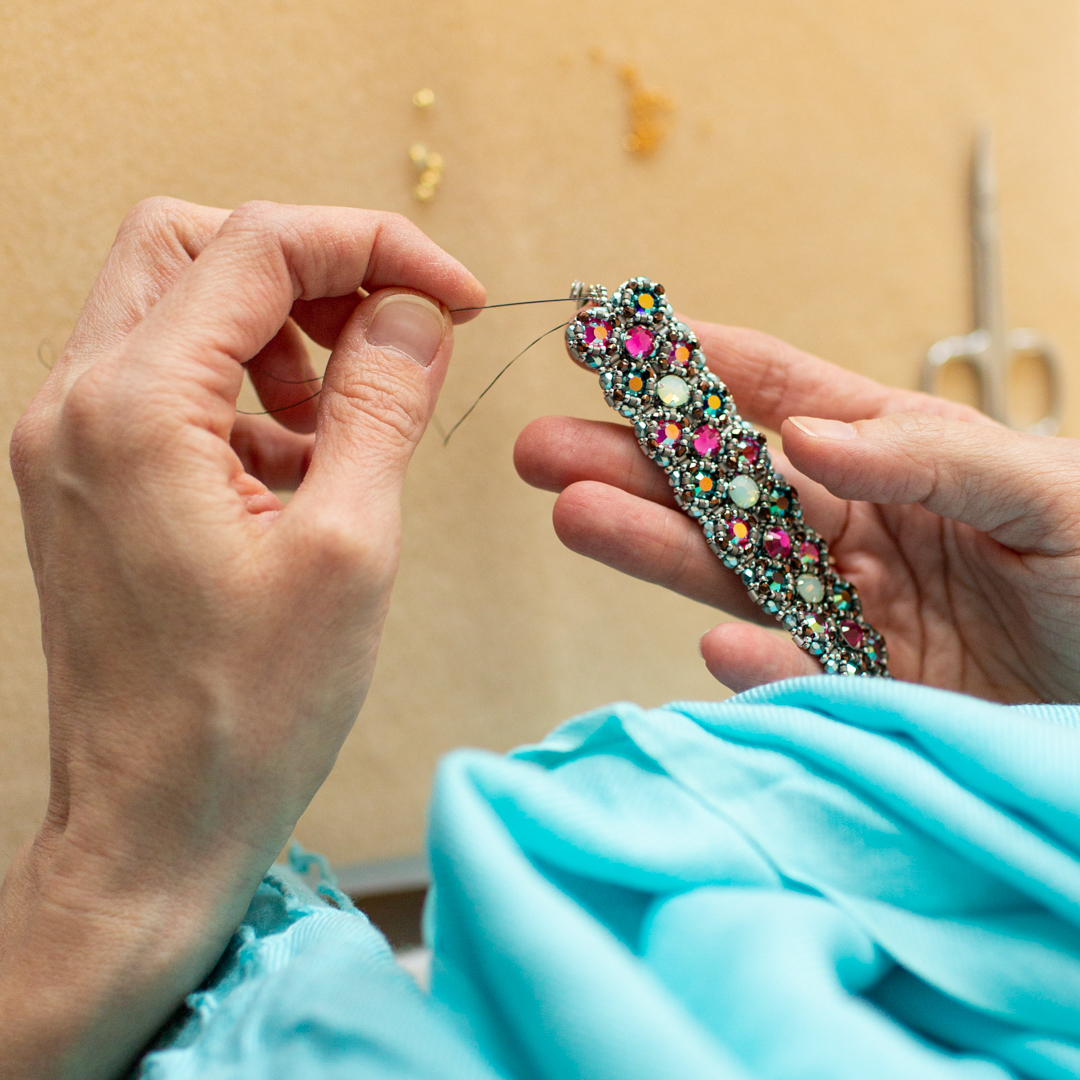
Choose a strong thread that doesn’t fray and hide the thread ends appropriately.
I remember my first beaded jewel: a beautiful Marie Geraud motif with four big Preciosa sew-on rhinestones in the middle. I found it easy to follow the tutorial, even if the text was in French. I remember the feeling of ‘omg, I got this’ and being happy for my accomplishment. However, once I attached the final bead, I faced an unexpected question: what should I do now with the thread ends?
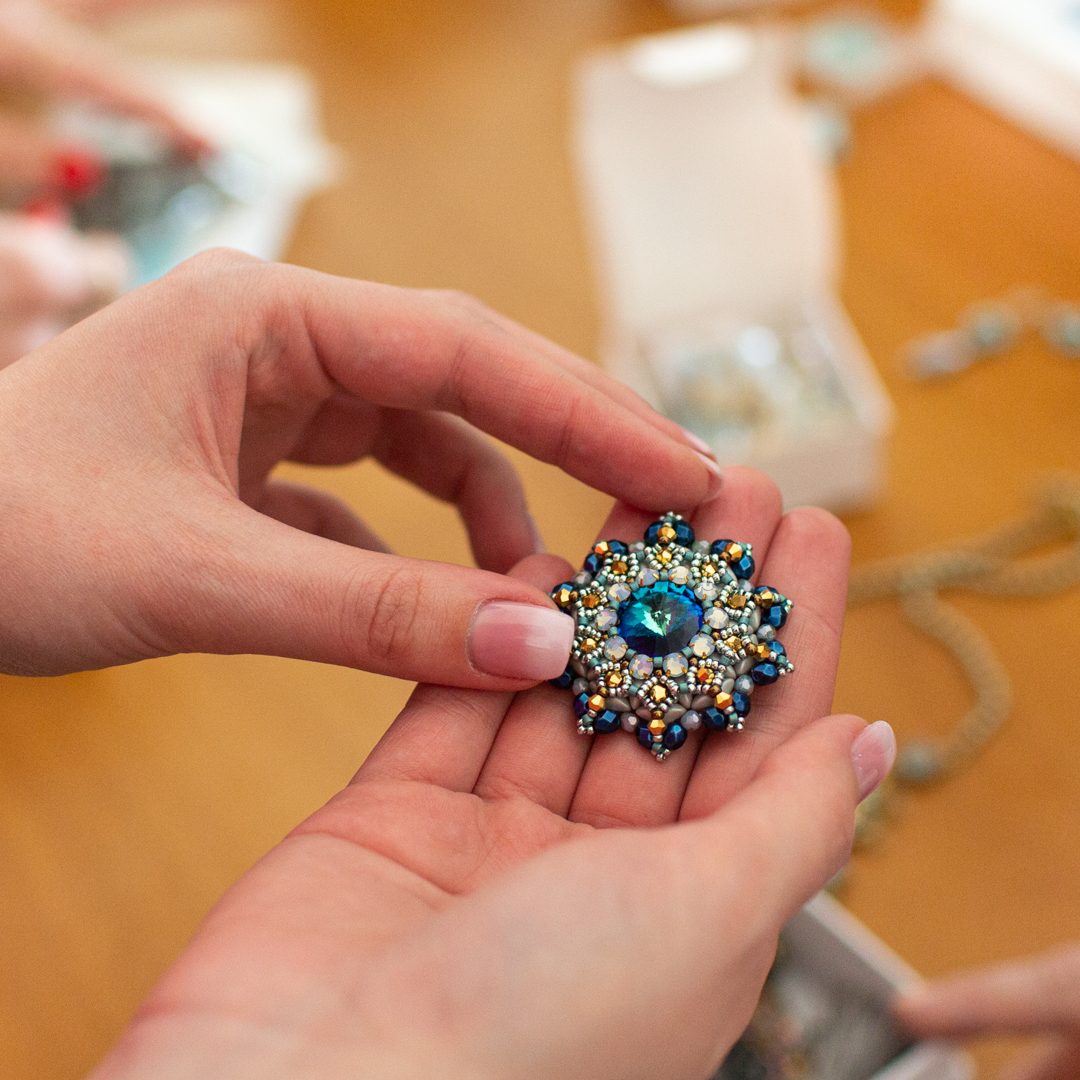
There is so much to learn at the beginning of our beading journeys, and knowing how to hide the thread ends properly before trimming them can feel life-changing. Might instinct said that I should bead with the working thread to meet the tail, tie a knot with the two (since that was the only type of knot that I had used up until that moment), and cut the thread ends – leaving two tiny pieces that might not even be visible from a distance, as I hoped.
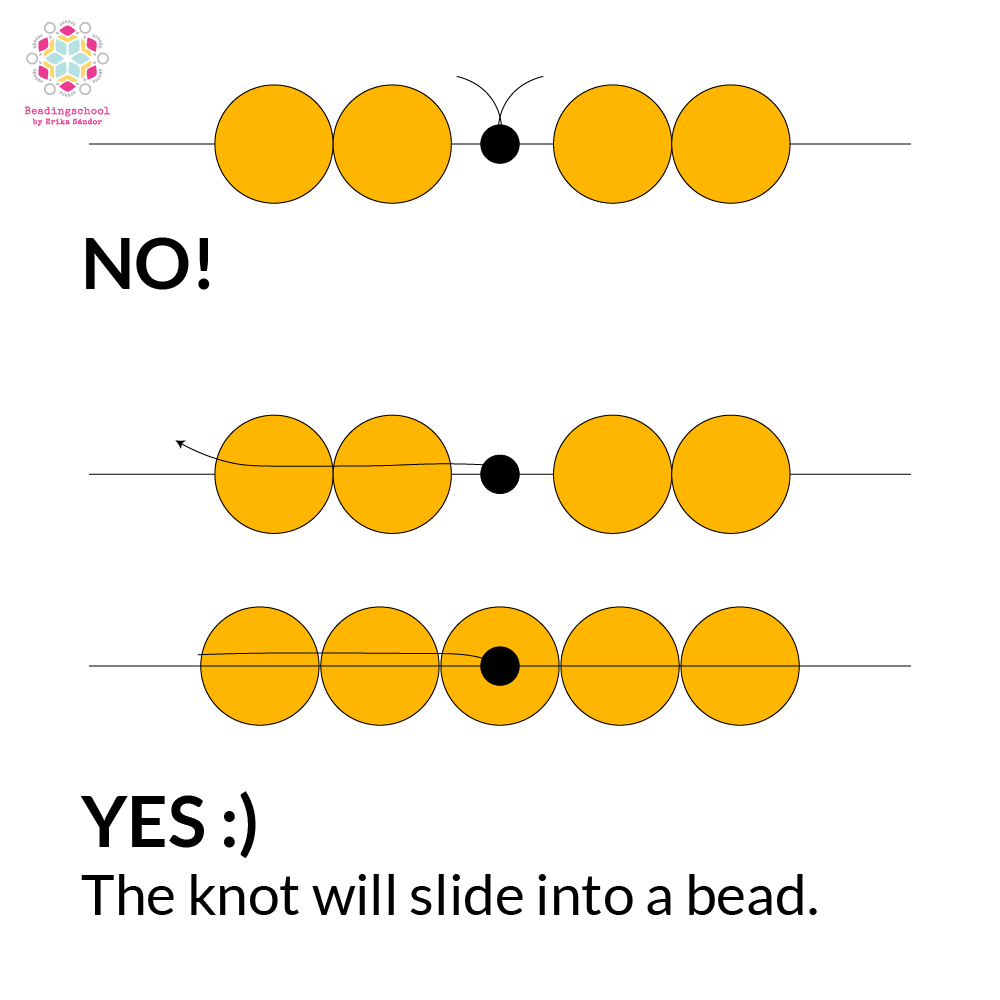
Unfortunately, those tiny pieces of thread might not be visible at first sight – but on second, yes, they are. Moreover, this way, the knot will stay in between beads instead of sliding into one, and an unprotected knot is vulnerable and can even slightly push apart two tiny beads, creating a gap in between. The solution is to bead through several beads before trimming the thread entirely without having to bead back to meet your tail thread. Tieing a knot might not even be necessary, depending on the situation.
Learn more about knotting in my article ‘To knot or not to knot?‘ or watch the #CoffeeTimeWithErika beady broadcast about the same topic.
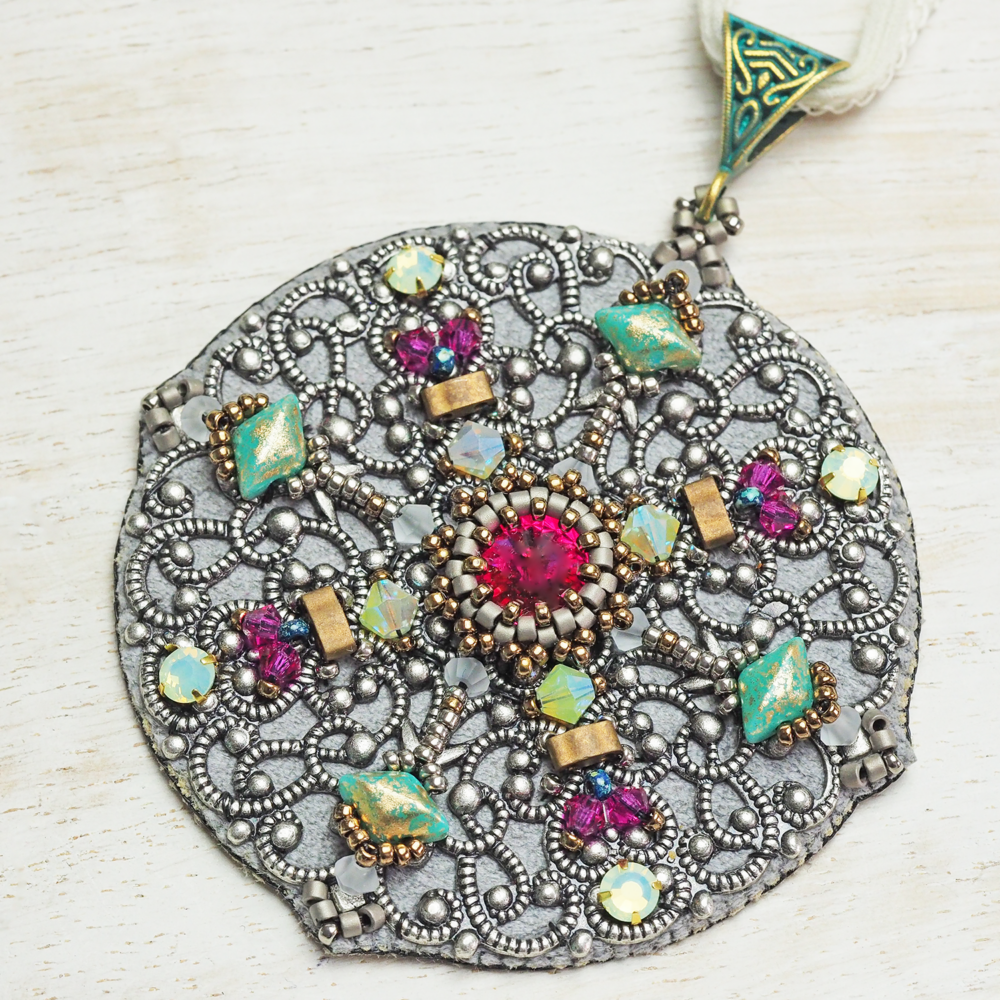
And about the thread: since Fireline was not accessible back then, I used a thread that started to fray after pulling it through my beads a few times. The little pieces became visible in between my beads. This is one of the reasons why I got to love Fireline so much once I tried it – maybe 3-4 years into my beading journey. The threads are fused, so there is no risk of fraying. Even if it’s possible to use a different, cheaper thread for bead embroidery, I usually opt for Fireline in my embroidered pieces for the same reason.
As far as I know, it isn’t possible to avoid knotting altogether when it comes to bead embroidery. I realize I tend to tie many knots – such a difference from bead weaving! It comes in handy to tie a knot after finishing a particular step. It allows me to cut a particular group of beads if I change my mind about them. The downside is that knots can be visible and felt from the back unless you hide them. Luckily, there is an easy trick: use a piece of cardboard to cover the knots after embroidering.
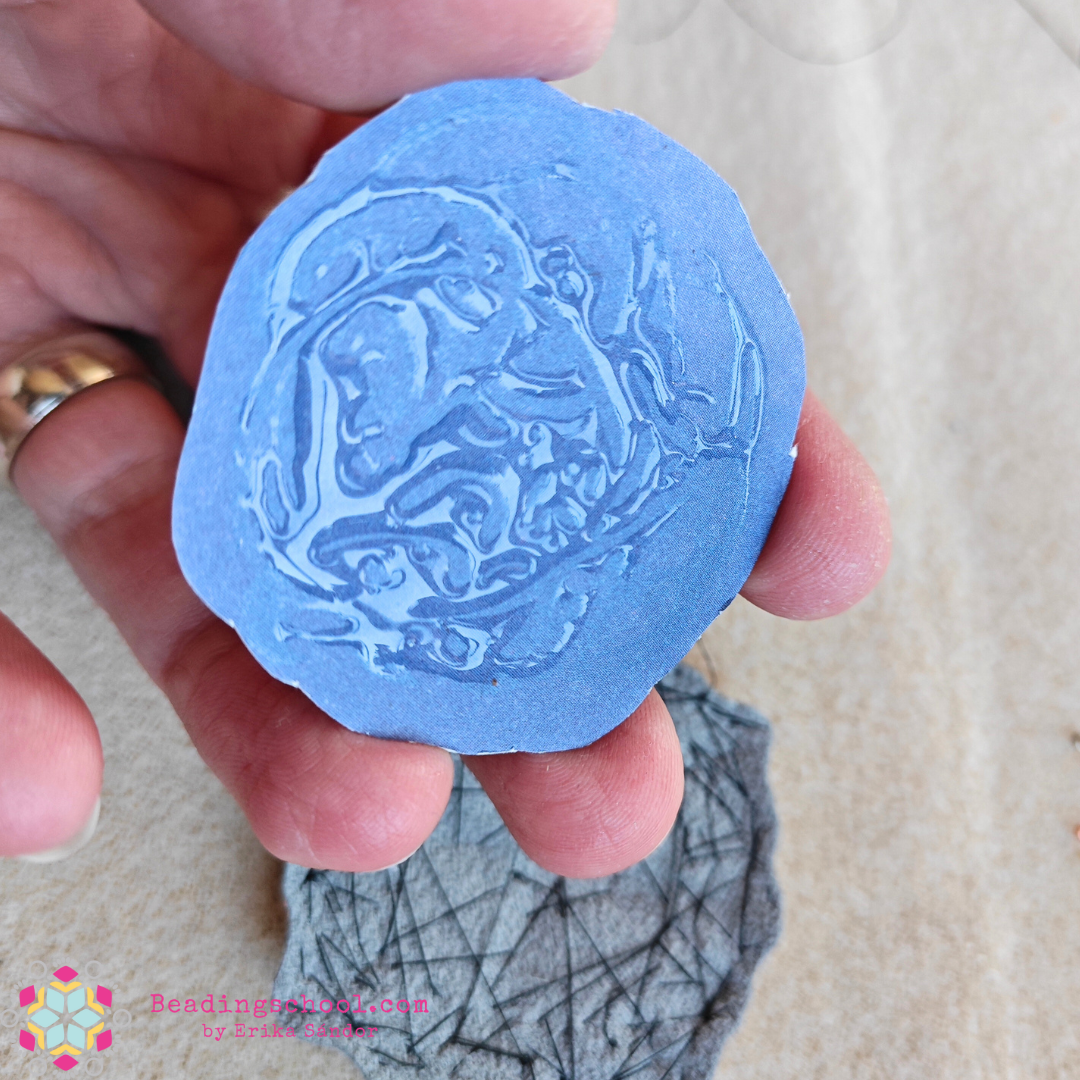
Glue your motif onto cardboard (like the ones from fancy chocolate or lasagne), and cut out the same shape from the cardboard, only a bit smaller than the motif itself, so you don’t have to push your needle through the paper. Afterward, the backing can be attached, and you can connect the foundation (usually Ultra Suede) to the backing, which can be Ultra Suede, leather, or artificial leather. This is when I like to switch to a thicker needle – a size 10 Tulip bead embroidery needle, to be specific. It is shorter and sturdier than my usual 11/0, so it doesn’t bend and deform that easily when I need to bead through two layers of fabric, sometimes even through the paper by accident.
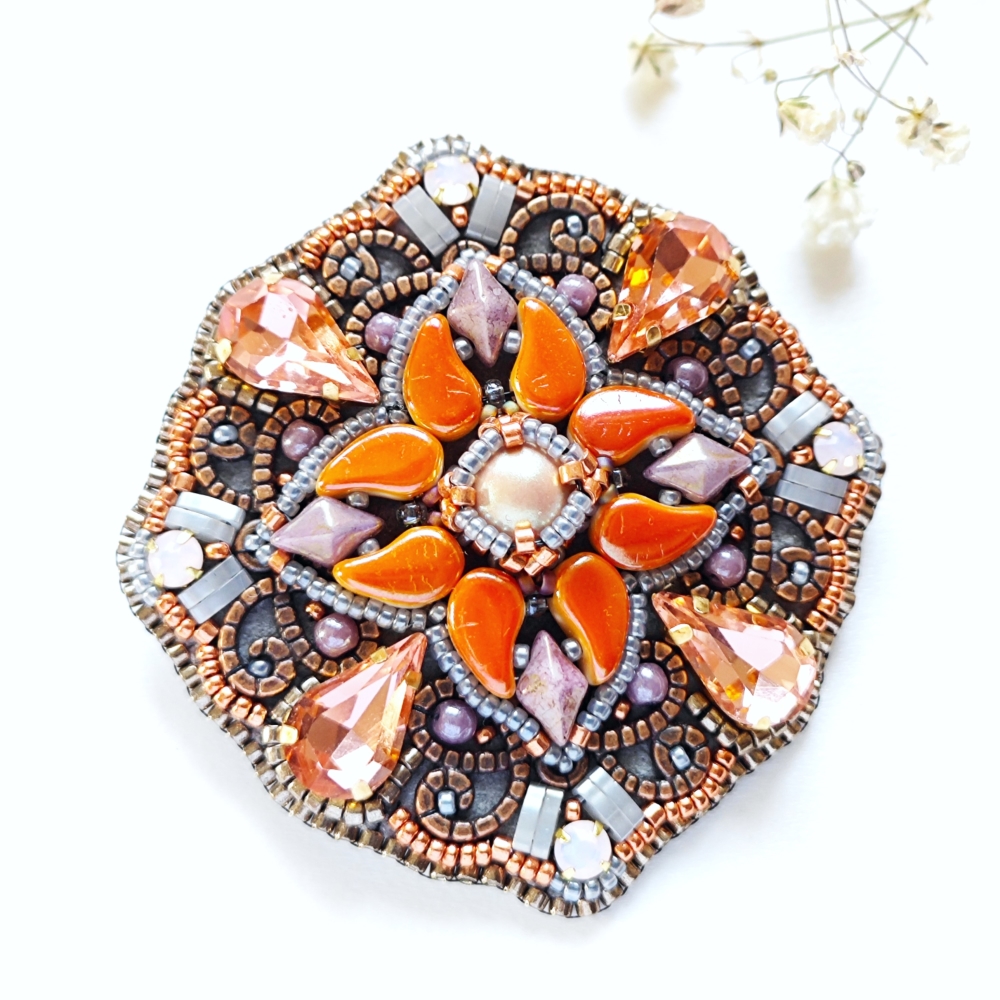
If you’d like to learn more about bead embroidery, make sure to check out my ‘How to start with Bead embroidery‘ article on the Beadingschool Blog and dive deep into some advanced solutions with Zuzi’s Genlis brooch tutorial that she shared with us during the weekend.
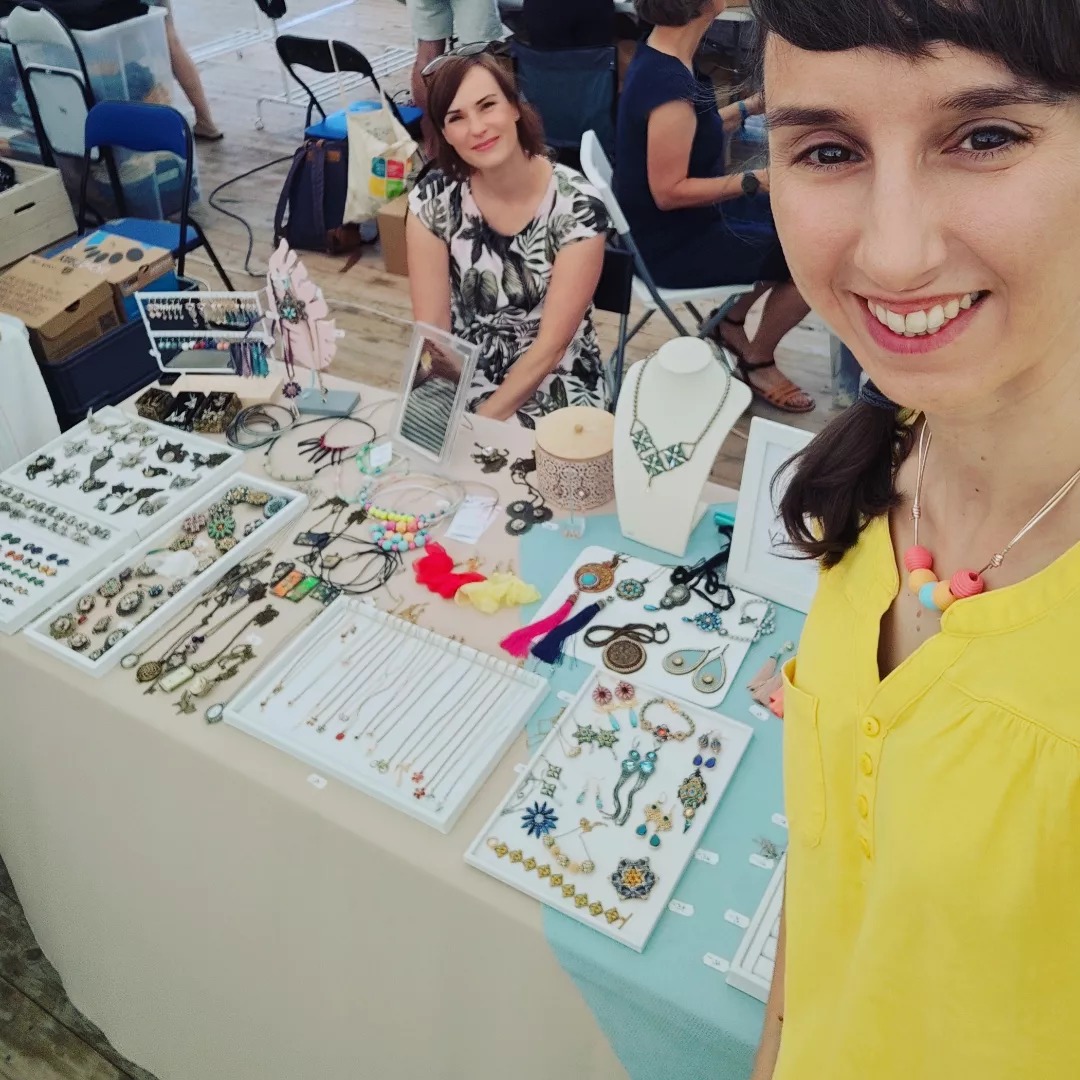
Regarding knots, Zuzi also has a trick she would like to share with you: she likes to attach charms and components after tying a knot. This enables her to change her mind or personalize a jewel for a customer since she also likes to participate in design markets with her finished pieces.
When it comes to offering her jewelry, she says it’s just as essential to choose excellent packaging and presentation since those also elevate the overall feel. In the past, when selling my finished pieces, I chose sleek, black boxes with a golden logo; this combination gives everything a luxurious vibe.
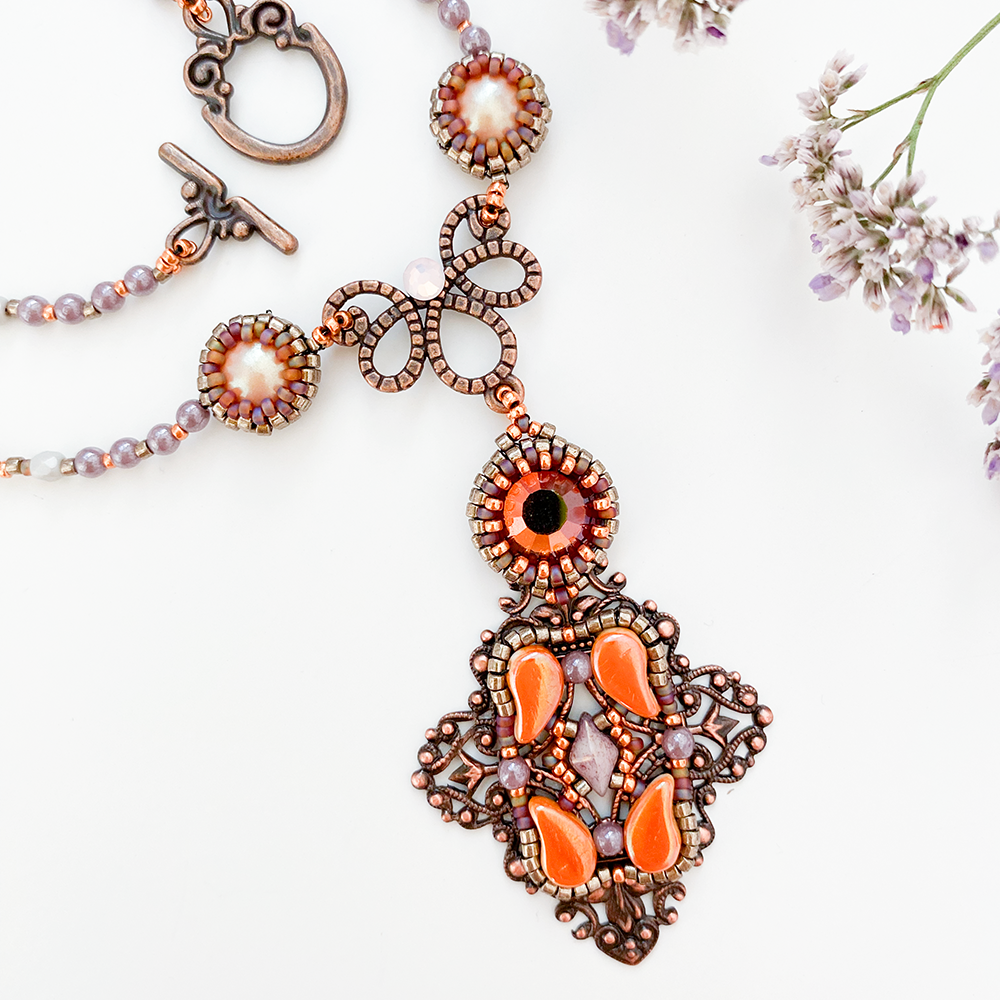
Veronka also has a trick for you: her recommendation is to hang your beaded pendant on a good quality chain, ribbon, or cord that matches the style of the jewel, enhancing the colors and shapes.
A beautiful example is her recent Alcazar necklace that she created from the Dangerous Liaisons Beadingschool Academy Theme Box. She used beads from the same collection to hang the pendant around her neck and even included some bezeled cabochons to make it even more special.

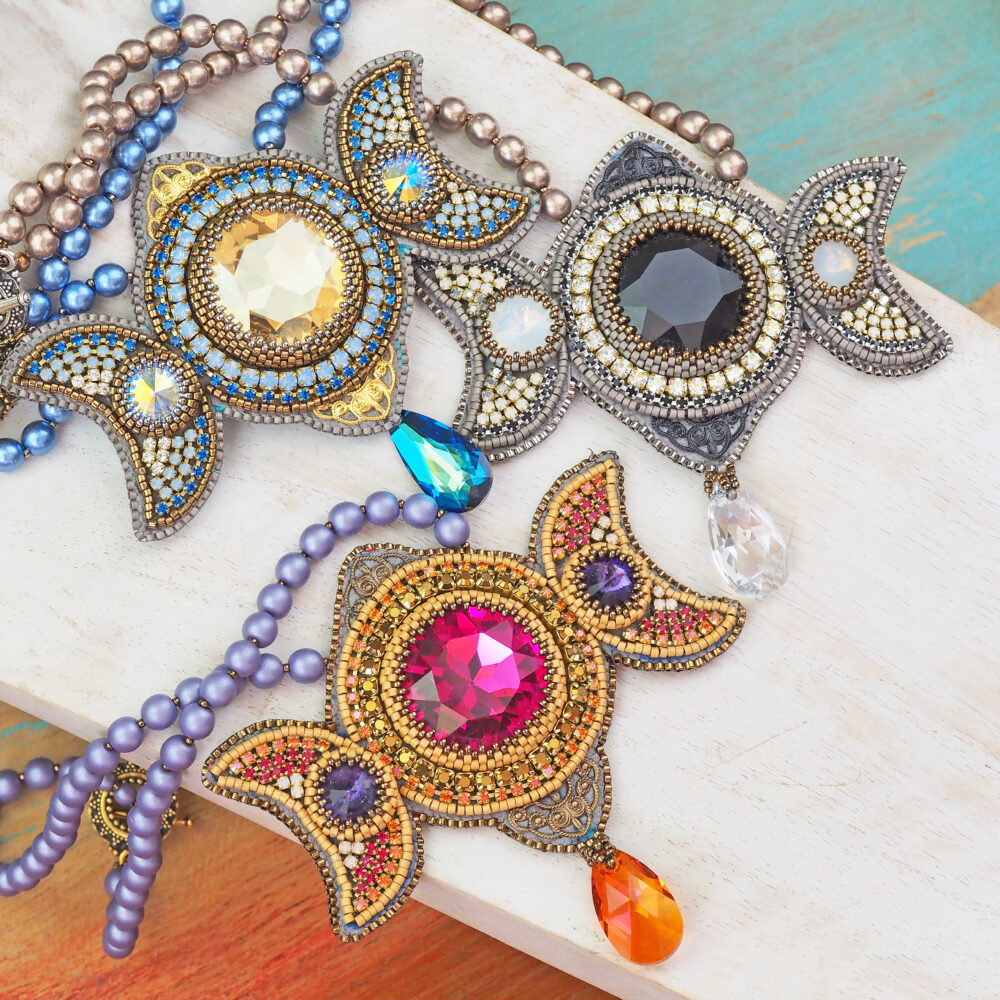
Add a proper bail for the pendant (metal or beaded, for example, Peyote) instead of a single row of seed beads. Besides the professional look, you will also prevent your pendants from turning around when worn. It’s easy to add pendant holders from metal, but you can also create your own with Peyote or herringbone stitch, for example.
Watch the ‘How to turn your beaded motifs into necklaces‘ and the ‘How to hang a bead pendant‘ #CoffeeTimeWithErika beady broadcasts to learn more about this topic.
(The pendant in the picture is the Theodora exclusive workshop kit, which will be available ONLY during the Beadingschool Advent Calendar Adventure.
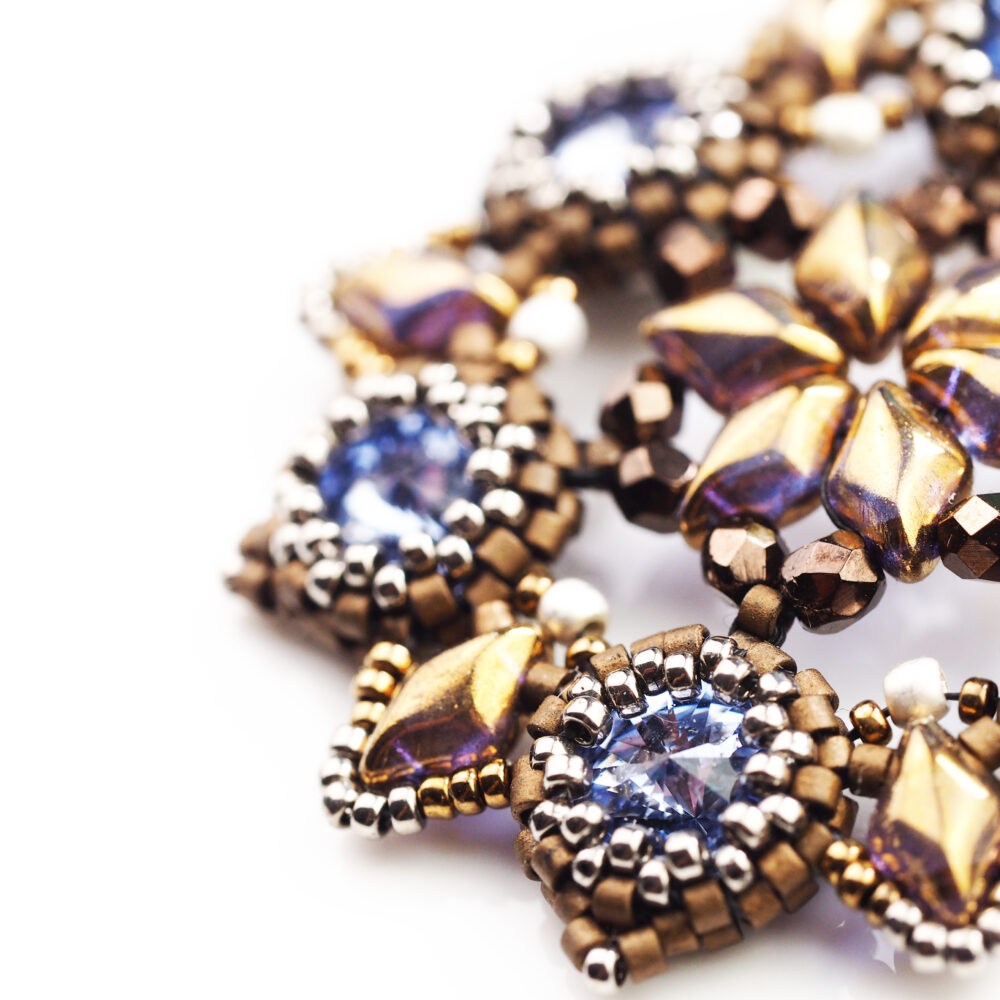
When you have a Peyote bezeled cabochon in your beadwork, it’s convenient to attach the beaded pendant holder directly to the seed beads that are hugging the stone. You can use the same seed beads and Miyuki Delica to create a unified look. This is what I did in the Starlyne pendant. You can download the tutorial for it as a GIFT from here.
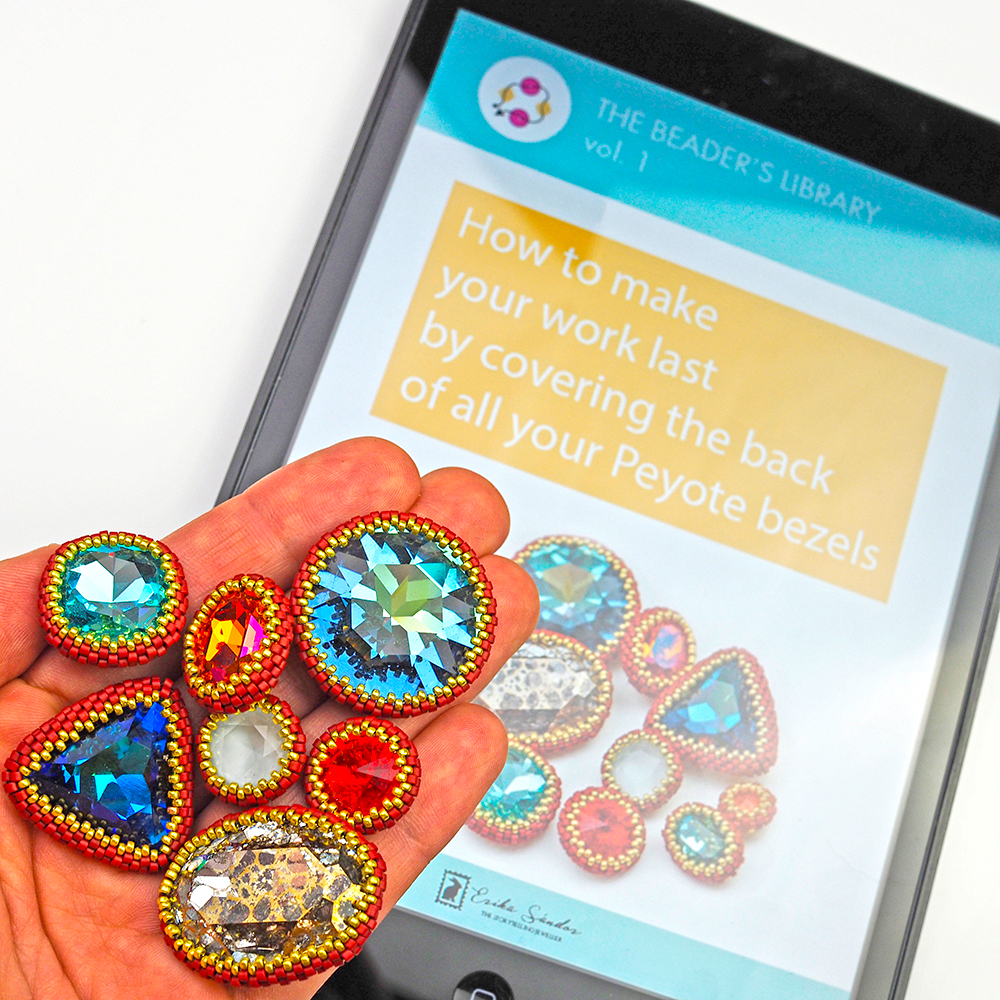
Covering the backs of your Peyote bezels to protect them from scratches, and to make them last longer. This is especially handy when the back of the jewel is touching the skin, not only because of cosmetics but also because of the natural acidity of our body. You might be familiar with my ebook ‘How to cover the back of your peyote bezels‘ and I am happy to announce that during the Advent season, a new edition will be published.
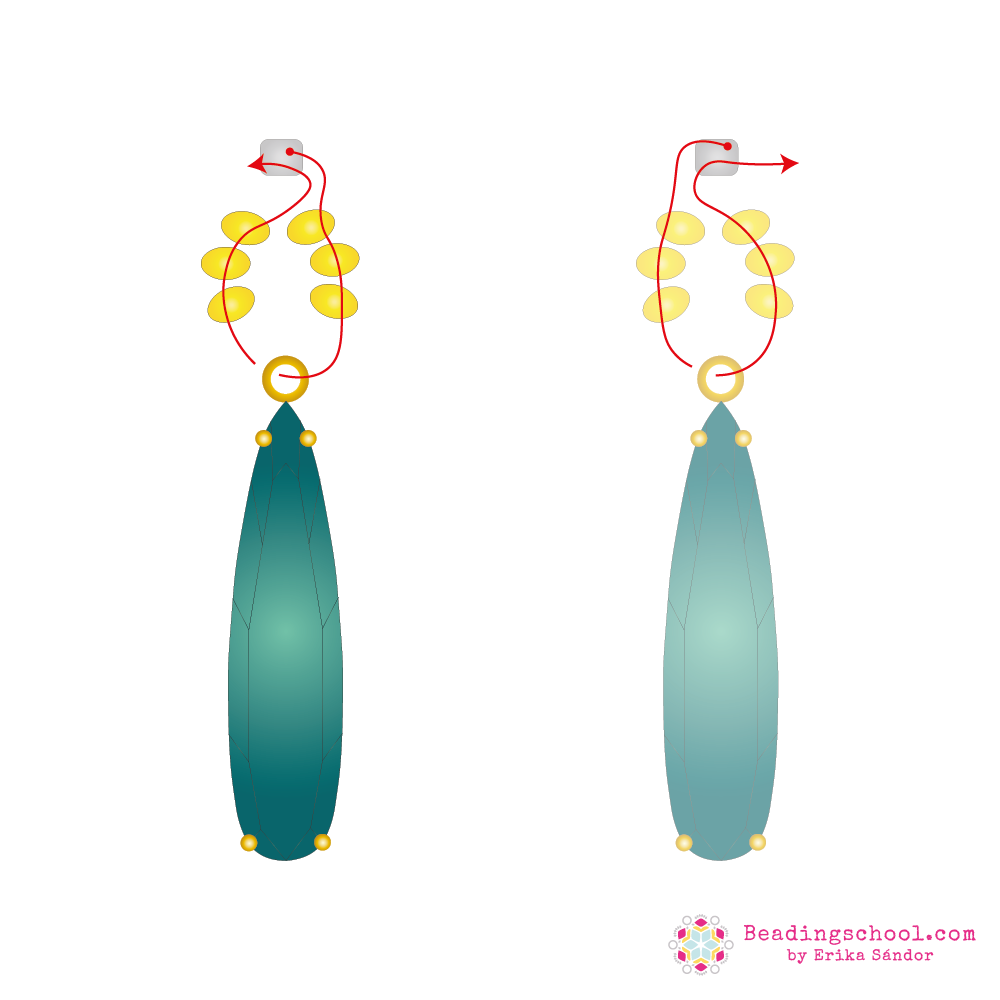
Adding crystal connectors and glass drops in metal settings to your jewels is a great way to personalize them and make sure that they fit the style and colors you love to wear!
When you attach your components, please make sure you choose the right thread path – based on how the loops are orientated (front to back or sideways). Learn more about attaching any components (connectors, charms, but also clasps and earrings) from the article ‘How to join beaded motifs and components.‘
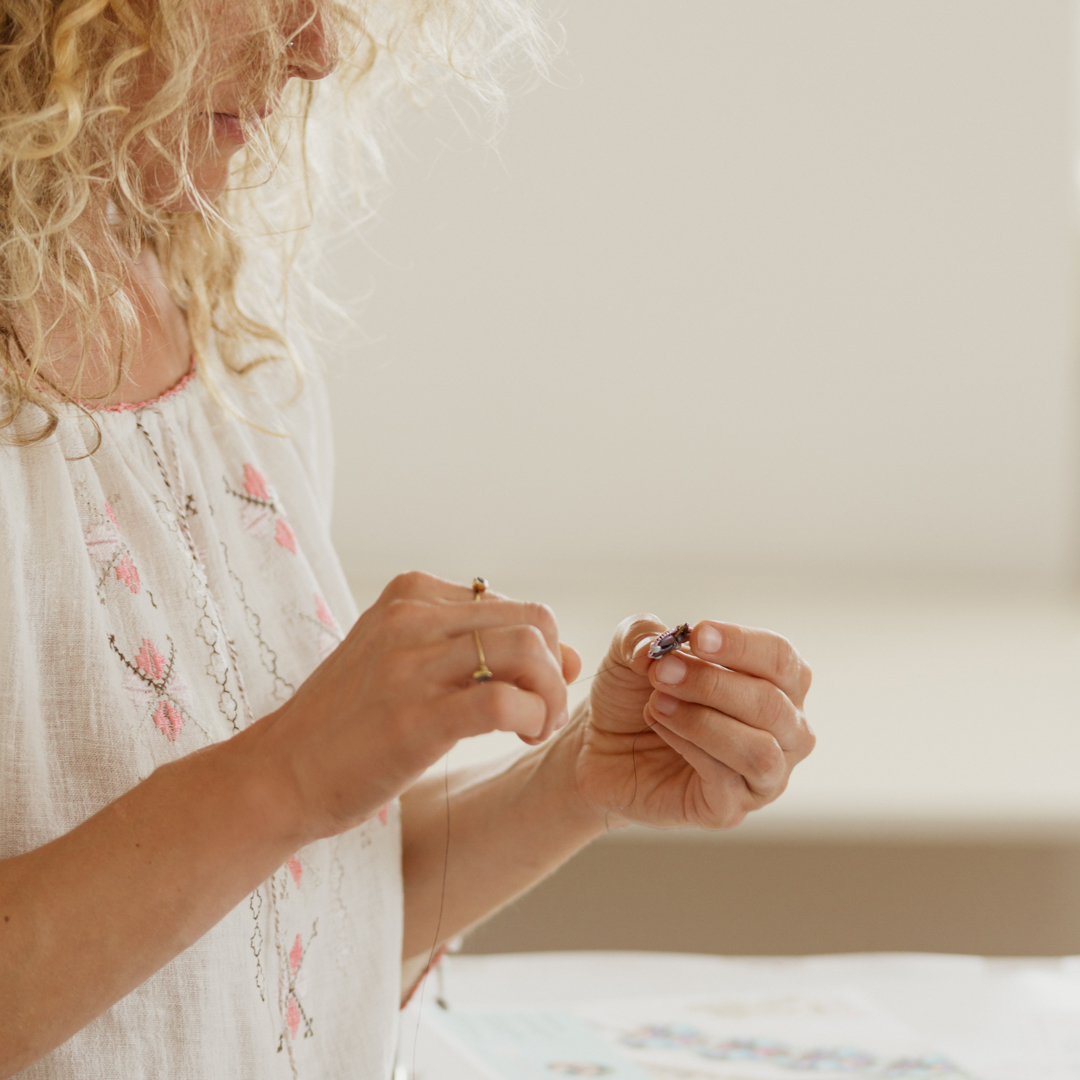
Zuzi shared with me another valuable trick regarding these kinds of connections. She adjusts the tension slightly when adding a drop or connector that should have a bit of movement instead of being rigidly fixed. The slightly (think only 5-10%) looser thread tension allows the component to swing in a natural way.
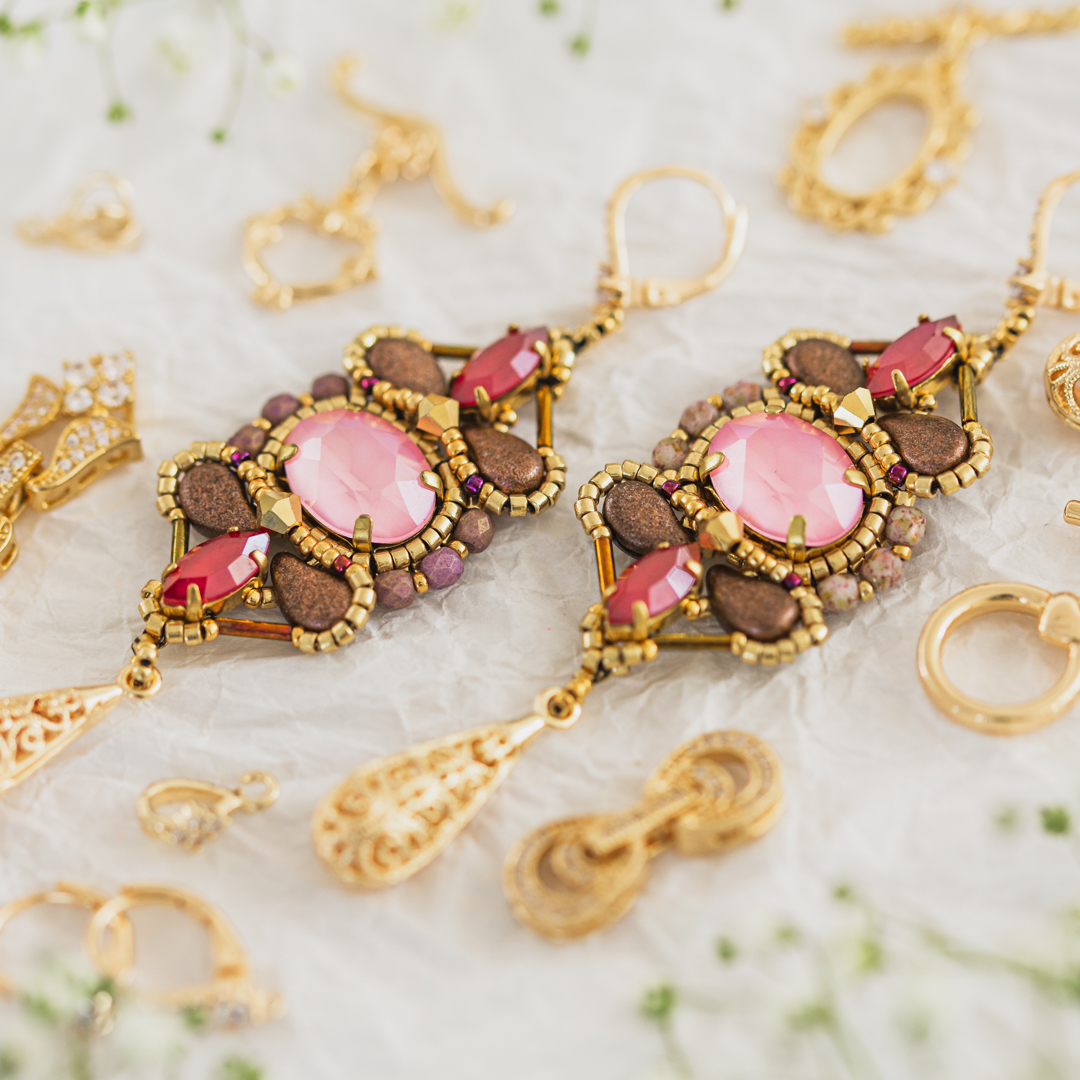
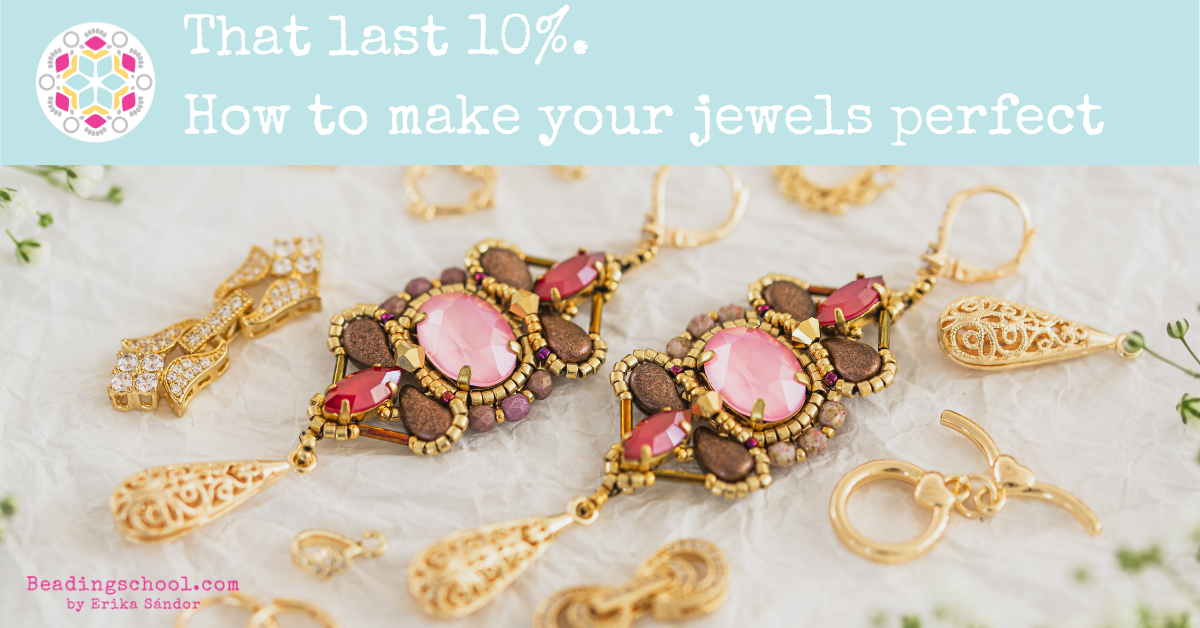
Finish your jewels with luxurious clasps, earring findings, and pendant holders! And to illustrate this, I would like to show you my newest jewel, the Lumiere earrings. Lumiere means ‘light’ in French and indeed, there is sparkle thanks to the Cubic Zirconia inserts, but also because of the shine of the material itself.
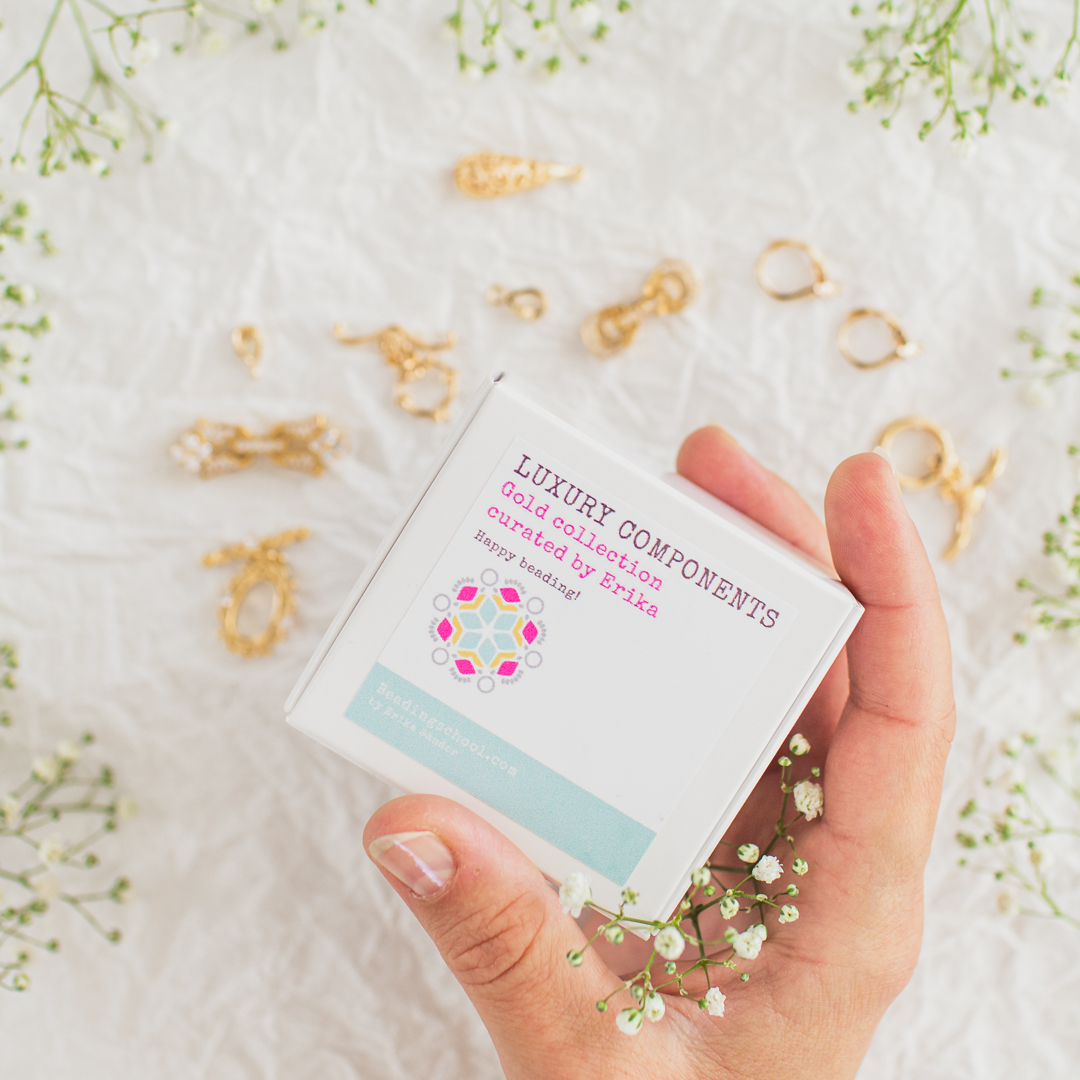
You might very well know that there is difference between metal and metal, and the highest quality components that we had so far was the ‘Luxury component Box‘ 2 years ago. It was sold out in less than two hours, but now it’s back – even better, with gifts and bonuses.
A gold-colored and a silver-colored collection are both waiting for you. All in TOP quality, with lots of Cubic Zirconia inserts.
It was thoughtfully curated by Erika from Beadingschool. Timeless, elegant designs.
Friendly warning: fellow beaders won’t stop asking you where you got them. 😀
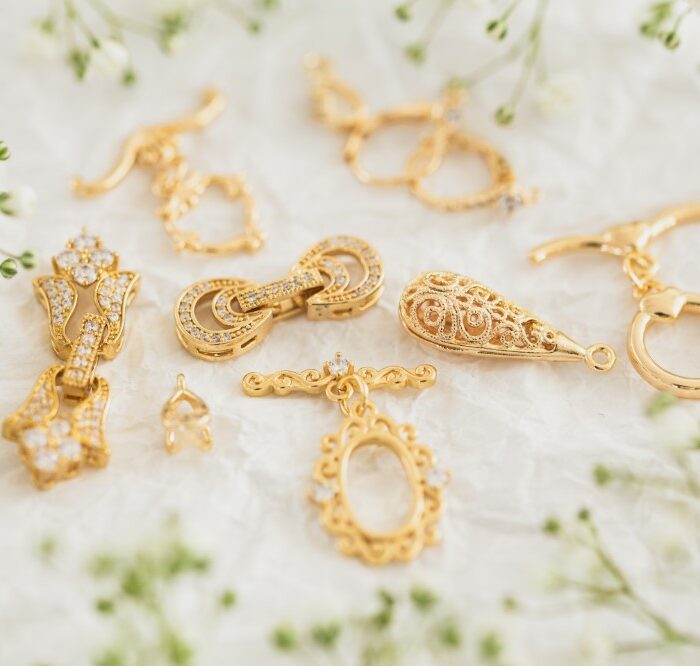
The favorites of many of our Beadingschool Academy Students: top-quality metal findings with Cubic Zirconia are available now in two separate collections!
Silver for cold tone and gold for warm tone jewels. Get them both and receive a 🎁 GIFT: Erika’s newest tutorial, the Lumiere. The motif can become an earring, a pendant, or a bracelet! It is the one in the video above 🙂



I loved making these earrings! Thanks for the wonderful tutorial and I can’t wait for my luxury component box!
Your earrings are very beautiful, Connie! 🙂 Thank you for sharing!